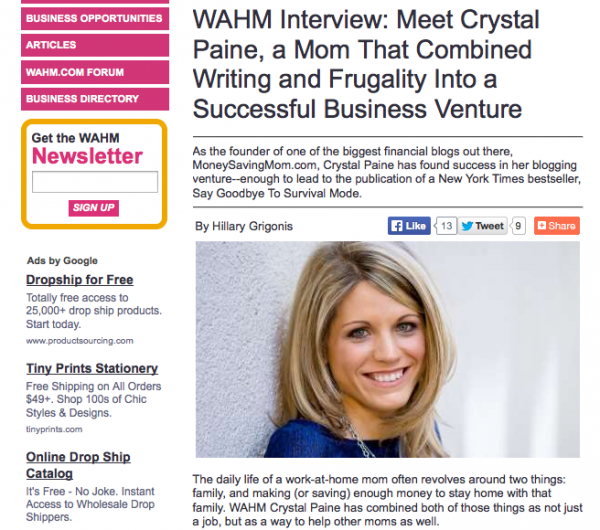
Recently, I was honored to have the opportunity to be interviewed by WAHM.com — a site for work-at-home moms or those who want to be work-at-home moms.
In this interview, I share:
- How I got started blogging
- The most challenging aspects of having a business and a family
- How I maintain a healthy balance between work and family
The most important piece of advice I’d give to any work-at-home mom
Read the full interview here.
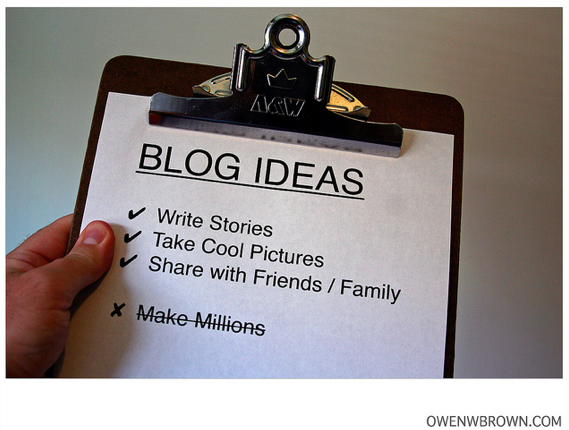
Thinking of starting a blog? Check out my step-by-step post on how to make money blogging.


 Do you have a fun and frugal DIY idea to share? I’d love to hear about it! Read the submission guidelines and submit it