

From a quick lunch on the go or an effortless freezer-friendly dinner for busy weeknights, these beef and bean burritos are a must for busy families. Everyone will love them, and you’ll love how easy they are to make!

Freezer-Friendly Beef and Bean Burrito Recipe
If your family loves burritos, you need to try this recipe. It’s one of my husband’s favorite grab-and-go foods!
What I like best about this recipe is that, not only is it filling, but it’s also fast. You can have a piping hot burrito in less than two minutes — straight from the freezer. It’s perfect for those times when my husband wants a late-night snack or some hot for lunch on the weekends.
These are on the spicy side for my liking (keep in mind that I’m also the girl who likes extra mild salsa!), but my husband loves these. In fact, he was so excited I was making them again this week.

Ground Beef Burrito Ingredients
- 2 pounds ground beef
- 2 cans (16 ounces) refried beans (you can make your own refried beans)
- 2 cans (10 ounces) enchilada sauce (you can make your own enchilada sauce)
- 1/2 cup water
- 1/3 cup diced onion (you can also use dried or minced onion)
- 1 taco seasoning packet
- 1 teaspoon dried oregano
- 3 cups shredded cheddar cheese
- 20 burrito-sized flour tortillas

How to Make a Beef and Bean Burrito
1. In a large skillet, brown ground beef with onions.
2. Drain meat mixture and return to pan with all remaining ingredients (except tortillas and cheese).
3. Bring the meat mixture to a boil. Reduce heat, cover, and simmer for 20-30 minutes.

4. Spoon 1/4-cup of the meat mixture onto each tortilla, sprinkle with cheese, fold sides in, and roll up tightly.

5. Wrap them individually in aluminum foil and place them in a gallon-size zip-top bag for the freezer.

6. When you’re ready to heat them, simply remove the foil and microwave a single burrito for about a minute, or leave the foil on and heat one or more burritos in a 350ºF oven for 30 minutes or until heated through.

Bean and Beef Burrito Variations
There are countless ways to customize this easy recipe, based on what you already have in the house, what’s on sale at the grocery store, or even what your family prefers.
Here are a few ideas:
- Use black beans to add more protein (with or without the beef)
- Use ground turnkey or shredded chicken instead of ground beef
- Mix up the seasonings to make it spicier or more mild
- Try different varieties of shredded cheese
- Add more or spicier salsa to the meat/bean mixture
- Try corn tortillas
How to Serve a Beef Bean and Cheese Burrito
Pull out the desired number of burritos, remove the foil, and heat a single burrito in the microwave for about a minute. Or leave the foil on and heat one or more burritos in a preheated 350-degree oven for 30 minutes or until heated through.
Serve them with lettuce, diced onion, diced tomatoes, sour cream, salsa, and guacamole — and don’t forget the chips!

How to Store a Ground Beef Burrito
These burritos are freezer-friendly, so you can easily whip up a batch for the freezer and just defrost as needed!
Freezing this Beef and Bean Burrito Recipe
Wrap each burrito in a piece of aluminum foil and then place in airtight ziptop freezer bags and store in the freezer for 2-3 months.
How to Defrost a Frozen Beef and Bean Burrito
When you’re ready to heat the burritos, simply remove one or more from the freezer and heat in the microwave (without foil) for 1 minute. OR, keep the foil on and heat them in a 350ºF oven for 30 minutes or until heated through.

Beef Bean and Cheese Burrito FAQs
It depends on how much meat, cheese, and beans you use — and what toppings you add. However, this recipe, as written (without additional toppings) is roughly 300 calories per burrito.
Let the chicken/bean mixture cool to room temperature before adding it to the tortillas. You could also put the burritos in the fridge before freezing them, so they don’t have as much condensation. And finally, you might try wrapping each burrito in a paper towel first and then in aluminum foil. The paper towel will absorb extra moisture.
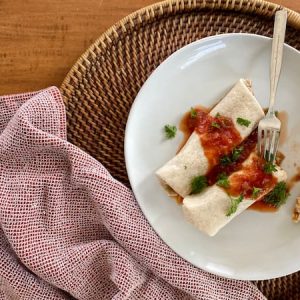
Frozen Beef and Bean Burrito
Ingredients
- 2 pounds ground beef
- 32 ounces refried beans
- 20 ounces enchilada sauce
- 1/2 cup water
- 1/3 cup diced onion you can also use dried or minced onion
- 1 packet taco seasoning
- 1 teaspoon dried oregano
- 3 cups shredded cheddar cheese
- 20 flour tortillas burrito-sized
Instructions
- In a large skillet, brown ground beef with onions.
- Drain meat mixture and return to pan with all remaining ingredients (except tortillas and cheese).
- Bring the meat mixture to a boil. Reduce heat, cover, and simmer for 20-30 minutes.
- Spoon 1/4-cup of the meat mixture onto each tortilla, sprinkle with cheese, fold sides in, and roll up tightly.
- Wrap them individually in aluminum foil and place them in a gallon-size zip-top bag for the freezer
Nutrition
Love this recipe?
Make sure to share and save it on your favorite platform below!
Did you do any freezer cooking today? If so, I’d love to see the results of your efforts! Link up your blog posts below or tell us about your success in the comments.
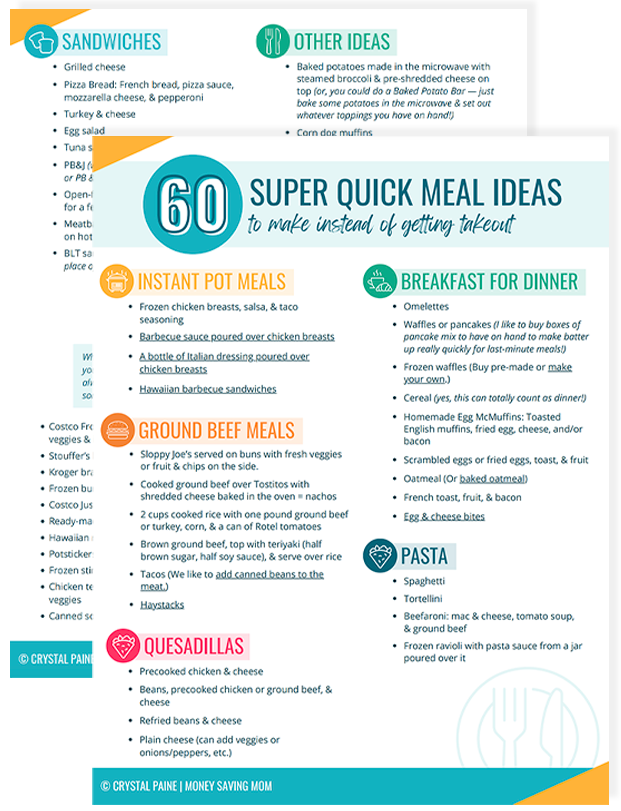
FREE DOWNLOAD: 60 Meals To Help You Avoid Takeout!
Meal time just got so much easier!

Today’s Aldi Shopping Trip
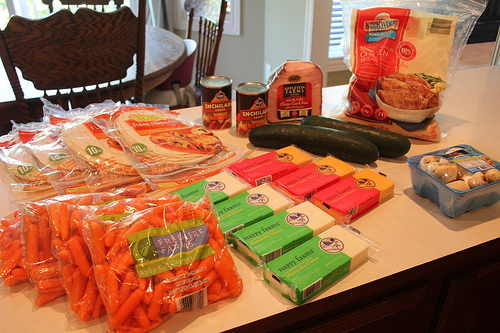
Aldi Shopping Trip
4 packages of tortillas — $0.99 each
4 bags of baby carrots — $0.49 each
7 packages of cheese — $1.79 each
2 cucumbers — $0.29 each
1 package mushrooms — $0.79
1 bag boneless, skinless chicken breasts — $5.49
1/4 boneless ham — $6.67
Total with tax: $34.31
Also shown, 2 cans of enchilada sauce from Dillon’s (I forgot to get these yesterday.) — $1.81 total
Reader Tip: Check your grocery shelves for clearance items
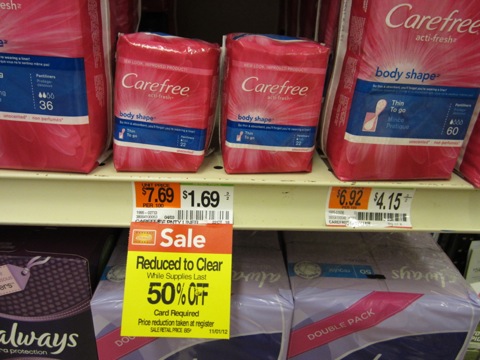
Melissa emailed in the following tip:
Many times we buy our household and personal care items at drugstores because of their great bargains; but if you take moment to look, the deals at your local grocery store might surprise you.
Since food is the main thing grocery stores sell, many of the household and personal care items need to be “cleared” off the shelves after a certain amount of time. The item in the photo above was marked 50% off and I had two coupons that doubled to $1.00 — so this purchase became free plus $0.30 overages for me!
So next time you’re at the grocery store, keep your eye out and your coupons handy; there just might be some “gems” waiting for you to find. -submitted by Melissa from BravelyFrugal
Ask the Readers: Frugal summer activity ideas for toddlers?

Today’s question is from Jill:
What are your favorite free/inexpensive ideas to keep young children busy during the long summer days (I have a 2-year-old son and 1-year-old daughter)? -Jill
Do you have a question you’d like to ask Money Saving Mom® readers? Read the submission guidelines and submit it here.
How Having a Budget Brings Peace to Our Marriage

Guest post from Leanne of Cooking With the Johstons
When I was a teenager, my parents divorced and I saw first-hand that the number one cause for divorce is money problems. As a young adult, I did what I knew and overspent.
At 24, I overdrew my checking account for the umpteenth time. What was different this time was that I had also gone over my limit on all four of my credit cards. I had no cash, no savings, and no safety net. While I’d spent years overspending and overdrawing, this was rock bottom.
Because of that experience, I created a budget. It was the first time I saw on paper that I was spending far more than I was earning and had absolutely nothing to show for it but a car payment, credit cards, and student loans.
Shortly thereafter, I discovered the Dave Ramsey’s Baby Steps. The concept of living below your means was completely foreign to me. I started to live differently. For the first time in my life, I had peace about money and my future.
Two years later, when I met my husband, I was well on track of being debt free within the year. When we married, my debt turned to our debt. Combined we had $117,000 and were making $40,000 a year; however, we had peace and a plan because we had a budget.
A budget saved our marriage before it even started — here’s why:
- Having a budget means having a plan — a budget frees us to tell our money what to do each month. We have a plan for every dollar that we earn. We have lots of dreams for the future and know we will achieve them because we have a plan.
- Having a budget means having peace — things will happen outside of your budget. Children get sick, windows break, and cars break down. A budget takes the emergency out of these situations. It brings peace into the financial inconveniences of life.
- Having a budget will change your future — without a plan, you will wander aimlessly. Without a budget, you will spend aimlessly with nothing to show for your efforts. A budget puts effort behind dreams.
- Having a budget helps you stay on the same page with your spouse or family — My husband and I know how much money we have, where it needs to be spent, and what our financial goals are because it is in black and white. If it’s not in the budget, it doesn’t get spent. If we want to spend money on something, we need to agree on it and add it to the budget.
My husband and I have incredible peace in our marriage because of our budget. Our plan allows us to give generously, save for our future, and be in control of our money. Our infant son will have the skills necessary to manage his money and make an impact in the world.
Leanne is an organizational whiz working with youth and young adults in Fort Worth, TX. She is a seminary graduate and a walking warrior. She’s the nerd who loves spreadsheets and finding a good deal. She lives in the Dallas area with her husband and infant son, Wesley. Visit her blog, Cooking With the Johstons.
Mother’s Day Gift Idea: Moms Need Coffee Bottle
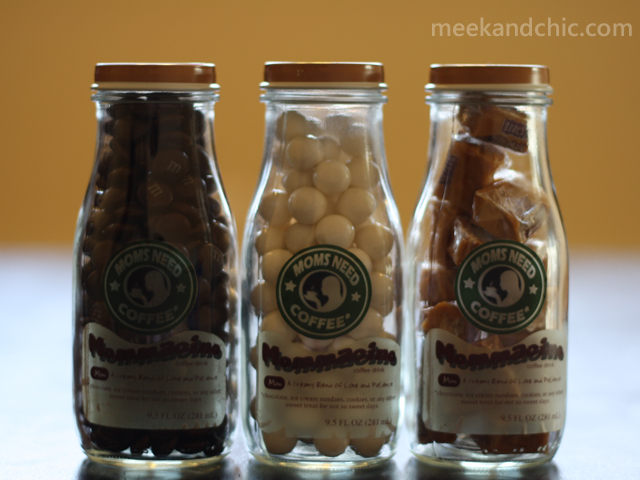
Here’s a creative Mother’s Day gift idea! Create a Homemade “Mommacino” for a Christian mom in your life who could use a pick-me-up.
Freezer-Friendly Peanut Butter & Jelly Sandwiches

So, I’ve shared lots of really simple, no-brainer tips here over the years, but I think this might qualify as just about the most basic of ideas I’ve ever shared.
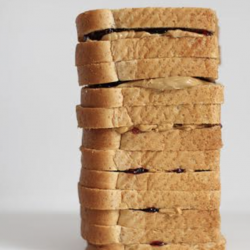
In fact, I doubt I even need to do a post about it, since I could probably just put a picture and say, “I made peanut butter & jelly sandwiches for the freezer today. The end.”
And that would about sum it up. But that would also probably be the most boring post I’ve ever written, too. So I’ll try to expand a bit on this basic of basic ideas, for those who would like a few more details. 🙂
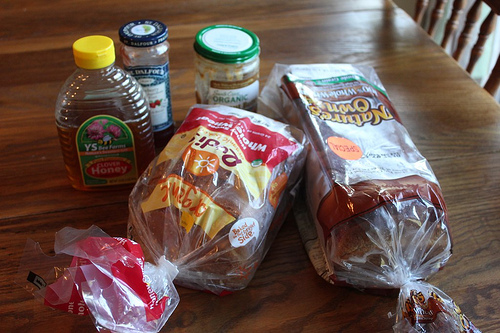
I first happened upon the idea of freezing peanut butter and jelly sandwiches when Jesse was in law school and we were eating a LOT of PB&J. I usually packed one or two sandwiches in his lunch each day and since he often had to leave for school early in the morning, I’d try to have as much stuff prepped ahead of time so that I could just take 20 seconds to pull it all out and put it in the lunch pail.
While it doesn’t really take long to make PB&J, when your time is really crunched in the morning, it can help speed things up a little bit. Plus, I’ve also found it’s so nice to have sandwiches at the ready if you end up needing to leave to go somewhere unexpectedly and no one has eaten any lunch yet.

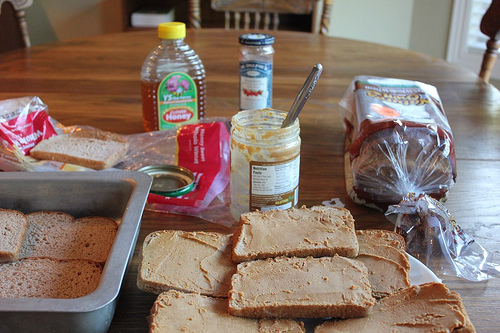
I listened to The Little Big Things today while making PB&J in an assembly-line fashion. {The audiobook has some good things in it, but the crass language is driving me batty! Honestly, that’s a “little big thing” to me!}
I ended up having to break out a new jar of jelly and peanut butter about halfway through. And Jesse got home about this time and he sat at the kitchen table and told me about his day while I finished up the sandwiches. Multi-tasking at its finest! 🙂
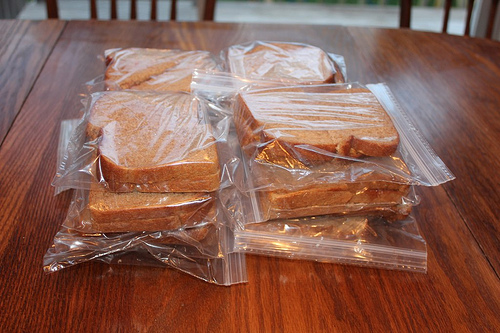
The end result: A big pile of sandwiches! I cut the sandwiches in halves, put them in individual baggies, and then put the baggies in large ziptop bags.
Freezer-Friendly Peanut Butter & Jelly Sandwiches
- Bread
- Peanut Butter
- Jelly
Spread peanut butter on both sides of bread. Put a dollop of jelly on top of one side (over the peanut butter) and spread around making sure that no jelly touches the bread (the peanut butter acts like a seal and makes sure that no jelly gets through! This is a super important step as it prevents the bread from getting soggy! As long as no jelly touches the bread, you shouldn’t have to worry about soggy sandwiches!)
To freeze: Cut and put in baggies (if desired) and store in airtight freezer ziptop bags in the freezer for 4-6 weeks.
To thaw: Stick frozen sandwiches in sack lunches in the morning and they will be thawed by lunch time. Or, you can be weird like me and eat them straight from the freezer. 🙂 You can also warm them in the oven or microwave if you like your sandwiches warmed.
Dillon’s Shopping Trip: Meat, milk, Milano cookies (!!), and yogurt
Dillon’s Shopping Trip: Meat, milk, Milano cookies (!!), and yogurt
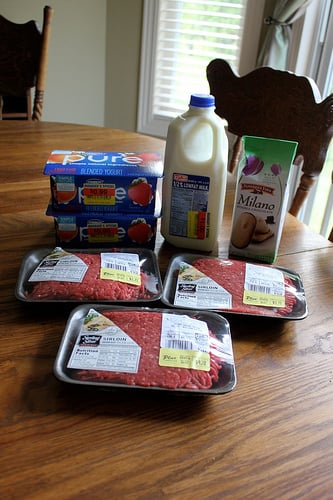
I ran into Dillon’s today to buy some meat for my freezer cooking this week and found a few extra deals, too:
Three packages Sterling Silver Ground Sirloin — $3.73, $3.73, and $4.20
Milano cookies — $1.99, used $0.75/1 coupon (“doubled” to $1 off) = $0.99 after coupon (woot!!)
Half gallon milk — marked down to $1
2 packages of yogurt — marked down to $0.99 each
Total with tax: $16.83
Today’s Target shopping trip
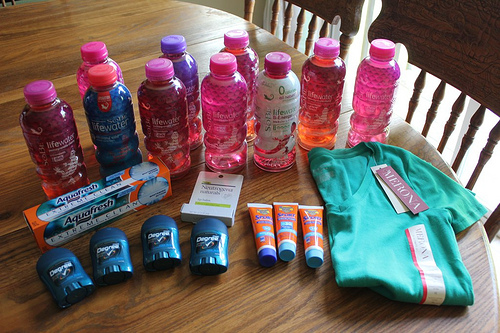
Here were the deals we picked up Target today:
Bought 10 SoBe Lifewater (20 oz) at $1 each = Got $5 Target gift
Bought 1 Merona tee at $6, used the $3/1 Merona coupon = $3 each after coupon
Bought 4 Degree Men’s Travel Size Deodorants at $0.99 each, used 2 $2/2
Degree Men’s Deodorant coupon= free after coupon1 Neutrogena Lip Balm at $2.24, used $2/1 Neutrogena cosmetics coupon = $0.24 after coupon
1 Aquafresh Toothpaste at $3, used $1/1 Aquafresh coupon stacked with $1.50/1 Aquafresh coupon = $0.50 after coupon
3 Banana Boat sunscreen at $0.97 each, used 3 $1/1 Banana Boat coupons = free after coupons
Total with tax: $14.74 + I got a $5 Target gift card back
5 Simple Ways to Save on Date Night

Guest post from Alison of Experimental Wifery
My husband and I dated for six years before we got married. We thought we had this relationship thing figured out. But, after only nine months of marriage, things had started to get a little rocky.
My gentle, understanding husband had suddenly become grouchy and irritable. Instead of helping him, all I could think to do was nag him to tell me what was wrong. Because we were saving up for a down payment on a house, we didn’t go out together often.
We worked. We ate. We went to bed.
No wonder our marriage was running into trouble. We barely ever talked to each other!
So we went on a date. He told me how much he hated his job (that’s what was making him grumpy) and we problem solved about how to fix it. For the price of a $20 dinner, we solved a problem months of evening meals together hadn’t.
Nine months into our marriage, I learned that great conversations — the kind that make or break a happy marriage — don’t just happen. I believe that healthy marriages need regular date nights — weekly, if at all possible.
A date night is a night that you and your husband set aside to spend time alone together. It’s a time to refresh as a couple. It’s a time to reevaluate what’s working for your family. It’s a time to discuss big ideas together.
But I don’t believe that it is a luxury. I believe that setting aside money every month for a date night is one of the most important things you can do for your marriage.
Still, $20 (or whatever you can budget) doesn’t go far — especially when you throw in the added expense of babysitting. So here are some great ideas to make your date night money stretch a little further:
1. Shorten your dates.
When you have kids and are paying for a babysitter, the longer you’re out, the more expensive the date — no matter what else you’re doing. Try going out for dinner only. Or have dinner at home before you catch a movie.
2. Split the babysitter costs.
Sitters normally charge only $2-3 more for extra kids, so split a sitter with friends. Or check out these great sitter savings ideas.
3. Bring your own dinner.
Look for local restaurants with moderately priced menus. Many restaurants have early-bird or two-for-one specials.
In warmer weather, break out the picnic basket! Visit a local playground or nearby national park for some sandwiches and dessert.
4. Buy discount tickets.
Check out organizations that sell cheap events tickets. Think about events that always have inexpensive tickets — nosebleed seats at a baseball game are a great venue for a little couple’s time.
5. Avoid dinner and a movie out.
My husband and I have found that dinner + a movie + a sitter is just too expensive. Instead, choose a special film (in advance!) and order out. Put the kids to bed and enjoy an evening in.
Money doesn’t buy happiness, but I believe a weekly date night is an important investment in your marriage.
What are your creative ideas and suggestions for having a date night without breaking the bank?
Alison blogs about learning to be a better woman and wife at Experimental Wifery. She’s a wife, mommy, and high school English teacher. She lives near Washington, DC, where walking around the monuments at night is a cheap, date-night favorite.
OVER-SPENDING EVERY SINGLE MONTH?Grab these FREE Budgeting Sheets!
Click here to download!
Ask The Organizer: What are you biggest challenges with organizing busy summer schedules?
Ask The Organizer: What are you biggest challenges with organizing busy summer schedules?

Many, many of you have written in or commented in the last few months that you are really struggling with home organization. So I’m excited to let you know that I’ve teamed up with Andrea Dekker from Simple Organized Living to bring you a brand-new monthly feature called called “Ask the Organizer“.
Each month, we’ll feature one organizing question and let you weigh in your thoughts, answers, and opinions. Then later in the month, Andrea will pick one or two of the most popular responses and share her tips, ideas, and suggestions for dealing with those issues!
This month’s question is:
What do you struggle with most when it comes to organizing busy summer schedules?
What are your biggest challenges when it comes to planning family vacations, fun activities, sporting events, holiday get-togethers, etc.?
Leave your answers below and then check back in a couple of weeks for Andrea’s expert organizing advice!
Do It Yourself: Mason Jar Frog Lids
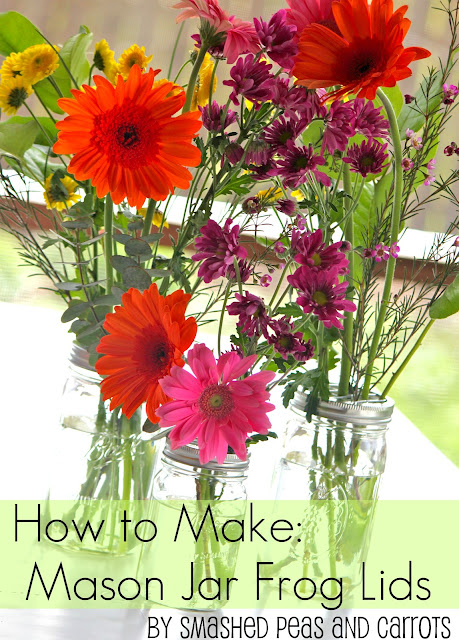
Smashed Peas and Carrots shows you how to make Mason Jar Frog Lids.
Do you have a fun and frugal DIY idea to share? I’d love to hear about it! Read the submission guidelines and submit it here.
3 Frugal Mother’s Day Ideas
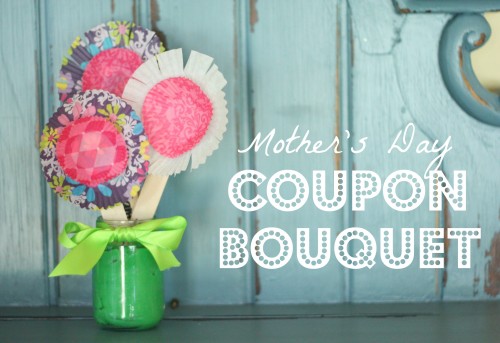
Jenae from I Can Teach My Child shows you how to make a Mother’s Day Coupon Bouquet.

Thrifty and Thriving has a tutorial for how to make Washer Pendant Necklaces.
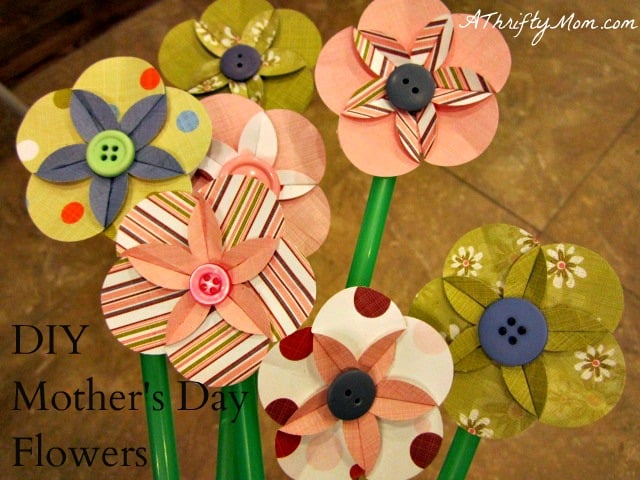
And A Thrifty Mom posted details on how to make Mother’s Day Flowers (I think these are so cute!).
Have you posted a frugal Mother’s Day idea or DIY? Submit it here and I might share it over the next few days!
4 Weeks to Fill Your Freezer: Homemade Baking Mix (Day 5)
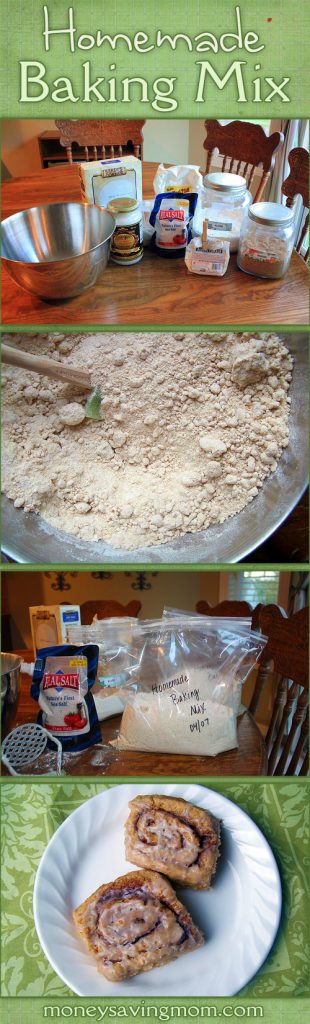
After a busy weekend, I seemed to take forever to get going this morning — even though I got up early.
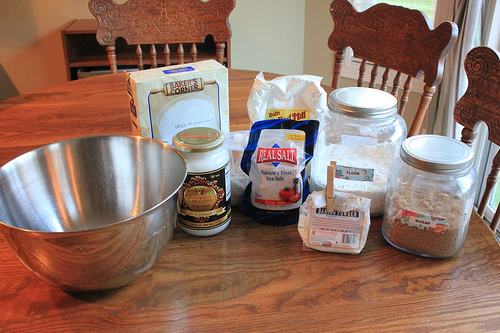
I finally got the Homemade Baking Mix made tonight at 7:45 p.m.
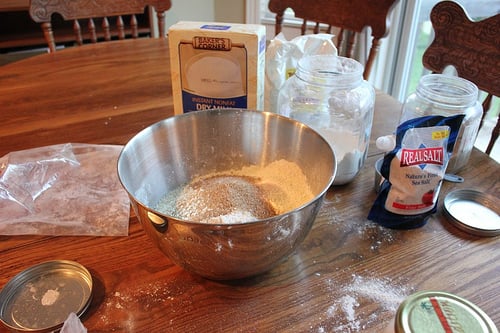
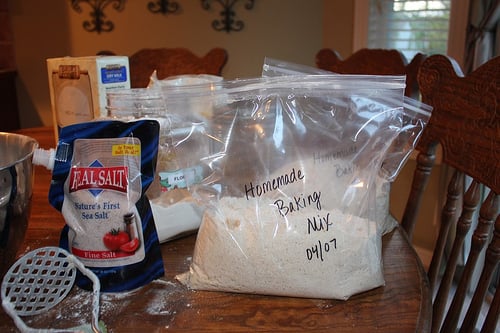
{Notice anything wrong with this picture? Maybe that I somehow am a month behind?! I noticed that after I’d taken the picture! :)}
And tomorrow we move onto freezer-friendly lunches. I think those are going to be a bit more time-intensive to make, but they are going to be so nice to have in the freezer that it will be every bit worth it!
Homemade Baking Mix
- 10 cups flour
- 8 Tablespoons baking powder
- 1 teaspoon cream of tartar (I didn’t have any of this so I just left it out. We’ll see if it works okay without it!)
- 1 1/4 cup powdered milk
- 1 Tablespoon salt
- 1/4 cup sugar or raw sugar
- 2 1/4 cup coconut oil or shortening
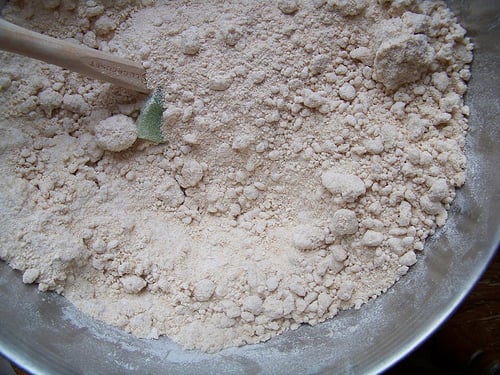
Mix all dry ingredients together in a large bowl. Cut in shortening or cold coconut oil until you have fine crumbs.
To freeze: Store in an airtight container or freezer bags in the freezer for up to two months.
To use: Use the Homemade Baking Mix straight from the freezer in place of Bisquick. Or, use this to make our family’s favorite Cinnamon Roll Biscuits. For other recipe ideas, check out a similar Homemade Baking Mix recipe from Kitchen Simplicity.
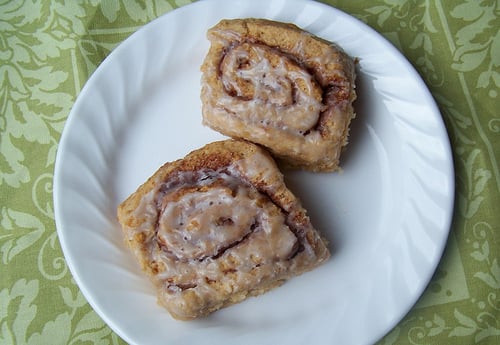
Homemade Cinnamon Roll Biscuits — you can whip these up in a matter of minutes using the Homemade Baking Mix!
Did you do any freezer cooking today? If so, I’d love to see the results of your efforts! Link up your blog posts below or tell us about your success in the comments.
4 Weeks to Fill Your Freezer: Week #2 Freezer-Friendly Lunch Recipes + Shopping List
4 Weeks to Fill Your Freezer: Week #2 Freezer-Friendly Lunch Recipes + Shopping List
Are you ready for another week of filling your freezer? This week, we’re tackling lunches.
Here’s my plan for making Freezer-Friendly Lunches this week. Remember that you are more than welcome to change any or all of the recipes as it fits best with your budget and family’s preferences:
Freezer-Friendly Lunch Recipes
Tuesday — Peanut Butter & Jelly Sandwiches {Yes, these freeze really well and it’s nice to have some on hand for when you need to fix a sack lunch really quickly.}
Wednesday — Brown Bag Burritos
Thursday — Pizza Pockets
Friday — Ham & Cheese Pockets
Monday – Southwest Rollups
Grocery List
(I rounded up on the amounts needed, just to be safe. You probably have many of these items already on hand. You’ll want to double-check that you have the correct amounts, though.)
3 pounds ground beef
Ham (you’ll need enough for 3 cups chopped ham)
Chicken (you’ll need 2-4 cups chopped cooked chicken)
4 cans refried beans (you can also make your own Refried Beans with this recipe)
2 cans enchilada sauce
1 jar pizza or pasta sauce
1/2 cup salsa
1-2 loaves of bread
1 jar of peanut butter
1 jar of jelly
36 flour tortillas (If you prefer, you can make your own Homemade Tortillas with this recipe)
1/3 cup minced or dried onion
12 cups flour (whole-wheat, white, and/or a mixture of both)
2 eggs
1/2 cup butter
16-oz. block of mozzarella cheese (or 3 cups pre-shredded)
2 16-oz. blocks of cheddar cheese (or 8 cups pre-shredded)
Staple Ingredients/Spices:
chili powder
garlic powder
salt
oregano
yeast
olive oil
Italian seasoning
sugar
milk
honey
Optional Ingredients (for Pizza Pockets)
Parmesan cheese, optional
1/2 onion, optional
1/2 green pepper, optional
1/2 c. sliced or chopped mushrooms, optional
4 oz. pepperoni, optional
Freezer Storage Items Needed
Foil
Paper Towels (for wrapping burritos)
Plastic Wrap
15 large ziptop freezer bags
Plastic sandwich baggies (for PB&J sandwiches, if you prefer to store them individually to pull out for separate lunches.)
Something to label packages with (marker to write on bags, labels, and/or tape)
Click on the “Print This” tab at the top of the list to generate a printer-friendly list. (If you’re reading via email or a feed reader, you may need to click through to the post to print the list.)