WANT TO WORK FROM HOME? CLICK HERE FOR THE STEP-BY-STEP PLAN!
Search...
Home
About
Advertise
Contact
FAQs
Submissions
HOT Deals on Facebook
Books & Products
Free Resources
Online Deals
HOTTEST Deals
Amazon Deals
Clothing Deals
Shoe Deals
Home Deals
Kitchen Deals
Electronics Deals
Board Game Deals
Toy Deals
Lego Deals
Book Deals
Baby Deals
Photo Deals
Gift Ideas
Store Deals
Target Deals
CVS Deals
Walgreens Deals
Walmart Deals
Mobile Savings
Restaurant Savings
Coupons
Rebates
Favorite Freebies
Free Samples
Free eBooks
Free Food
Free Photo Prints
Free Magazines
Free Printables
Free Kids Activities
Free Homeschool Curriculum
Instant Win Games
In-Store Freebies
Managing Money
Earning Income
Budget Recipes
Breakfast
Lunch
Dinner
Desserts
Homemade Breads
Healthy Snacks
Freezer Cooking
Skip The Deals
Start Here
About
Submissions
Advertise
Contact
FAQ
Books & Products
Free Resources
Facebook Group
skip the deals
browse our articles
hottest deals
facebook broadcast
Skip to primary navigation
Skip to main content
Skip to primary sidebar
Skip to footer
Money Saving Mom®
Saving Families Money Since 2007
Search...
New? Start Here!
Deals
Stores
Money
Income
Recipes
Search...
Online
Deals
HOTTEST Deals
Amazon Deals
Clothing Deals
Shoe Deals
Home Deals
Kitchen Deals
Electronics Deals
Board Game Deals
Toy Deals
Lego Deals
Book Deals
Baby Deals
Photo Deals
Gift Ideas
Store
Deals
Target Deals
CVS Deals
Walgreens Deals
Walmart Deals
Mobile
Savings
Coupons
Rebates
Restaurant Savings
Favorite
Freebies
Free Samples
Free eBooks
Free Food
Free Photo Prints
Free Magazines
Free Printables
Free Kids Activities
Free Homeschool Curriculum
Instant Win Games
In-Store Freebies
Managing
Money
Earning
Income
Budget
Recipes
Breakfast
Lunch
Dinner
Desserts
Homemade Breads
Healthy Snacks
Freezer Cooking
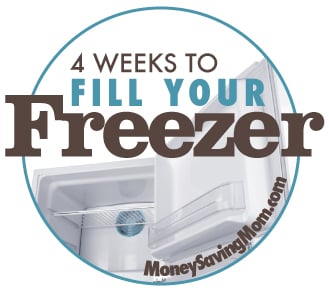
4 Weeks to Fill Your Freezer
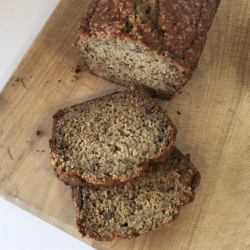
Frozen Banana Bread Recipe
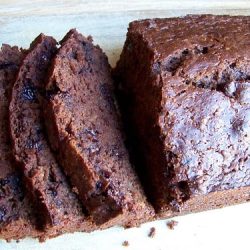
Chocolate Chocolate Chip Banana Bread
Pumpkin Chocolate Chip Muffin Recipe
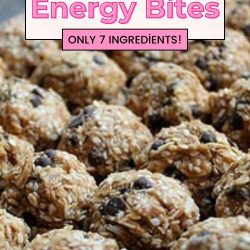
No Bake Energy Bites: 4 Weeks to Fill Your Freezer (Day 18)
Morning Glory Muffins Healthy Recipe
4 Weeks to Fill Your Freezer: Chocolate Chip Cookie Dough (Day 16)
4 Weeks to Fill Your Freezer: Italian Chicken (Day 15)
4 Weeks to Fill Your Freezer: Week #4 Freezer-Friendly Snacks & Desserts + Shopping List
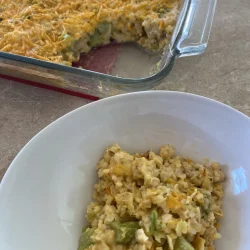
Chicken Broccoli Rice
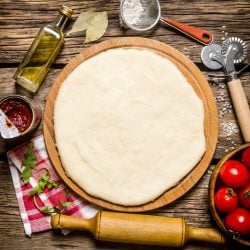
Best Frozen Pizza Dough
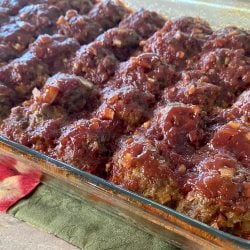
Barbecue Meatballs Recipe (Freezer-Friendly!)
4 Weeks to Fill Your Freezer: Week #3 Freezer-Friendly Dinners + Shopping List
Freezer Friendly Ham and Cheese Hot Pocket Recipe
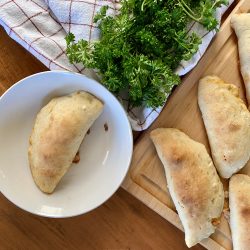
Freezer-Friendly Pizza Pockets
Brown Bag Beef and Bean Burrito Recipe
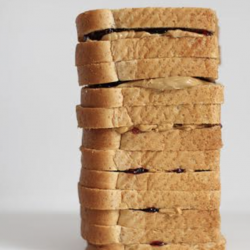
Freezer-Friendly Peanut Butter & Jelly Sandwiches
4 Weeks to Fill Your Freezer: Homemade Baking Mix (Day 5)
4 Weeks to Fill Your Freezer: Week #2 Freezer-Friendly Lunch Recipes + Shopping List
Page
1
Page
2
Go to
Next Page »