

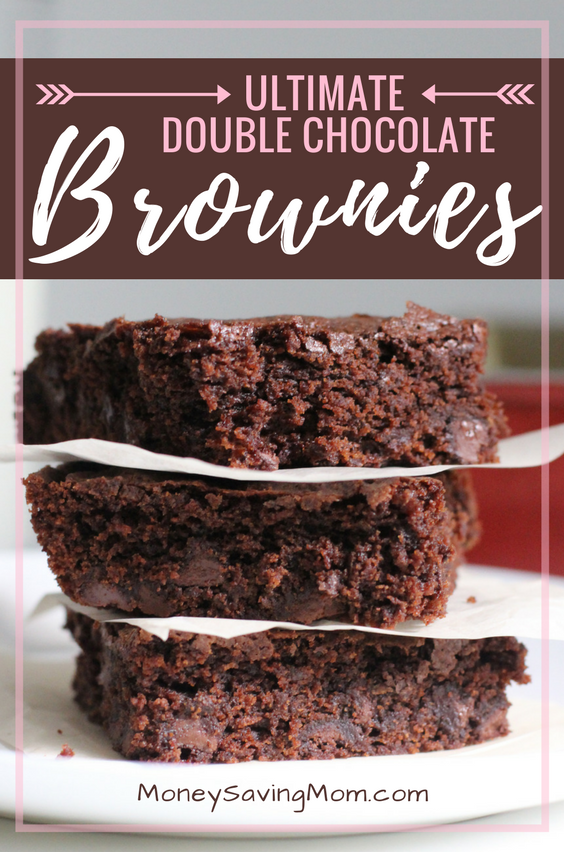
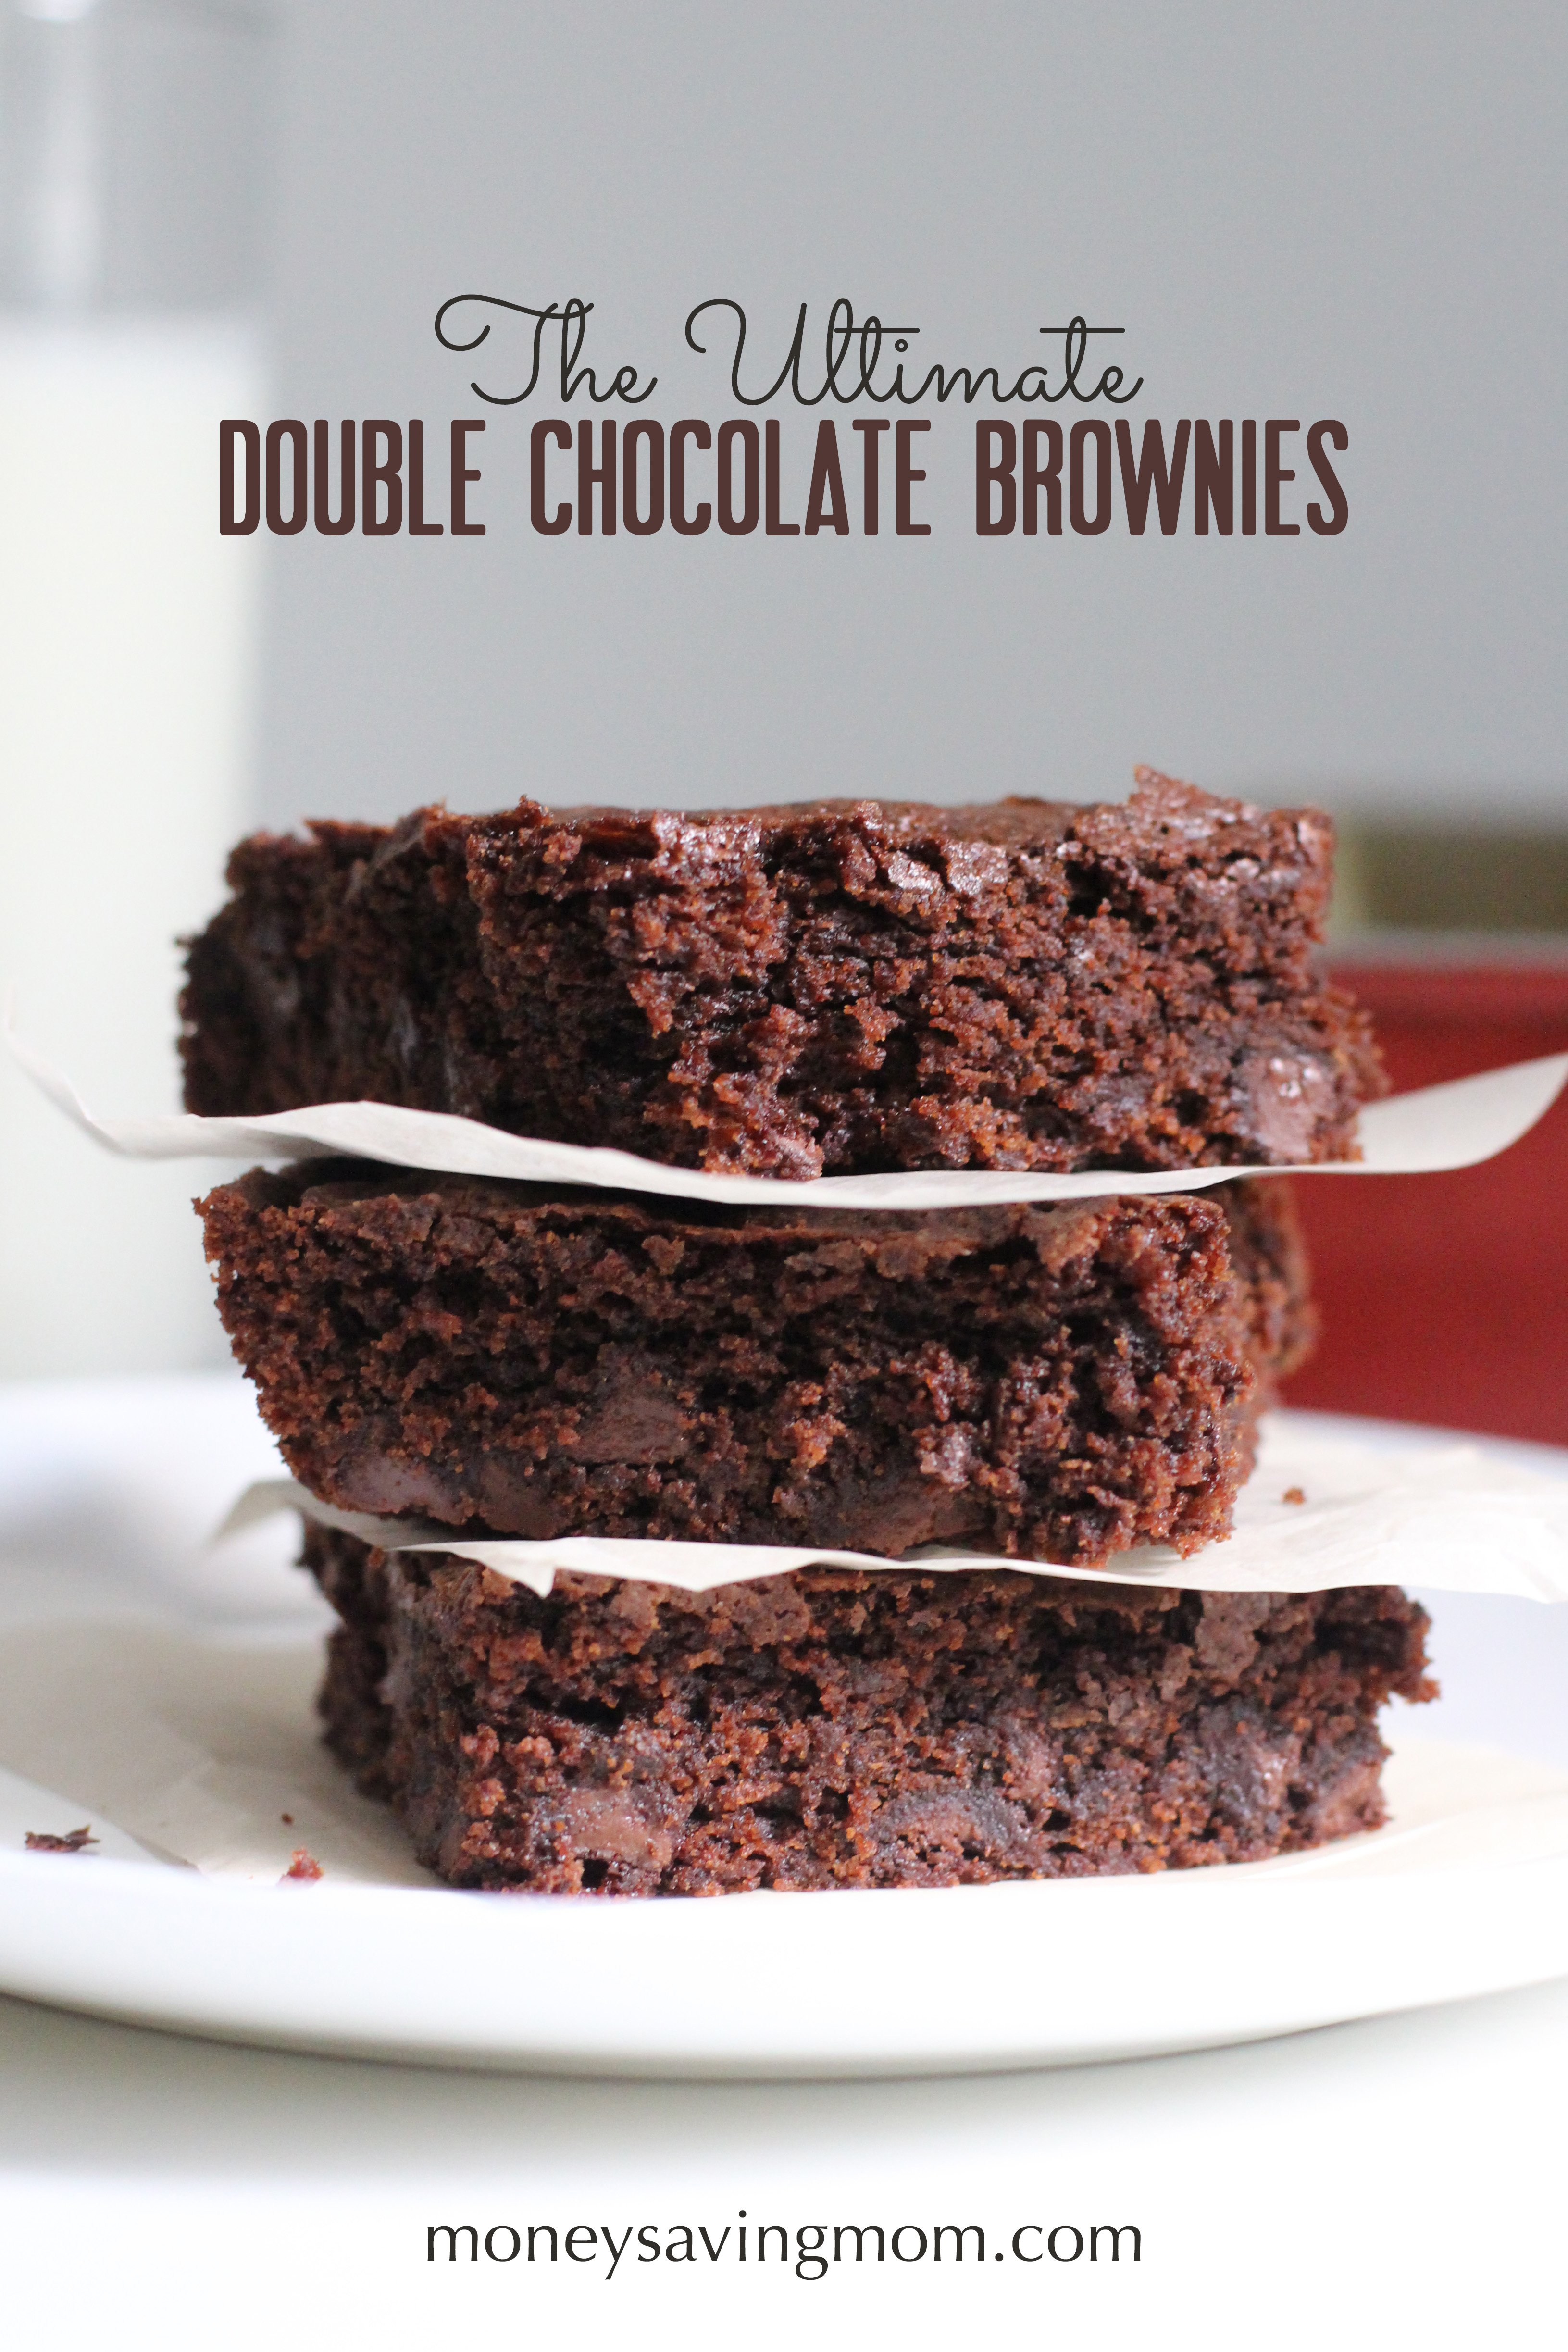
What’s better than chocolate brownies? How about the ultimate DOUBLE chocolate brownies! With both cocoa powder and chocolate chips, these decadent brownies are not only delicious, but also extremely easy to whip up with just a few basic ingredients you most likely have in the pantry.
Guest post from Brigette Shevy.
These are THE brownies Crystal and I grew up on.
Our family first discovered this recipe in a Taste of Home magazine, and it instantly became a favorite.
I can’t tell you how many times we’ve made these addictive, chocolatey gems over the years – definitely more times than I can count!
My mom often served them with ice cream when we had company over, and they were always a hit with adults and children alike (because who doesn’t like homemade brownies?!)
Why this is the Best Double Chocolate Brownie Recipe!
These brownies are a must for every serious chocolate lover!
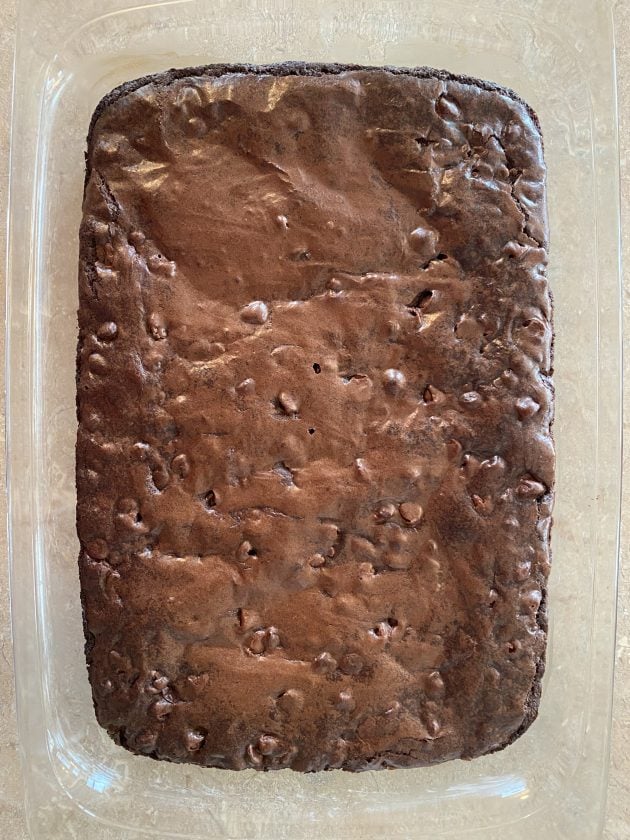
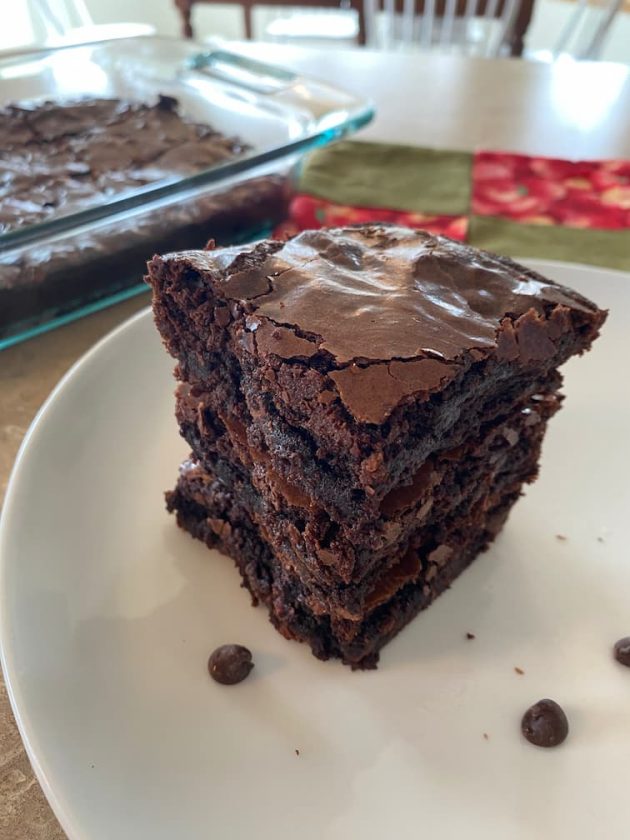
Not only do they taste amazingly delicious, but they also magically bake up with a crinkly chewy crust, and rich fudgy insides (which is exactly the way I like my brownies!)
They are so easy to make, and they are basically foolproof — I don’t ever remember them not turning out.
Oh, and they freeze wonderfully too — so feel free to make a double batch!
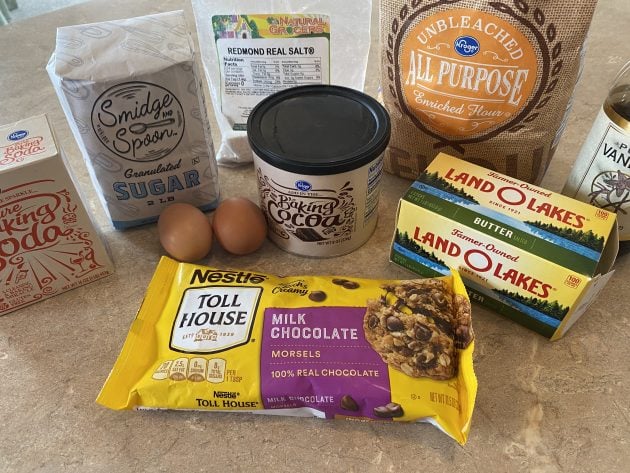
Double Chocolate Chip Brownies Ingredients
- ¾ cup unsweetened cocoa powder
- ½ teaspoon baking soda
- 2/3 cup melted butter, divided
- ½ cup boiling water
- 2 cups granulated sugar
- 2 eggs
- 1 1/3 cups flour
- 1 teaspoon vanilla extract
- ¼ teaspoon salt
- ½ cup chopped pecans (optional)
- 12 oz. chocolate chips or chopped chocolate*
*Note: If you prefer your brownies not quite as sweet, you can always scale back on the number of chocolate chips.
How to Make Ultimate Chocolate Brownies
- Grease a 9″x13″ baking pan and set aside.
- Preheat the oven to 350ºF.
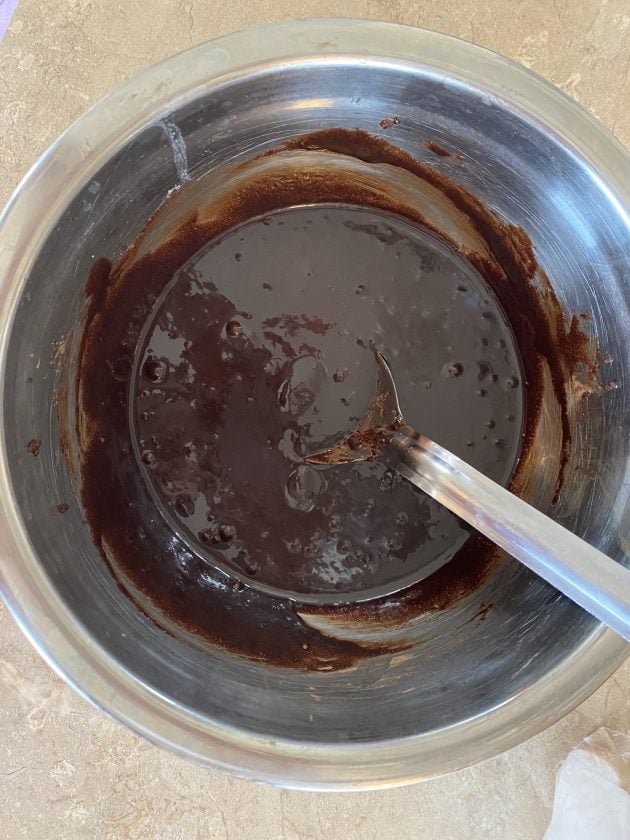
- In a large bowl, combine cocoa and baking soda.
- Whisk in 1/3 cup melted butter and boiling water. Stir until well blended.
- Stir in sugar, eggs, and remaining 1/3 cup melted butter.
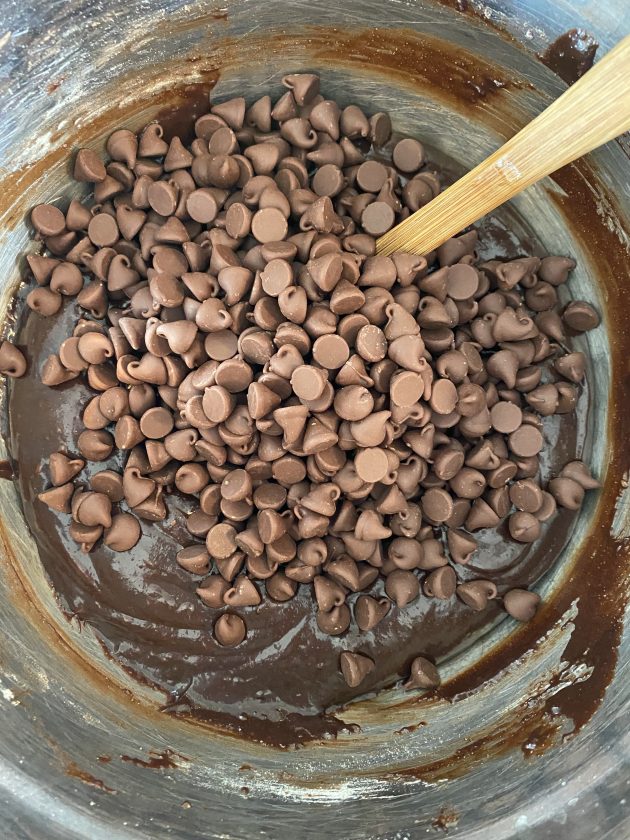
- Add flour, vanilla, and salt.
- Stir in nuts (if using) and chocolate chips.
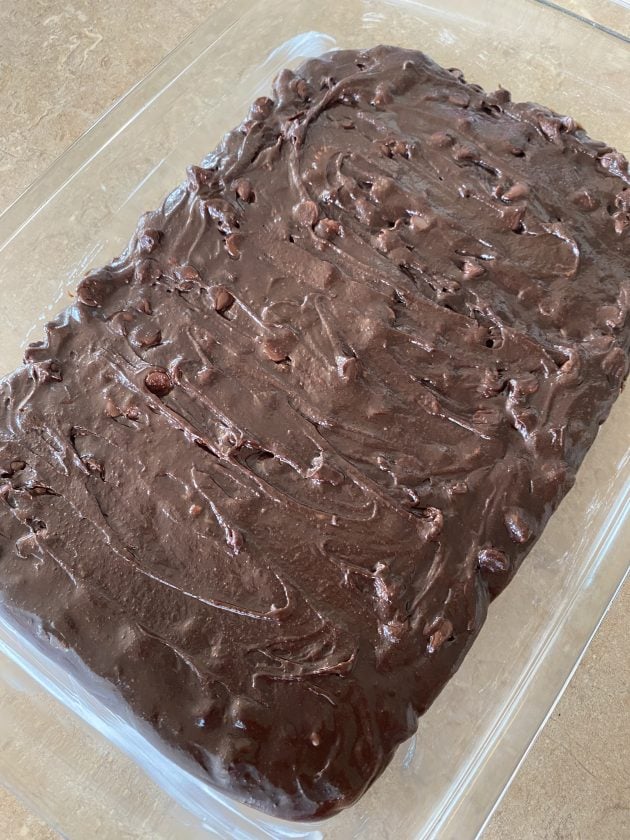
- Pour mixture into a greased pan and bake in preheated oven for 35-40 minutes.
Double Chocolate Brownie Serving Suggestions
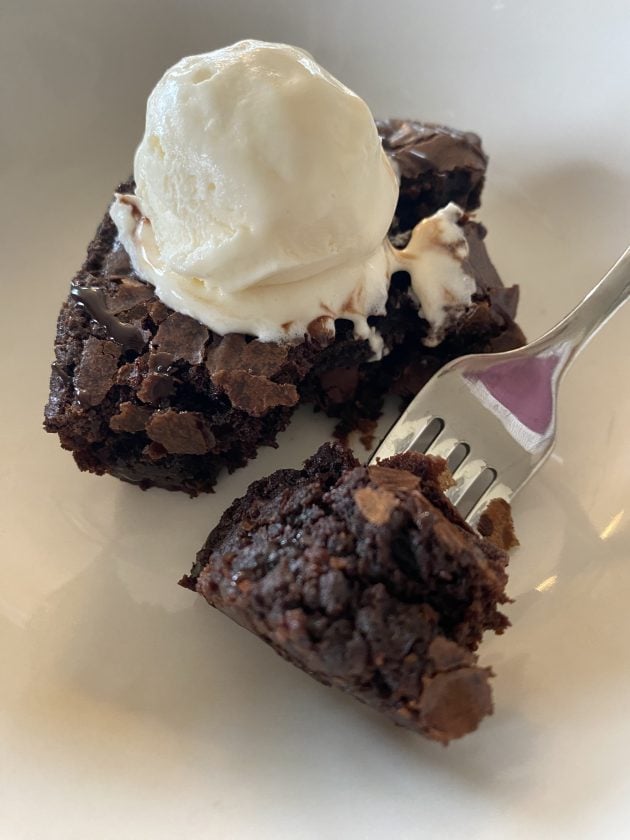
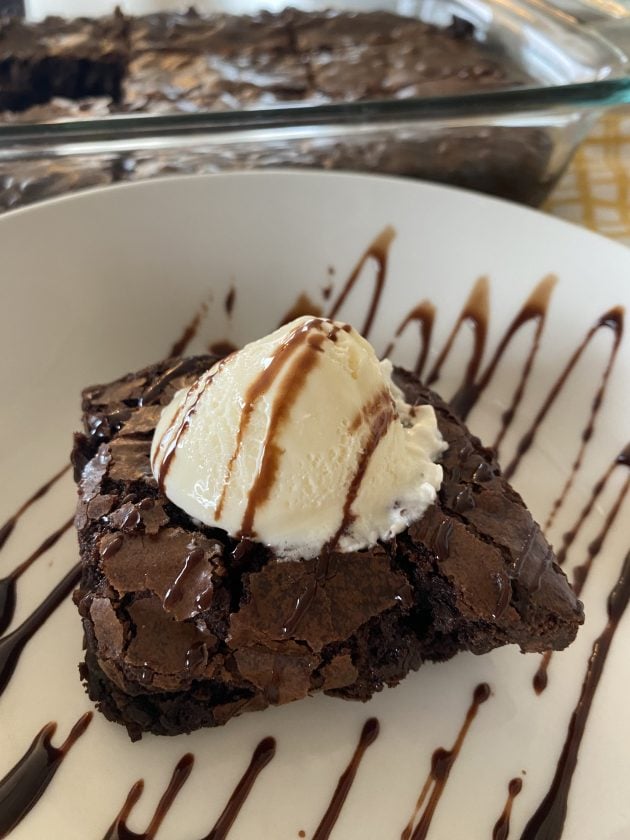
Double chocolate brownies don’t get much better than when served warm from the oven… maybe with a little vanilla ice cream and whipped cream!
You could also create a brownie sundae (with ice cream and all your favorite toppings).
Let the brownies cool a bit more and add your favorite berries, or even a berry jam drizzled over the top.
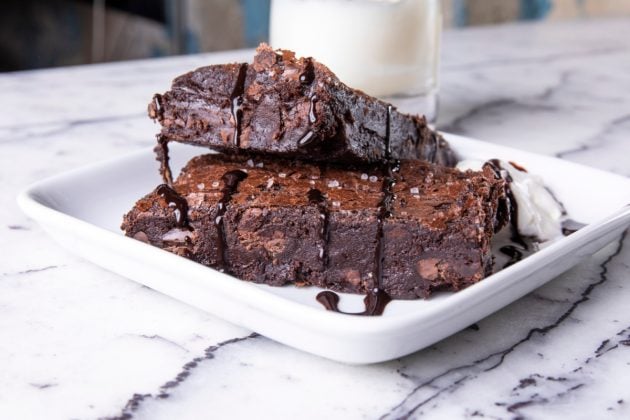
Caramel is always a great pairing with chocolate, and a little drizzle goes a long way — with a sprinkle of sea salt to boost the flavor.
You can also mix up the flavor by adding different nuts or substituting different flavors of chocolate chips or your favorite chopped chocolate bars.
How to Store Double Chocolate Brownies
Let the brownies cool completely, then store them in a tightly covered container at room temperature.
You can pop the brownies into the fridge to cool them faster (if you want more of a fudge texture) but don’t store them long-term in the fridge as that could dry them out quickly.
They are best if eaten within 48 hours, however, you can also freeze them for later (either the full pan or cut into bars). Freeze individual bars in freezer bags or food storage containers.

Double Chocolate Brownies Recipe FAQ
Fudgy brownies have a higher fat-to-flour ratio than cakey ones. So, to get fudgier brownies, you’ll need to add more fat (oil, butter, milk, chocolate, etc.)
Cakey brownies have more flour and rely on baking powder for leavening (fudgy brownies usually won’t have baking powder).
The amount of sugar and eggs does not change whether you’re going fudgy or cakey.
There are many factors that will help you achieve a moist and delicious brownie — using less flour will create a denser, more moist brownie, making sure not to overmix the batter, baking it at the correct temperature for the specified time (test with a toothpick a few minutes early), and letting the brownies cool before cutting them are a few things you can try.
Since milk contains more fat and flavor than water, brownies made will milk are even more moist, gooey, and delicious. Chocolate milk or your favorite creamer could also work!
And if you want a more intense chocolate flavor, try substituting cooled coffee in place of milk/water.
This depends a bit on your taste preferences…
Butter tends to be better for cakey brownies because it helps the batter rise, while oil will create a denser, more fudgy brownie, but if you prefer the flavor of butter or a certain type of oil (coconut oil is great with chocolate!), both offer similar results.
The chocolate chips will become liquidy when baked, but if you wait to cut into the brownies until they cool a bit, the chocolate chips will eventually firm up again.
If your chocolate chips sink to the bottom of your batter and melt to the bottom of the pan, you can try using a little more flour to thicken your batter, or wait to add the chocolate chips until after you pour the batter into the pan (sprinkle them over top).
More Dessert Recipes You’ll Love
- Peppermint Fudge Brownies
- Better Than Mounds Bars
- Healthy Homemade Protein Bars
- Flourless Chocolate Cake
- Chocolate Raspberry Cheesecake Pie
- Oreo Ice Cream Cake
- Chocolate Chip Cookies
- Chocolate Oatmeal No-Bake Bars
- Angel Face Cookies
- 7-Layer Pumpkin Magic Bars
- Easy Chocolate Torte
- Oreo Pie
Double Chocolate Brownies
Ingredients
- ¾ cup unsweetened cocoa powder
- ½ tsp baking soda
- ⅔ cup melted butter, divided
- ½ cup boiling water
- 2 cups granulated sugar
- 2 eggs
- 1 ⅓ cup flour
- 1 tsp vanilla extract
- ¼ tsp salt
- ½ cup chopped pecans (optional)
- 12 oz. chocolate chips or chopped chocolate
Instructions
- Grease a 9″x13″ baking pan and set aside.
- Preheat the oven to 350 °F
- In a large bowl, combine cocoa and baking soda.
- Whisk in 1/3 cup melted butter and boiling water.
- Stir until well blended.
- Stir in sugar, eggs, and remaining 1/3 cup melted butter.
- Add flour, vanilla, and salt.
- Stir in nuts (if using) and chocolate chips.
- Pour mixture into a greased pan and bake in preheated oven for 35-40 minutes.
Notes
Love this recipe?
Make sure to share and save it on your favorite platform below!

Brigette is a full-time wife and mother who is blessed with three amazing bundles of energy (ages 6, 4, and 2). She enjoys music, experimenting in the kitchen, homeschooling her children, finding great deals, long-distance running, and anything chocolate.
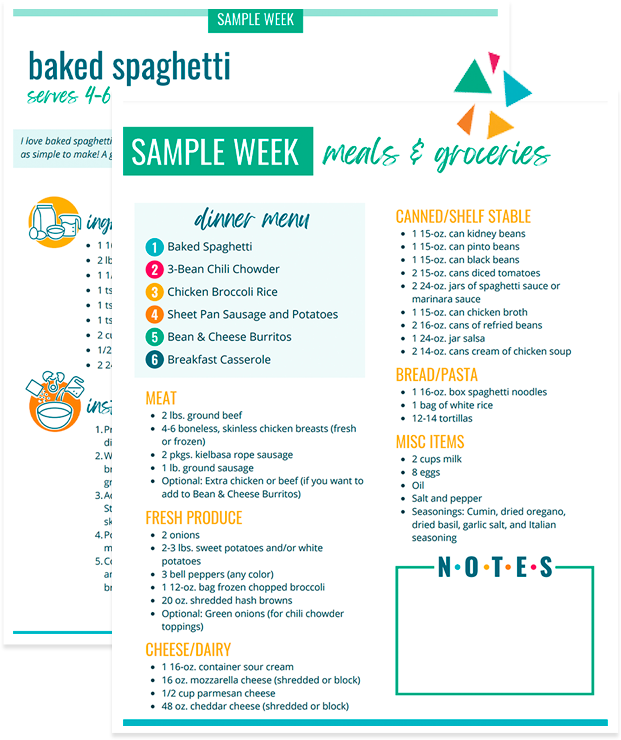
FREE One Week Menu Plan!
Done-For-You Dinner Recipes With Simple Ingredients and a Grocery Shopping List!
Practice: The Best Way to Overcome Fear
I was sitting at Kaitlynn’s gymnastics lesson earlier this week listening to her instructor challenge her over and over again to push herself beyond what she felt she was capable of. He was making her do the same exercise repeatedly, encouraging her to keep at it until she got it right.
“Keep doing it. You can do it. Try again. Almost, but I know you can do better.”
And on and on it went.
Truthfully, as her mom, there was a part of me that wanted to come in and rescue her. Her coach is patient and encouraging but he won’t settle for anything less Kaitlynn’s best.
Even though I sometimes get a little impatient when he pushes her so hard, I know it’s for her own good. In fact, she’s excelling and maturing in amazing ways in many areas in her life thanks to the persistence she’s learning in gymnastics.
As I was watching, her coach said something to Kaitlynn that I thought was incredibly profound: “You get over fear by practicing.”
This is true in gymnastics and all of life.
Instead of saying, “I’m not good at handling money.” Go practice.
Instead of telling yourself, “I’ll never be able to get on a budget.” Go practice.
Instead of believing, “I’m not smart enough to start a business.” Go practice.
Stop making excuses for what you don’t know how to do or aren’t good at and start forcing yourself to go out there and try, try again. Practice might not make perfect, but it will certainly get you farther than sitting on the sidelines ever will!

My Aldi Shopping Trip This Week: Spent $27.98
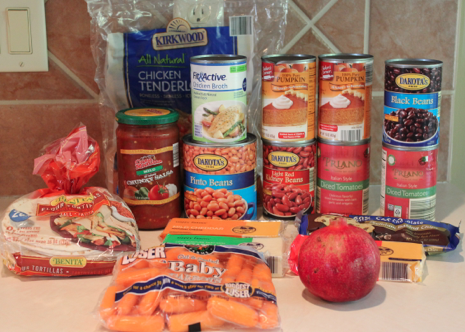
I stopped in for a quick trip to Aldi yesterday and here’s what I got:
1 can pinto beans — $1.19
2 cans of pumpkin — $0.89 each
1 can of chicken broth — $0.69
1 pomegranate — $0.49
1 bag of baby carrots — $0.99
3 blocks of cheese — $1.79 each
1 bag of apples (not pictured — I forgot about them when I took the picture!) — $1.88
1 bag tortillas — $1.69
1 jar salsa — $1.69
2 cans of tomatoes –$0.59 each
1 can kidney beans — $0.59
1 bag dark chocolate chips — $1.69 (I was excited to find these!)
1 can black beans — $0.59
1 bag of frozen chicken breast — $6.29Total with tax: $27.98
Swagbucks Paid For Flights to Visit Family

Today’s Swagbucks success story is from Emily:
I am so thankful that a friend referred me to Swagbucks my freshmen year of college. I have been using it ever since and have been saving them for a few years now to be able to use them when I really needed them.
When I was a junior in college, my father got a promotion and my family (mom, dad, and three younger sisters) had to move from Indianapolis, IN, only an hour from me, to Tampa, FL! This was a difficult time as it was quite the adjustment to go from seeing my family at least once a month to only seeing them a few times a year.
It was even more difficult because I didn’t have a reliable enough car to make the drive down to visit, so we had to buy plane tickets whenever I wanted to spend time with my family. Being a college student, and now a graduate student, that can be very hard on the budget!
My family is extremely important to me, so I knew I had to do something to be able to go and visit them without placing as much of a financial burden on myself or my parents. That is where Swagbucks came into the picture!
I completed activities and polls daily, as well as watched videos and completed surveys to be able to earn more Swagbucks. I also let all of my friends know about Swagbucks and how easy and fun it was to use so I could earn referral Swagbucks as well!
I finally was able to save enough up to be able to purchase a Southwest Airlines gift card and found the perfect (least expensive!) flight I could find — and since Southwest doesn’t charge for bags, I was able to save money there too!
I was very blessed to be able to enjoy time with my sisters and parents last summer. We were even able to get a family portrait taken, which we hadn’t done in a long time!
I am excited to report that this worked out so well last summer that I have been saving up Swagbucks and will be flying to visit them again here in a few weeks!
Emily: Can you email me so I can send you your $50 Amazon gift card as a thank you for submitting your story? Thanks so much!
Video: What I’ve Learned So Far About Writing and Book-Publishing
Video: What I’ve Learned So Far About Writing and Book-Publishing

In the past few years, I’ve learned a lot about book publishing. Mostly, I’ve learned a lot of things NOT to do. (It seems I rarely ever learn anything the easy way. I have to make big mistakes instead. Sigh.)
If you’re interested in publishing a book, you’ll want to check out this video interview I did recently with my friend, Bryan Allain. In it, I share:
+ Why I’ve loved traditional publishing
+ What major mistakes I made in writing my first book
+ Why I surround myself with solid writing from different genres
+ How I analyze every book I read
+ How my publisher had me define the audience for my next book — and how helpful it was
+ Why I almost never write in coffee shops
+ What my ideal writing conditions are and how I’ve set up my office to be conducive to that
And a bit of my goofy, scatter-brained personality comes through in the video, too. 🙂
Psst! As mentioned in the video, my new book, Say Goodbye to Survival Mode, comes out in January 2014. I can’t wait to tell you more about it soon. In the mean time, you can read more about it or pre-order a copy here.
Less Paper Clutter, More Filing
During the month of October, I’m following along with Edie & Ruth on their 31 Days of Less & More journey. I’d love for you to join in by reading the posts and completing the projects, or just sit back and read along each day.
Less Paper Clutter
As you well know, I kind of despise clutter. Or, probably more accurately: I can’t stand clutter. And it’s no different when it comes to paper clutter. Here are some things that we’ve found to be helpful:
Adopt the No-Pile Rule — Except for my husband’s dresser, we try to strictly adhere to a no-pile rule. I’ve found that a small pile quickly grows—without any effort. If you don’t start a pile in the first place, you can avoid a lot of disorganization.
In the Door, In Its Place — Instead of collecting piles of paper around the house until you have time to deal with them, take care of them immediately. When mail or other papers come into our home, I go through them right then and there and throw out everything that we don’t have to keep. Then I put each item in its specific place. For instance, bills go on my husband’s dresser, magazines go in a basket in my office, freebies go in the household product stockpile closet, coupons in my coupon box, and junk mail in the trash.
Avoid clutter-collecting furniture — We don’t own furniture that tends to be obvious clutter hotspots. I’ve found that when there’s no place to collect piles, you are much less apt to make them.
Set up a special memorabilia storage space — I have two big storage containers with lids that I’ve designated specifically for storing mementos. Not only does this provide a place to put special cards or pictures that come in the mail, but it also keeps everything in one place and not overflowing into other parts of the house. When the bins start to get full, we go through them and pare things down a bit so that we can have more space.
 Though not exactly paper clutter, emails are something that are taking over many people’s lives. Need some help taming the email monster? Read my post on How I Keep My Inbox to Fewer Than 5 Emails.
More Filing
I have to tell you, I’m more a fan of trashing than filing. But I’d rather have a file than a pile. So here are some of the things that have helped me keep on top of paper clutter:
Create a Simple System — A system is only as good as it’s operator. Don’t over-complicate your filing system. Even just a few files in a file box can work. For more details on setting up a system for your important documents, check out the five-part series we ran last year on Organizing Your Important Documents.
When In Doubt, Throw It Out — Okay, so some people might disagree with me on this, but I think there is no reason to hang onto something “just in case.” Give yourself permission to just chuck it without guilt.
Use a Scanner — If you think you might need it later, scan the document and save it in a file so you’ll have it if you need it later. You can download an app for this or get a cheap scanner.
For more on this topic, check out Ruth’s post on Less Paper Clutter and Edie’s post on More Filing. I promise you’ll be inspired and blessed!
Gretchen’s $45 Shopping Trip and Weekly Menu Plan
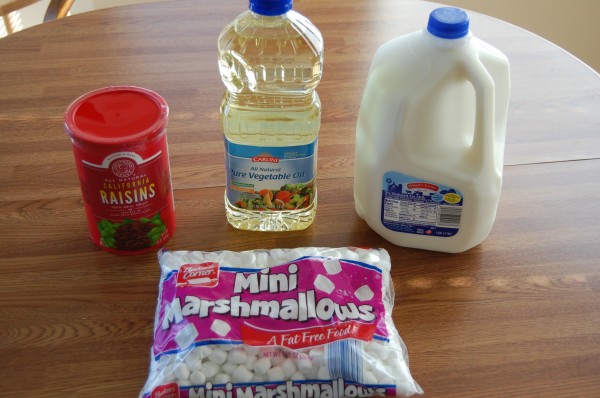
Aldi
1 Mini Marshmallows – $0.89
1 Vegetable Oil – $2.39
1 gallon Milk – $1.99
1 Raisins – $2.79
Total with tax ($0.58): $8.64
Dillons
2 Tyson Frozen Chicken Breasts (3 lb bags) – $5.07 each
3 Mars Fun Size Candy – $1.98 each, used $2/3 printable – $1.31 each after coupon
2 Snickers Peanut Butter Minis – $1.98 each, used 2 $1/1 printable – $0.98 each after coupon
2 Corn Nuts – $1 each, used 2 $0.75/1 printable – $0.25 each after coupon
1 Matzos Crackers – Marked down to $0.99
1 Kroger Unbleached Flour – $1.64
1 Honey Nut Chex – $2.50
1 Kroger Ice Cream – $2.50
2 canned Green Beans – $0.69 each
1 Fruit Water – $1, used Free e-coupon (no longer available) – Free after coupon
1 Kroger Black Beans – $0.67
1 Kroger Chocolate Chips – $1.59
2.28 lbs Bananas (Marked down to $0.35/lb) – $0.80
1 Romaine Lettuce – $0.99
0.75 lbs Broccoli @ 0.99/lb – $0.74
1 Cucumber – $0.75
1 Raspberries – $0.99
1 Suave Conditioner – $1.49, used $1.50/1 coupon from the 9/29 RedPlum insert – Free after coupon
4 Clif Bars – $0.69 each, used $1/4 coupon from the Summer 2013 Mambo Sprouts savings booklet – $0.44 after coupon
Used $2 catalina from last shopping trip
Total before coupons, sales and catalina: $71.07
Total with tax ($3.06) after coupons, sales and catalina: $35.90

Total for all grocery items: $44.54
Menu Plan for this Week
Breakfasts
Smoothies, Banana Muffins, Cereal, Oatmeal, Toast
Lunches
Tossed Salad, Cheese Quesadillas, Peanut Butter and Jelly Sandwiches, Leftovers, Cheese and Crackers
Dinners
Spaghetti, Green Beans, Tossed Salad
Baked Potato Bar, Sliced Oranges
Hamburger Vegetable Soup, 30 Minute Rolls
Chicken Rice Casserole, Steamed Broccoli, Sliced Apples
Southwestern Burritos, Cornbread, Green Beans
Pancakes, Eggs, Fruit Salad
Dinner with family
Gretchen’s Target Shopping Trip: $25.53 worth of products for $11.65 out of pocket
Gretchen’s Target Shopping Trip: $25.53 worth of products for $11.65 out of pocket
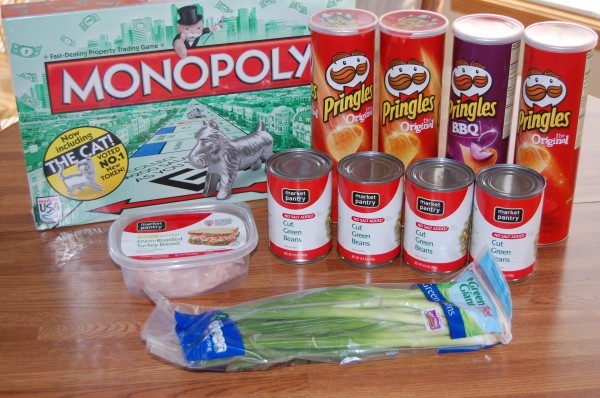
Target Shopping Trip
1 Market Pantry Lunchmeat – $2, used $1/$2 Target Mobile coupon (Text FRESH to 827438) – $1 after coupon
1 Green Onions – $1.29 – used $1/1 Target Mobile coupon (Text FRESH to 827438) – $0.29 after coupon
4 Market Pantry Canned Green Beans – $0.64 each, used 2 $0.75/2 Target printable – $0.26 each after coupons
4 Pringles @ $1.49 each – On Sale Buy 3 Get 1 Free, used $1/4 coupon from the 9/8 RedPlum insert – $0.87 each after coupon
1 Monopoly Game – $7.79, used $3/1 printable – $4.79 after coupon (I was so excited about this! We love to play board games but I hate paying full price for them so we hardly have any board games at our house. Now Monopoly has been added to our very small collection.) 🙂
Total before coupons and sales: $25.53
Total with tax ($1.04) after coupons and sales: $11.65
Ask The Readers: How can we save on prescriptions when we don’t have insurance?
Ask The Readers: How can we save on prescriptions when we don’t have insurance?
 Today’s question is from Julia:
My husband just changed jobs and we found out the hard way that our new insurance has little to no prescription coverage. So I’m wondering, how do you save on monthly prescriptions without insurance? -Julia
Do you have a question you’d like to ask Money Saving Mom® readers? Read the submission guidelines and submit it here.
Gretchen’s Walgreens Shopping Trip: $14.97 worth of products for $2.85 out of pocket
Gretchen’s Walgreens Shopping Trip: $14.97 worth of products for $2.85 out of pocket
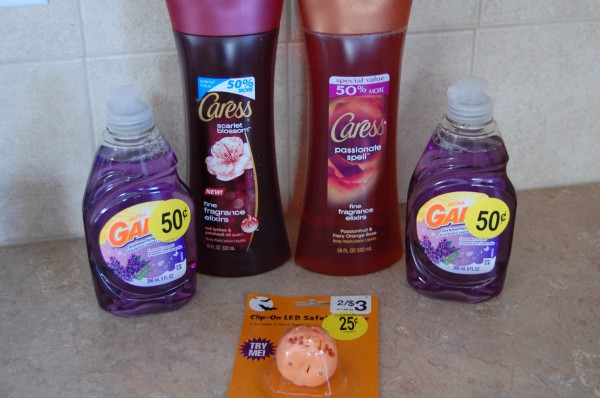
Walgreens Shopping Trip
2 Caress Body Wash at $4.99 – On Sale Buy One Get One 50% off
Used 2 $2/1 coupon from the 10/13 RedPlum insert2 Gain Dish Detergent – Marked down to $0.50 each
Used 2 $0.25/1 coupon from the 9/15 RedPlum insert1 LED Pumpkin Key Chain – Marked down to $0.25 (filler item)
Used $2 Register Rewards from last shopping trip
Total before coupons, sales and Register Rewards: $14.97
Total with tax ($0.62) after coupons, sales and Register Rewards: $2.85 AND received 2,000 Balance Reward points (for buying 2 Caress) – like $2
See the full list of deals at Walgreens this week here.
OVER-SPENDING EVERY SINGLE MONTH?Grab these FREE Budgeting Sheets!
Click here to download!
52 Different Ways to Save $100 Per Year: Turn Your Clutter Into Cash {Week 34}
52 Different Ways to Save $100 Per Year: Turn Your Clutter Into Cash {Week 34}

Every week in 2013, I’ll be sharing a different way you can save $100 this year. If you do all of these things, you’ll be able to save over $5,000 this year alone! Many of these things will likely be things you’re already doing, but hopefully all of you will pick up at least a few new ideas or some inspiration from this series.
This isn’t exactly a post on how to save $100, but it’s certainly a way to clear out some clutter and make $100 (or more) in cash fairly quickly!
Clear Out the Clutter
No matter how hard I try to keep clutter at bay, it constantly seems to be creeping and seeping into our home when I’m not looking. And that’s why I have to regularly go through our home and clear out the clutter — lest it take over!
Here are five questions I always ask when I’m clearing out clutter:
Do I Need This Item?
Need is the keyword here. If you could live without the item, than you likely don’t.
I’m not saying you can only have two outfits and one pair of shoes, but the exercise of objectively considering how much of the stuff you have is something you need for survival can help change your perspective on your stuff.
Do I Regularly Use This Item?
If you only use something once every six months, get rid of it. Christmas decorations are exempt, but if you have a food dehydrator lurking in a basement corner that you’ve only used once in the last ten years, you either need to pull it out and start using it or find a better home for it — preferably someone else’s home.
Do I Like This Item?
Sometimes, it is easy to keep clutter just because we always have. It becomes a part of our home without us ever examining whether it is a useful part or something we like and use. If it’s doing nothing for you and you don’t even like it in the first place, pitch it!
Is This Item Taking Up Space I Don’t Have?
Many people feel like they need a bigger home or apartment for all their stuff, but most people just need less stuff. When my husband and I first got married, we spent the first six months living in a one-bedroom apartment with one closet.
Where would we put the vacuum, or the suitcase? We made use of all our available room, from under the bed to under the bathroom sink, and learned an invaluable lesson: the less space you have, the less stuff you need.
Could I Bless Someone Else With This Item?
One of my favorite ways to “dispose” of items I no longer love, need or use is to share them with someone who will! Not only do I get the item off my hands, but I bless someone else in the process — and likely save them money, too!
Now, I am not advocating that you go dump of ten bags of junk on your friend’s doorstep, but if you know your friend could use some diapers and you have half a box that your son outgrew, stop letting them take up space in the nursery and ask your friend if she’d like them!
Need some inspiration for more clutter-free living? Read How I Keep My Kitchen Countertops Cleaned Off.
Turn Your Clutter Into Cash
Once you’ve cleared out the clutter, it’s time to turn that clutter into cash. Here are three ways to do that?
List It On Craigslist
If you live in a large metropolis, your local Craigslist is likely hopping with potential buyers. Take good pictures, use descriptive words, only include your email address (there are weirdos on the internet; no need to give them your home phone number!) and list your item reasonably.
Chances are, finding a buyer will be fairly simple. Best of all? If the item doesn’t sell, you’re out nothing but time and effort.
Craigslist is a great place to sell almost anything, but I’d especially recommend using it for selling exercise equipment, appliances and baby items.
Sell It On eBay
eBay may be a great option, but as it is so well-known, the market is often saturated. Before listing any items on eBay, do a search to see if an item you are considering selling on eBay is actually selling. If there are dozens of listings of your item and very few bids, you’re probably going to do much better selling your item elsewhere.
I personally have had success with selling items as “lots” as opposed to individually. This is a quick way to get rid of a lot of items at once. It will save you the time and energy of taking pictures and listing each thing separately and you’ll likely get more bidders. Make sure that you do have a few items in the lot that are hot sellers, use descriptive keywords in your title and listing, and take at least one or two high-quality pictures.

Consign It
Consignment stores normally specialize in selling name brand used clothing. Children’s consignment stores also sell baby items, maternity clothes, toys and more.
There are at least one or two (or more!) available in most areas. All consignment stores have their own rules and guidelines, but most have you bring your unwanted clothes to them and they’ll either pay you upfront in cash or store credit. Or, they’ll display the items in their store and then pay you a percentage of the profit if it sells.
Depending upon what items you have, what condition they are in and what brands they are, this could be an excellent opportunity for you. I’d recommend calling around to local consignment stores to see what their rules and guidelines for accepting items are and how much they pay.
What are your best tips for turning your clutter into cash?
Gretchen’s CVS Shopping Trip + a Beginner CVS Shopping Scenario
Gretchen’s CVS Shopping Trip + a Beginner CVS Shopping Scenario
CVS Shopping Trip
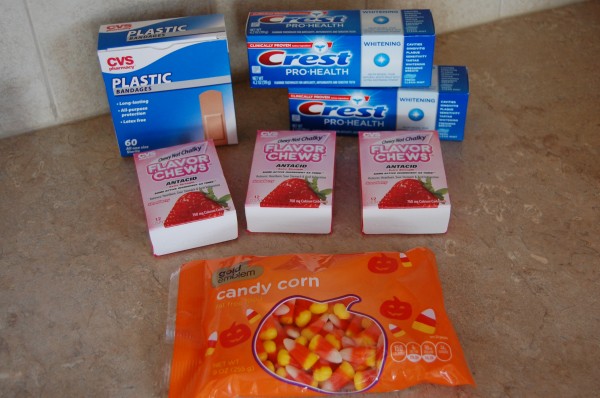
2 Crest Pro-Health Toothpaste – $2.99
Used $1.50/2 coupon from recent mailer (There is also a $0.50/1 coupon from the 9/30 P&G insert.)3 CVS Flavor Chews – $0.99 each
1 CVS Bandages (60 ct) – $1.67 (I cut my finger this week and we didn’t have any band-aids in our house!)
1 Candy Corn – $0.99
Used $10 ECBs from previous shopping trip
Total before coupons, sales and ECBs: $17.32
Total with tax ($0.83) after coupons, sales and ECBs: $0.94, AND received $2.97 ECBs (for buying 3 Flavor Chews) and $4 ECBs (for buying 2 Crest toothpastes)
If you do not have any ECBs but want to copy the ECB deals in this shopping trip, you can break it into 3 transactions and spend a lot less out of pocket. Here’s an example of how it would work:
Transaction #1
Buy 1 Crest Pro-Health Toothpaste – $2.99
Use $0.50/1 coupon from the 9/30 P&G insert
Pay $2.49 plus tax out of pocket, Get $2 ECBs
Transaction #2
Buy 1 Crest Pro-Health Toothpaste – $2.99
Use $0.50/1 coupon from the 9/30 P&G insert
And use $2 ECBs from transaction #1
Pay $0.49 plus tax out of pocket, Get $2 ECBs
Transaction #3
Buy 3 CVS Flavor Chews – $0.99 each
Use $2 ECBs from transaction #2
Pay $0.97 out of pocket, Get $2.97 ECBs
So you would pay $3.95 plus tax out of pocket and have $2.97 ECBs to use next time.
How I’ve Saved Over $300 This Year Using Freecycle
Lara from Mrs. Waste Not emailed in the following tip:
On my blog, I frequently share about my Freecycle findings because I probably end up finding an item I really need or want about once a month — all for free. It occurred to me that it would be great to step back and tally up how much this awesome network has saved me this year and so I did!
Since I know a lot of you are frugal like me, the prices I use in my examples below are what I would pay if I purchased the items second hand. I have noted if it is a retail price, just because it means it is something I do not usually find second hand.
My Freecycle Finds This Year:
Boy Clothes Round One = $21 saved
2 long sleeve shirts, 4 short sleeve shirts (all NWT), 1 pajamaGirl Clothes = $87 saved
5 dresses, 4 shorts, 6 skirts, 2 pants, 2 leggings, 2 sweaters, 5 short sleeves shirts, 2 long sleeve shirtsSewing Machine for a Child = $30 saved
My daughter has been asking for this, and I am saving it for a Christmas presentIris Bulbs = $10 saved
I used a retail price. I don’t see these often in my garage sale adventuresDresser for Son’s Room = $40 saved
Some dings on the bottom, but you cannot beat the priceBoy Clothes Round Two = $36 saved
4 long sleeve shirts, 6 short sleeve shirts, 2 pajamasTwo gallons of paint = $52 saved
One sage which I used in my living room, one beige which we plan on using in living room. These painting jobs were previously planned, it was just serendipitous that we ended up with the perfect colorsTwo summer bridge activity books for next summer = $30 saved
This is based on the price on the back of the book.Total Saved in the Last Twelve Months: $306
Now, I will stay that if you want to score deals like these, you need to stay on top of the emails. I receive an individual email for each post, rather than digest. This gives me a better chance of being the first one to respond and therefore get the item. I also check my email every 2-3 hours to be on top of deals.
I do use caution when going to a strange place to do a pickup, but a lot of people leave things on their porch so no human interaction is necessary. I also try to post something myself every couple of months, as a return of the good will.
I hope that this encourages you to sign up for your local freecycle list. If you have scored any great finds yourself, I would love to hear about them in the comments!
Mrs. Waste Not is the mom in a typical family of four, and her blog, Mrs. Waste Not, is where she document how they save money and exercise responsible stewardship of the earth. When she’s not gardening, cooking or playing with her kids, she has her nose in a book.
From a Complete Mess (with Major Stress) to Content Miss (with Room to Bless)
From a Complete Mess (with Major Stress) to Content Miss (with Room to Bless)
Note from Crystal: Thank you all for the dozens and dozens of entries you submitted for the Mvelopes Best Budgeting Story Contest. It was hard to choose from among all of the entries! Congratulations to Missy who won our hearts and the contest with her below entry. I know you’ll be blessed by it!
Guest Post from Missy who blogs at Far From Flawless
It all seemed to come to a head one July day when I received a call that my 3-month-old was on his way to the hospital in an ambulance, having what seemed to be a seizure. My husband had left the month prior, along with his paycheck and health benefits. I was working a limited 15 hours per week as a newly singled mama with three children age 0, 2 and 3 years.
Things were bad. I was concerned about my smallest prince in the ambulance ahead, but at the same time I was wondering, “Was it really necessary to call an ambulance?”
My tiny baby did have a seizure, but he recovered to be just fine (thank you, Lord) and my marriage did fail. But the tools learned in that season are priceless ones that keep working to this day.
I entered a new season of life as a single mother. I was able to increase my work hours and thereby increase my income, but still remained part time for the sake of my young children. On my limited income, I learned four keys for budgeting:
1. Eliminate All But the Necessary
The cable was cut off. The home phone gone and only a limited cell plan put in place.
We didn’t participate in extra-curricular activities (soccer, gymnastics) and I made no commitments to anything that would incur a monthly bill. None.
I even canceled trash pickup and obtained permission to take our bags to a nearby church dumpster. I was brutal in eliminating bills.
2. Maximize What You Have
We made good use of our internet service and PBS for entertainment. We purged and sold items of value.
The cash for an unused vehicle was more useful than the vehicle in storage. I adjusted my payroll withholding to make the most of each monthly check.
I paid all our bills at the first of the month: Tithe, Mortgage, Power, Water, Phone, Insurance. Then I lived on what was left. Often that meant not going places in order to save gas and stretching meals in creative ways.
3. Get Real and Get Savvy
I had to be realistic about myself in this season. I wasn’t one who could spend $40 on a manicure or a night out with the girlfriends. Instead, I learned all the “Kid’s Nights” to the local restaurants and it was a real treat for our little family of four to venture out every now and then.
I asked for help at our church with AWANA fees and accepted help at Christmastime when it was offered. This was humbling, but I recognized God taking care of us in these practical acts of kindness.
I learned that we could have fun and live well with much less than I once thought. Yes, my definition of living well shifted, but it was a relief to not compete to measure up in the ways I once thought were important.
4. Give A Little, Live A Lot
You may notice Tithe was at the top of my expense list. It wasn’t always so, but I believe it is essential to demonstrate trust with more than words and so I committed to tithing. I have never regretted that decision.
I also become aware of so much we didn’t need and donated much to our local Habitat For Humanity Rehome store. The children all learned to love sharing and passing to others the things we no longer needed.
Our gifts were small, but I hope to instill the joy of giving in my little ones. We all treasure experiences more than our stuff these days.
In order to make our life work on a small budget, I was forced to account for every dollar in the door. It became a priority for me to not only exist but to begin and saving.
As the children grew and entered into the public school system, our childcare costs ticked slowly down and I was able to expand our budget to include small vacations and a gifts fund. When we wanted to spend on something extra, I knew right away whether it would be smart.
The second great lesson was that saying “yes” to one thing always meant saying “no” to something else. Knowing my limitations forced me to be clear about my priorities and taught me deep joy and pride in making it alone.
I’m so thankful the leanest days are behind me, yet I am daily grateful for the treasures found in the hardship.
Surprised to find herself in the role of single mother, Missy was even more shocked to become a remarried stepmother in a blended family of seven! She is a hard-working optimist doing her best to enjoy life and demonstrate Christ’s faithfulness in this not-so-perfect world. She blogs in between the office shift and laundry loads at Far From Flawless.
Want to be successful in your own budgeting?
Mvelopes is offering package of FREE budgeting tools to Money Saving Mom® readers right now! This free Mvelopes budgeting package includes a free financial coaching session and personal financial analysis plus a free financial ebook Money for Life.
Sign up for this free offer here.

Do It Yourself: Homemade Maxi Skirt
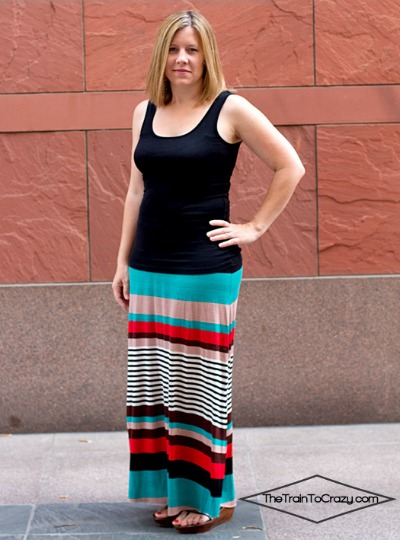
TheTrainToCrazy.com shows you how to make homemade maxi skirt.
Do you have a fun and frugal DIY idea to share? I’d love to hear about it! Read the submission guidelines and submit it here.