


Bran muffins are a quick and easy treat for breakfast or snacks. They taste amazing and your whole family will love them!

What makes these the Best Ever Bran Muffins
For starters, they are super easy to make, they don’t require a lot of steps, they are delicious, and they are packed with nutrition.

If you’ve been around here for a while, you know I love Chocolate Covered Katie. So naturally, I loved her cookbook, too!
I dog-eared a bunch of pages with recipes I wanted to try, but then my friend Stacy said her family loved the Ironman Muffin recipe… so Kaitlynn (my 10-year-old) and I gave them a try!
Kaitlynn made the first batch and we instantly fell in love!

By the way, Stacy sent me these USA Pans as a gift. Now I know why she has sung their praises over and over and over again. They are amazing!
If you’ve been looking for a good bran muffin recipe that is also really good for you, try these out!
Oh, and in typical “Crystal style”, I took the original recipe and re-did it. 😉
Bran Muffin Recipe Ingredients
- 2 cups wheat bran
- 1¼ cups milk
- ¼ cup melted coconut oil
- 2 Tbsp. molasses
- 1 egg
- 1¼ cups whole-wheat flour
- ½ cup raw sugar
- 1 Tbsp. baking powder
- ¼ tsp. salt
- ⅔ cup raisins (optional)

Bran Muffin Substitutions
If you’re dairy-free, you can substitute your favorite “milk”.
You can also swap in melted butter for the coconut oil, if that’s what you have on hand.
Maple syrup or honey could be an alternative to molasses, although it will change the flavor slightly.
Granulated sugar, or even brown sugar will work in place of the raw sugar.
And, the raisins are totally optional. You could use craisins for a different taste — or even chocolate chips!

How to Make Bran Muffins
1. Preheat oven to 400ºF.
2. In a large mixing bowl, combine bran and milk and let soak for 5-10 minutes.

3. Mix in oil, molasses, and eggs.
4. In a medium bowl, combine the dry ingredients and raisins.

5. Pour the dry ingredients into the bran mixture and stir until just combined.

6. Pour batter into 12-15 greased or lined muffin cups.

6. Bake in preheated oven for 20 minutes, or until lightly browned.
7. Allow to cool for 10 minutes and then remove from muffin tins.
How to serve Bran Muffins
Bran muffins are a perfect on-the-go breakfast option for busy mornings.
They are also an easy take-along snack as they don’t need to be refrigerated.
If you have a bit more time, serve them with eggs, sausage, and fruit for a more leisurely breakfast or brunch.

Best Bran Muffin Recipe Storage
Keep bran muffins in an air-tight food storage container at room temperature for up to 5 days.
If you want to store them for longer, we recommend freezing them in a zip-top bag.
Bran Muffins Recipe FAQs
The main difference is that bran muffins use less flour, and include bran, which is denser, and more nutritious than white flour.
While bran muffins do contain a good amount of fiber, they certainly aren’t a “low calorie” food. Bran muffins are still made with oil and sugar, just like most other muffins.
Over-mixing is the main reason why bran muffins get too tough. When you over-mix the batter, the gluten structure is too tight to expand around the gas bubbles, so the end muffin is much more dense and chewy instead of light and fluffy.

Bran Muffin
Ingredients
- 2 cups wheat bran
- 1¼ cups milk
- ¼ cup melted coconut oil
- 2 Tbsp. molasses
- 1 egg
- 1¼ cups whole-wheat flour
- ½ cup raw sugar
- 1 Tbsp. baking powder
- ¼ tsp. salt
- ⅔ cup raisins optional
Instructions
- Preheat oven to 400ºF.
- In a large mixing bowl, combine bran and milk and let soak for 5-10 minutes.
- Mix in oil, molasses, and eggs.
- In a medium bowl, combine the dry ingredients and raisins.
- Pour the dry ingredients into the bran mixture and stir until just combined.
- Pour batter into 12-15 greased or lined muffin cups.
- Bake in preheated oven for 20 minutes, or until lightly browned.
- Allow to cool for 10 minutes and then remove from muffin tins.
Notes
Nutrition
Love this recipe?
Make sure to share and save it on your favorite platform below!

Looking for more muffin recipes? Check out my post on My Top 7 Favorite Freezer-Friendly Muffin Recipes.
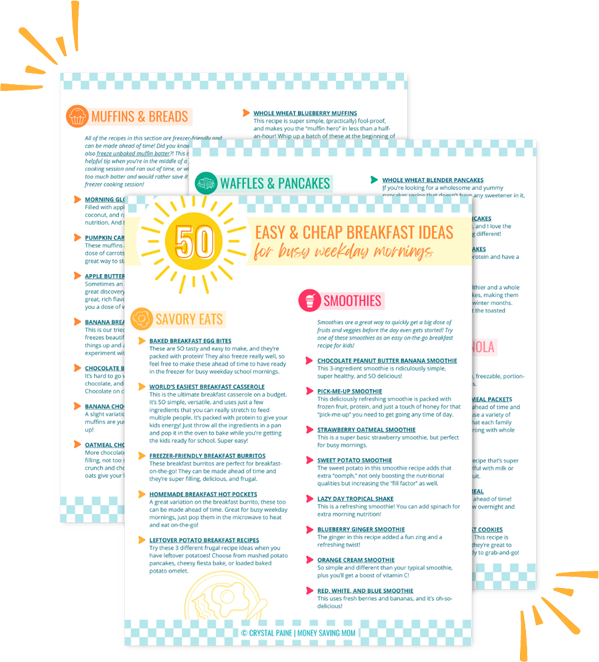
FREE 50+ Easy and Cheap Breakfast Ideas!!
Mornings just got so much easier with this FREE list of 50+ Easy & Cheap Breakfast Ideas for Busy Weekday Mornings!

12 Ways to Save Money at the Zoo
Guest post from Brigitte of BrigitteBrulz.com
Zoos can be fun and educational family outings, but if you do not have a free zoo nearby, they can be a huge drain on your family’s budget. Here are 12 ways to save money on your next zoo visit.
1. Become a member
If your family has a zoo nearby that you plan to visit often, becoming a zoo member may be advantageous. A membership usually pays for itself within a few visits.
In addition to free or discounted entrance, zoo members often receive discounted prices for various programs throughout the year.
2. Go on free days
If you don’t plan to visit the zoo multiple times in a year, being a member may not be beneficial. Instead, check if the zoo offers free days. Be aware, though, that you still may have to pay for parking, and be prepared for large crowds!
If you are a homeschooling family, check if the zoo has a “homeschool day”. In addition to a free/discounted admission, they may offer extra activities throughout the day. Make sure to check the requirements before going since some zoos require proof of homeschooling to get the discount.
3. Go in the “off-season”
Zoos are normally discounted certain months of each year. Although you can save money in the off-season, be aware that there may be less activities, rides, and animals available.
4. Go with a group
Many zoos have their own rules concerning group discounts (the minimum number of people, advance ticket purchases, etc.), so check out the zoo’s website to see what they offer. You may find that visiting with a group of friends or family would be beneficial (and fun!) for you.
5. Carpool
Some zoos offer free parking; however, there are many zoos that charge per vehicle. By carpooling, you can split the cost of parking.
6. Use coupons
Coupons may be found on various online websites (including the zoo’s website) or by calling the zoo directly and asking if they offer coupons. You may also find coupons in Entertainment books, which can be purchased at certain times of the year at a steep discount. Sometimes, libraries even give coupons out as prizes for their summer reading program.
7. Pack your own drinks, snacks, and lunch
Although each zoo has its own policy on foods and drinks, most allow patrons to bring in their own drinks or snacks. If allowed, bring your own water bottles for an inexpensive and convenient drink. Fill up for free at the drinking fountains.
If the zoo doesn’t allow you to eat on zoo grounds, check to see if you can go to your car at lunchtime and re-enter when you are finished eating. Not only will this save you money, but you also won’t have to drag your lunches through the zoo with you.
8. Arrive early
Some zoos offer discounts if you arrive within the first hour or two on certain days. By arriving early, you will have more time to spend at the zoo for the same (or lower) price than someone who arrives later in the afternoon.
Early mornings are also often cooler in the summertime when it can get extremely hot.
9. Plan ahead
Check the weather forecast, so you can plan the indoor/outdoor activities accordingly.
Check the zoo’s website, so you can view their policies, closures, and any special activities or shows that are included in admission the day you visit.
By knowing this, you can schedule your visit accordingly to get the most for your money. This can also prevent some disappointment if you know that certain animals will not be available to see ahead of time.
Pack your bag and needed items the night before if possible so that you can easily get out the door when desired.
10. Buy inexpensive souvenirs or just skip the souvenir shop
There are some zoos that require you to walk through their gift shop in order to exit. Though this can be frustrating for parents, it does not mean you have to spend a fortune. Before going to the zoo, let your kids know if they will or will not be getting a souvenir. If they will, set a price limit they are aware of ahead of time and stick to it.
Although gift shops are often filled with expensive merchandise, souvenirs do not have to be pricey. Smashed pennies (which can be stored in a penny passport), postcards (which can be stored in small photo albums), and pictures (printed when on sale, of course) can be great inexpensive and space saving souvenirs.
After all, how many stuffed animals do you really need?
11. Take your time
Although this won’t necessarily save you money, taking your time and doing the activities included with your admission allows you to get the most for your money.
Not all children will want to spend an entire day at the zoo; however, you may be able to find some fun activities for them to do along the way. Older children may enjoy taking their own pictures. For younger children, you may appreciate one of these free zoo scavenger hunt packs (here and here).
12. Bring a pack
Bringing a pack of supplies can save you from having to purchase pricey items on site. Some items to pack may include sunblock, bug spray, sunglasses, hats, cameras with fresh batteries (and maybe spare batteries), pennies and quarters (for smashed pennies and petting farm food), hand sanitizer, zoo map and schedule, water bottles, snacks, and an extra change of clothes for the little ones.
May you have fun visiting the zoo without breaking your budget!
Brigitte Brulz is a homeschooling mom and author of Pickles, Pickles, I Like Pickles and Jobs of a Preschooler. For free coloring pages, activity ideas, and more information, visit her website.
East Coast Road Trip: Hershey, Pennsylvania
Welcome to my 14-day series on our East Coast Road Trip where I share our adventures along the way, how we’re doing this on a budget, honest reviews of attractions & restaurants we visit, and money-saving tips and ideas. If you missed it, read Day 1 here, Day 2 here, Day 3 here, Day 4 here, Day 5 here, Day 6 here, Day 7 here, Day 8 here, Day 9 here, and Day 10 here.
Okay, I’m going to get real and tell you that Day 11 of our trip was a little rough. I just wasn’t feeling all adventuresome or like a fun mom.
Honestly, I was wishing we were home and I could plop the kids in front of a movie, shut my bedroom door, and read a book in quiet.
Yeah. I felt on edge. I felt people-d out. I felt tired of the close quarters and long car rides. And I was frustrated with two kids who were being extra whiny.
And of course, this was the day I was wearing my Love Your Life shirt. 😉 Well, I needed the reminder. Because vacations with kids aren’t always fun or amazing. Sometimes, they are just plain hard.
However, despite what I was feeling inside, despite the fact that I did snap at the kids a few times, it was a good day. I’m truly grateful for this trip and the memories we made together on it. Also, close quarters are a great way to recognize character issues we need to work on and are fantastic ways to realize where we need to work on communicating better.
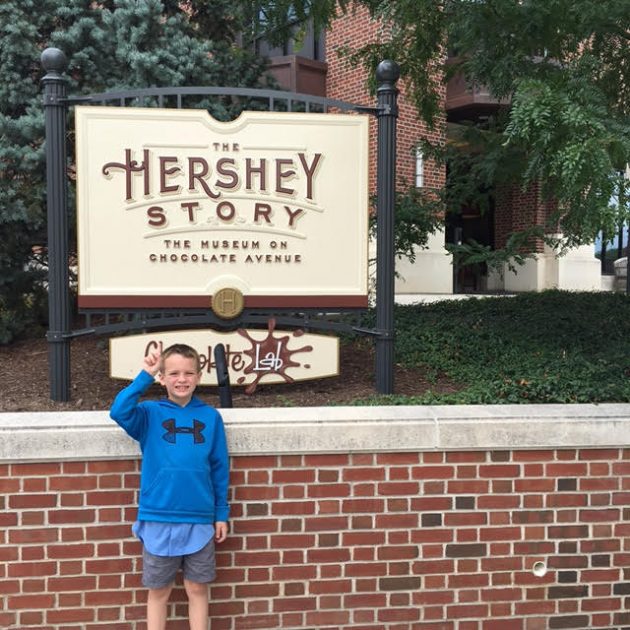
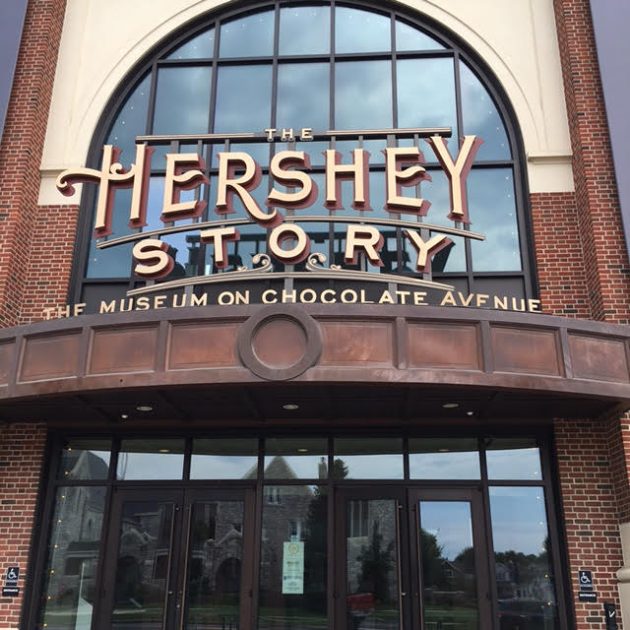


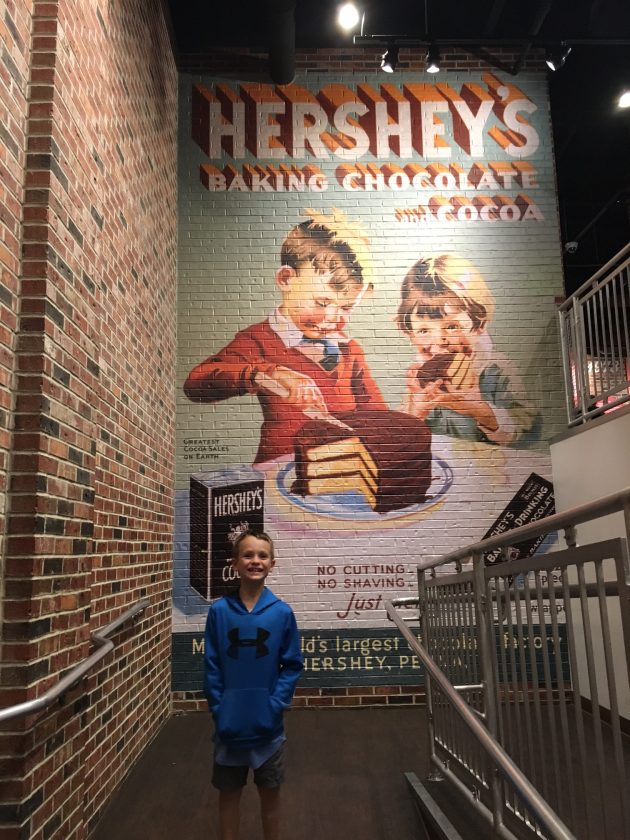
We spent the morning at The Hershey Story where I was so inspired by Milton Hershey’s life and legacy. What an incredible man! I was especially inspired by his business principles and by how generous he was with his employees.
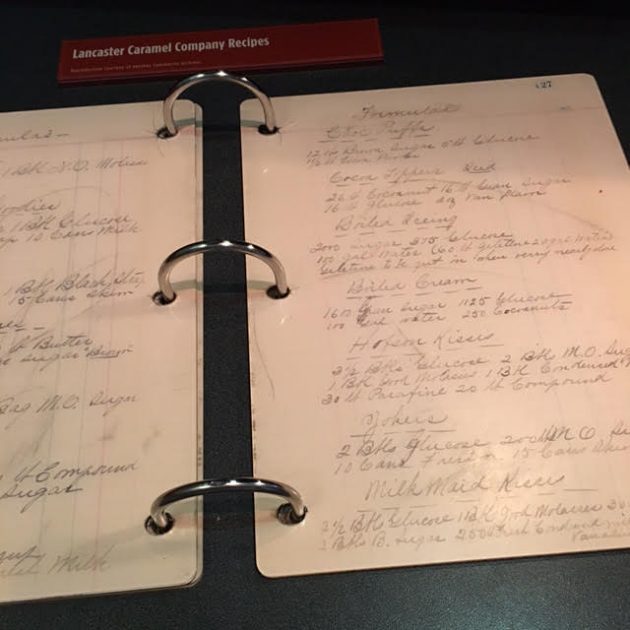
It was cool to see some of the original recipes for caramels (the candy that Milton Hershey initially started making in his business, before he switched to chocolate).
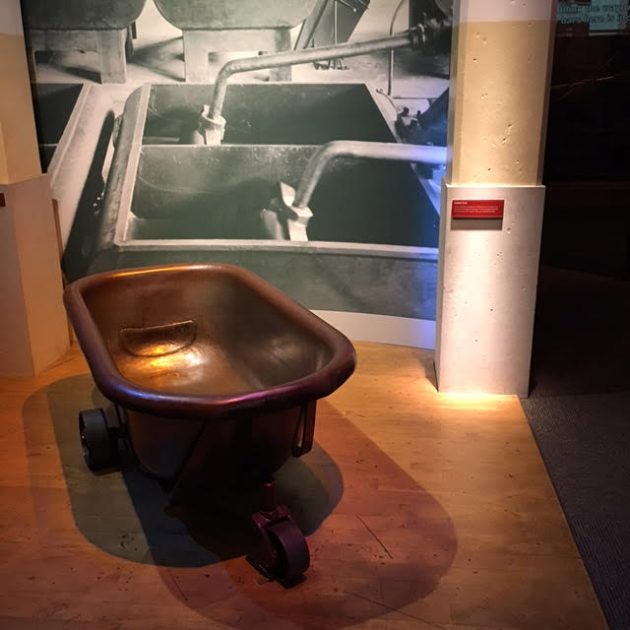
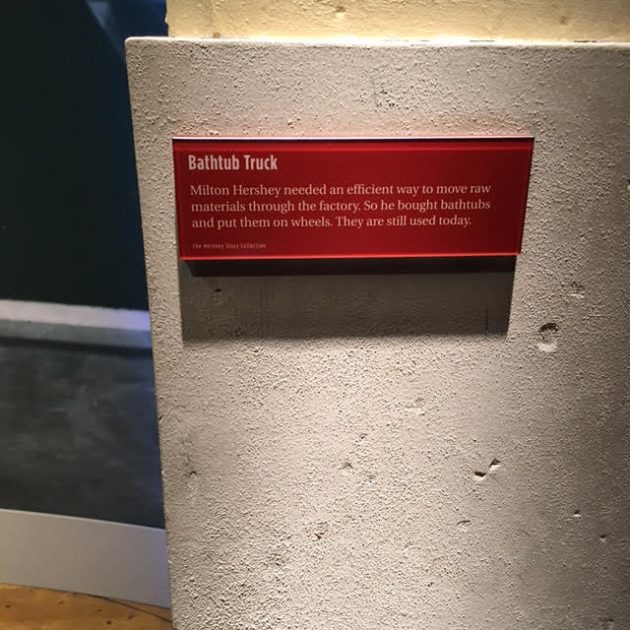
It was also fascinating to read about creative ideas they had implemented to make their factories run more smoothly — like transporting chocolates via bathtubs!

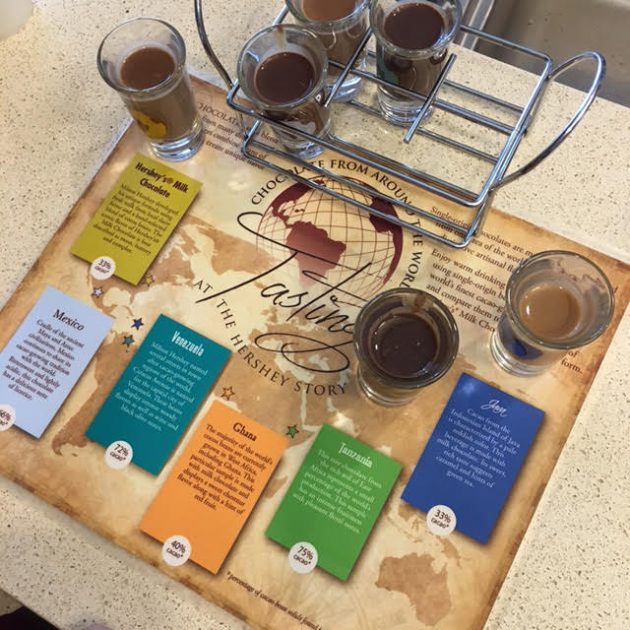
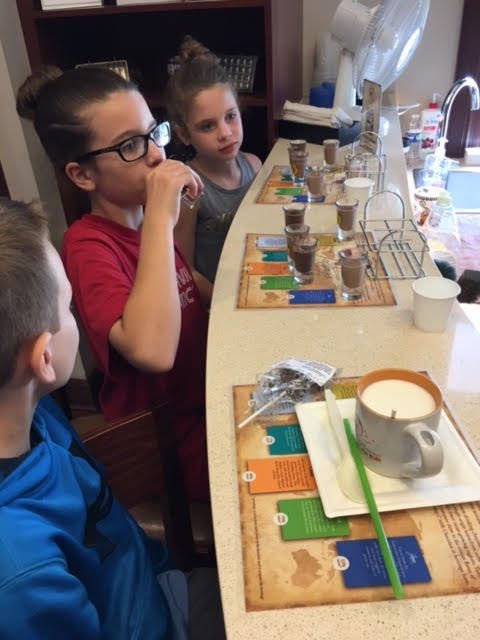
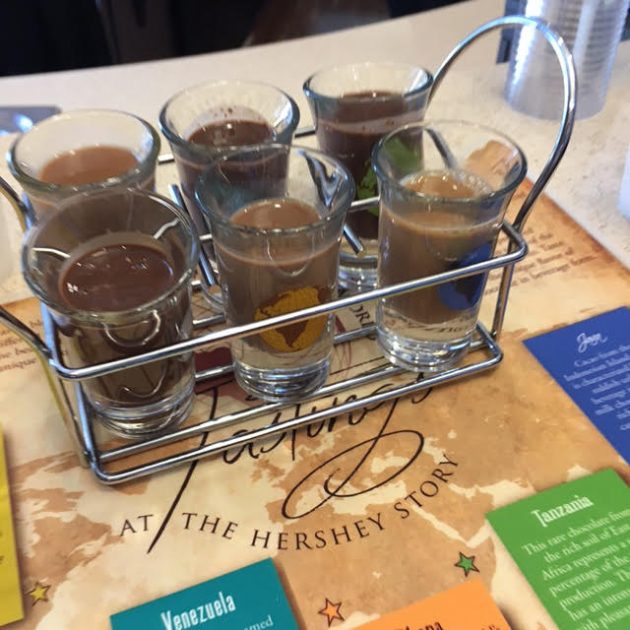

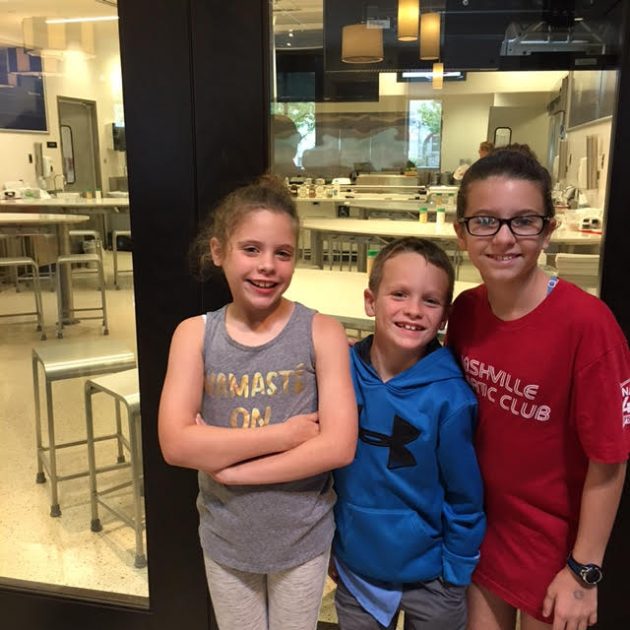

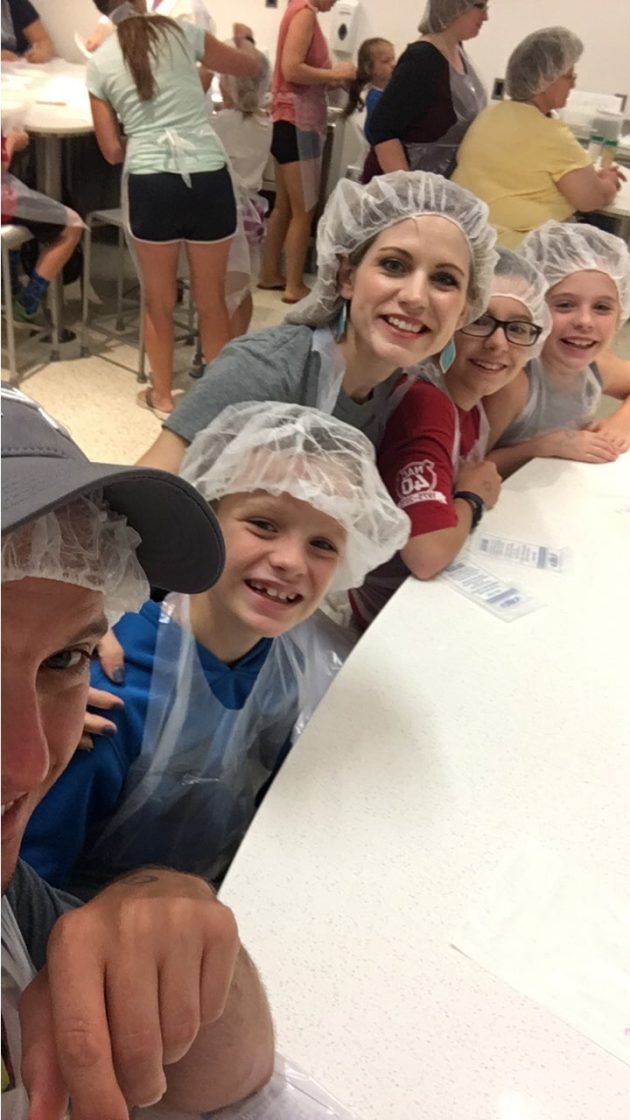
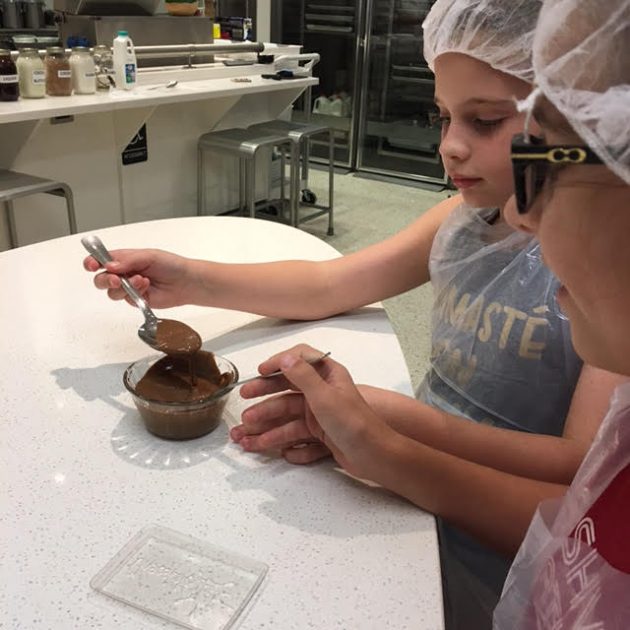
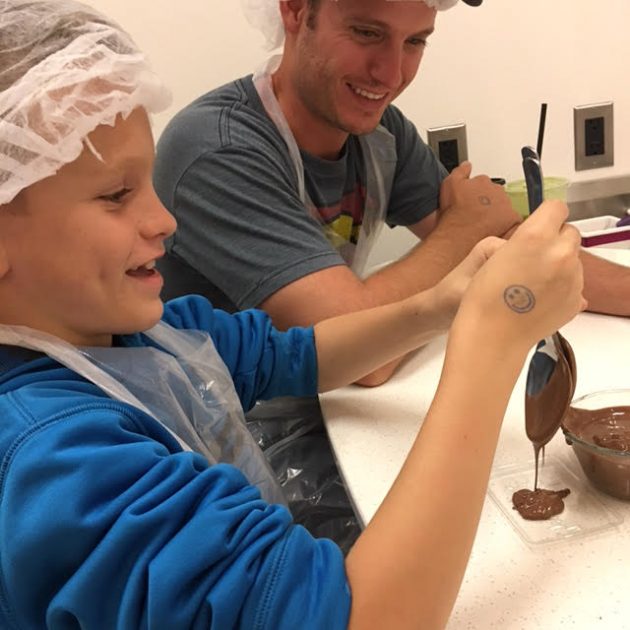
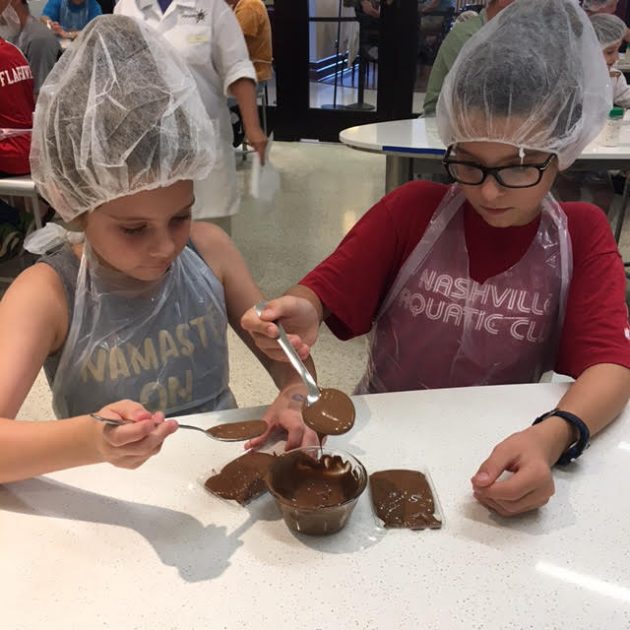
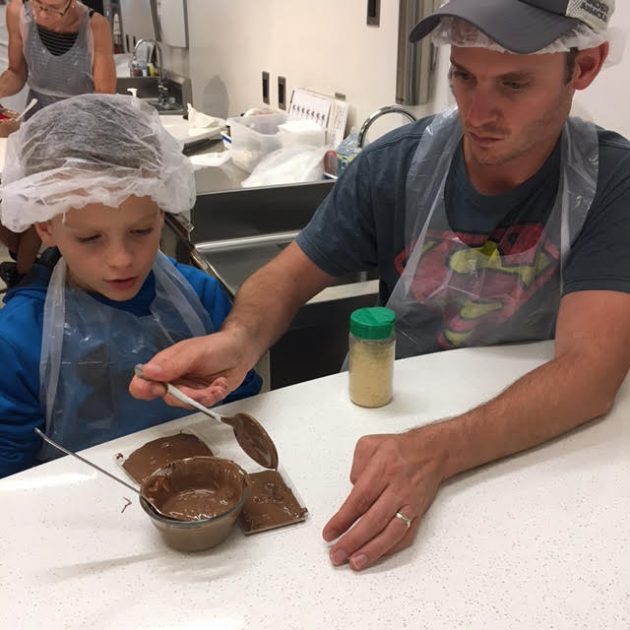
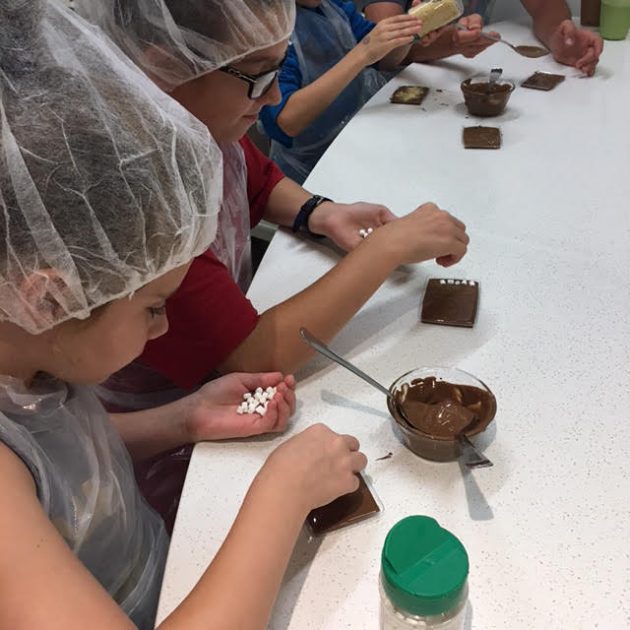
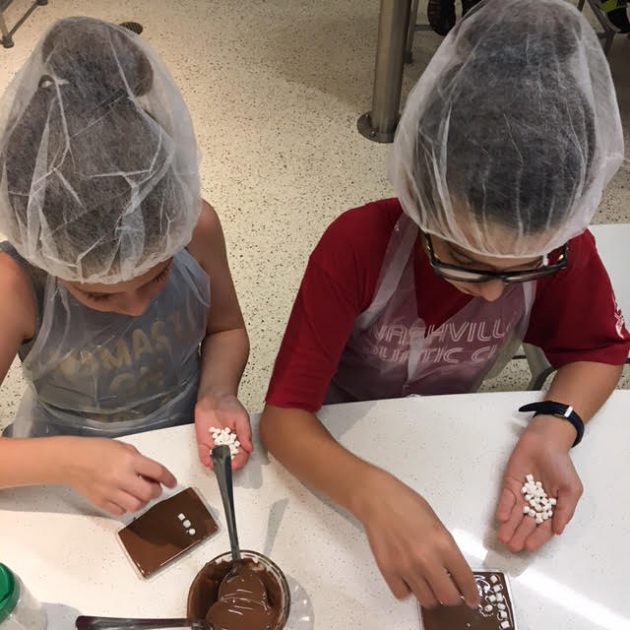
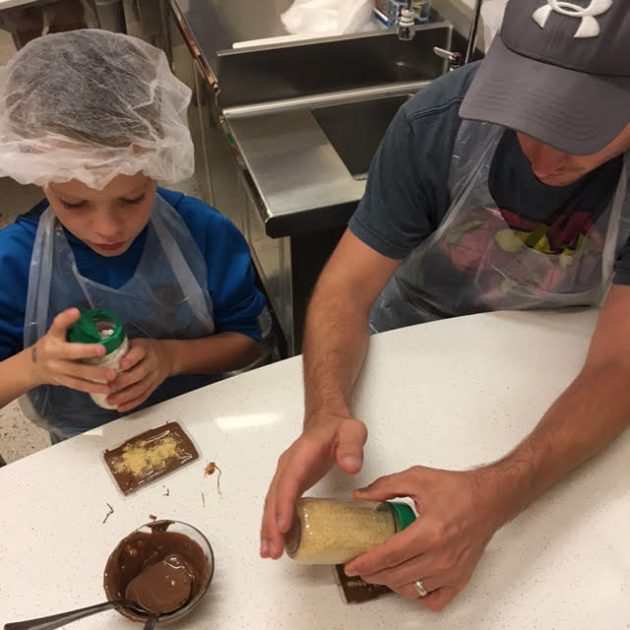
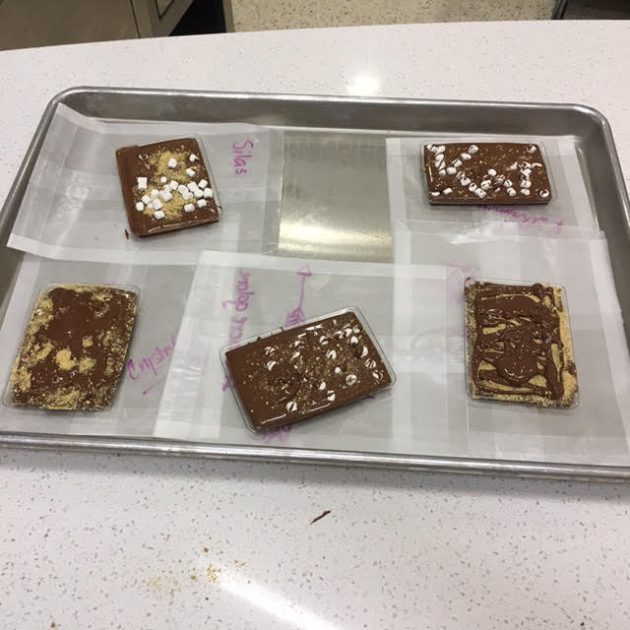
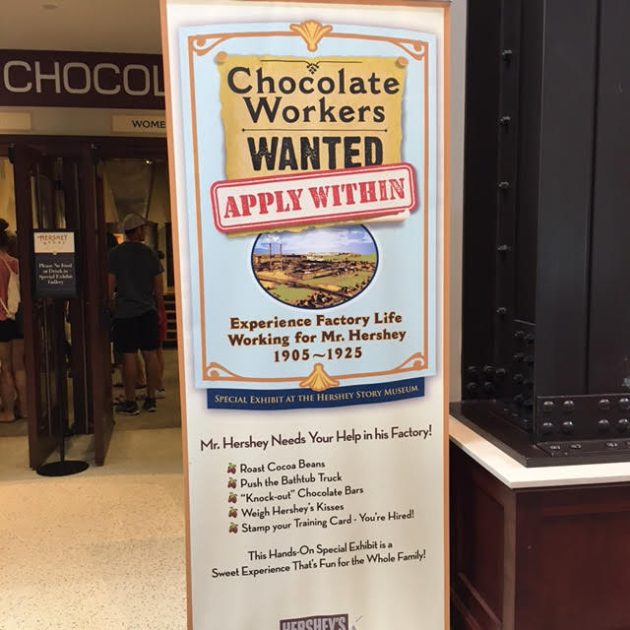
The kids especially loved the Chocolate Workers Wanted exhibit, getting to try chocolates from different countries at their Tastings bar, and then getting to learn more how chocolate is made (it’s a pretty incredible process!) and make our own chocolate bar in the Chocolate Lab.
A few things to note:
- The Museum Admission is $12.50 for adults and $9 for kids. The Tastings bar and the Chocolate Lab are an additional fee. Teachers, veterans and families of active duty military personnel receive $3 off admission to the Museum Experience. Valid school/military identification required. (They were so generous to give us free admission plus free tickets to the Tastings bar and to their Chocolate Lab since I am a blogger and was blogging/posting on social media about our trip.)
- There is currently a Groupon available that gives a combo package for the Museum Admission + the Tastings Bar that would save you quite a bit off the price if you were wanting to do both.
- The Tastings Bar experience was fun, but honestly, I would recommend the Chocolate Lab over it in a heartbeat. If you do decide to do the Tastings Bar, you only need to purchase one for every 3-4 people as that’s enough to go around and for everyone to get to taste the chocolate.
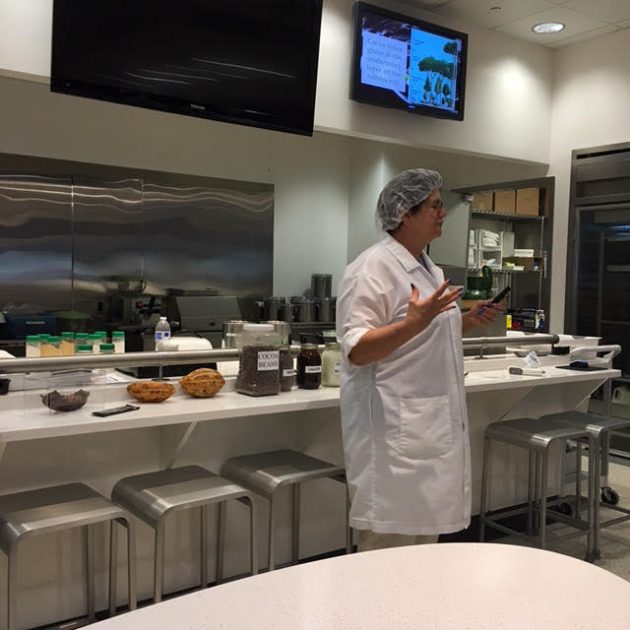
- We really enjoyed the Chocolate Lab. Not only did our kids have so much fun making their own chocolate bars, but we thought that the information shared about where chocolate comes from, how it’s made, how they use every single part of the cacao bean, and the history of chocolate was really insightful and we learned a LOT while there.
- You can’t purchase tickets for the Chocolate Lab ahead of time so if you are wanting to do that, just know that tickets are sold on a first-come, first-served basis the day of.
- I thought that the upstairs was geared a little more toward adults, but it was interactive enough for our kids to enjoy it. I think the price is on the high side for what the museum offers. If you’re just looking for a little fun adventure related to chocolate and how chocolate is made, I’d recommend just doing the free Hershey World tour (see below).
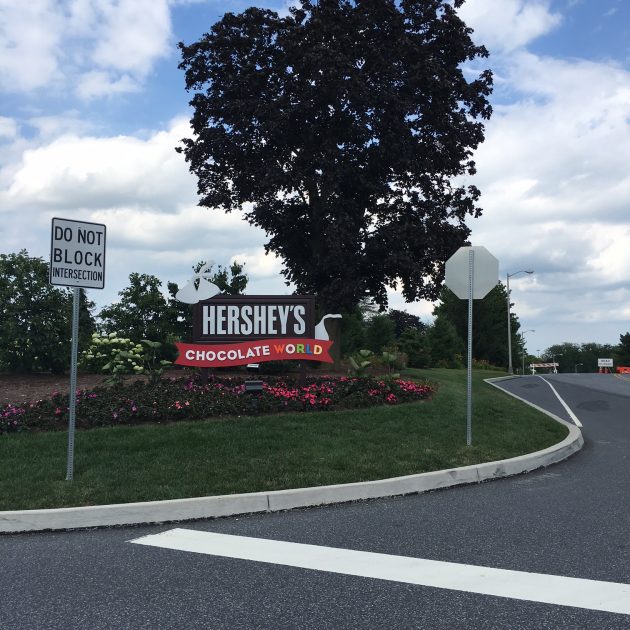
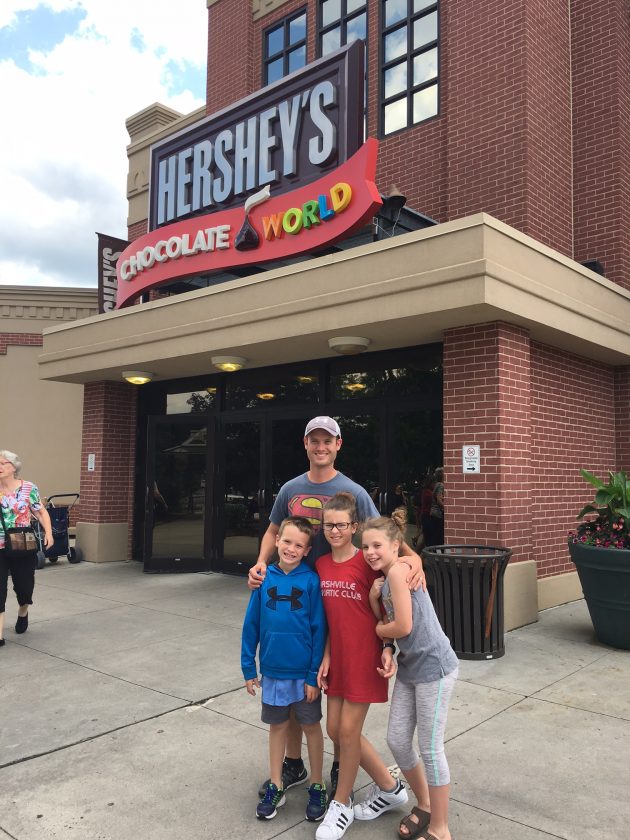

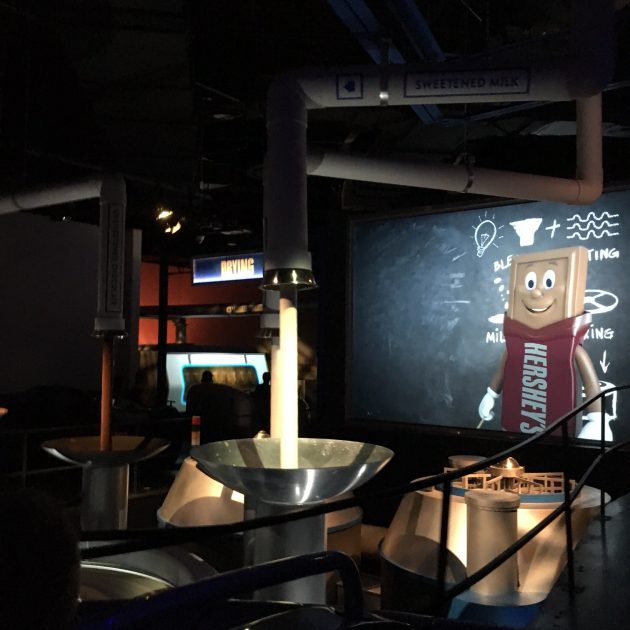

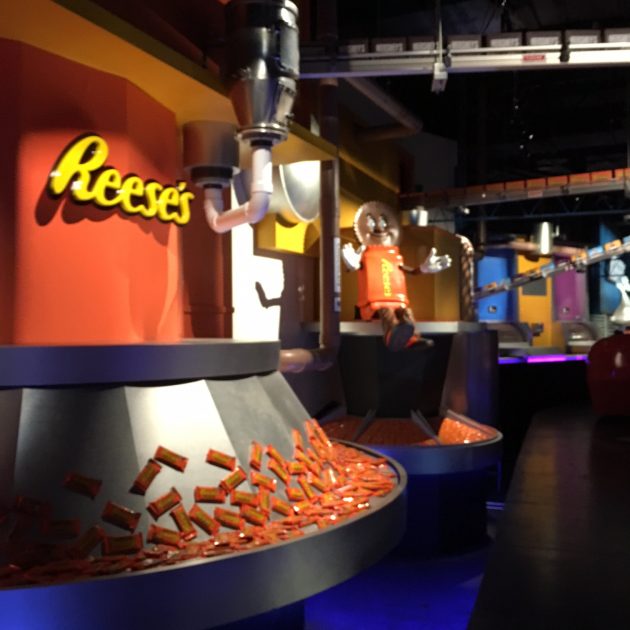

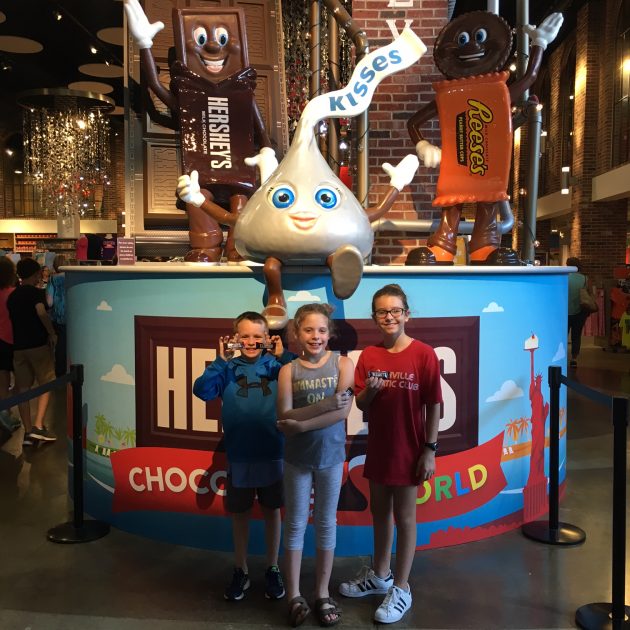
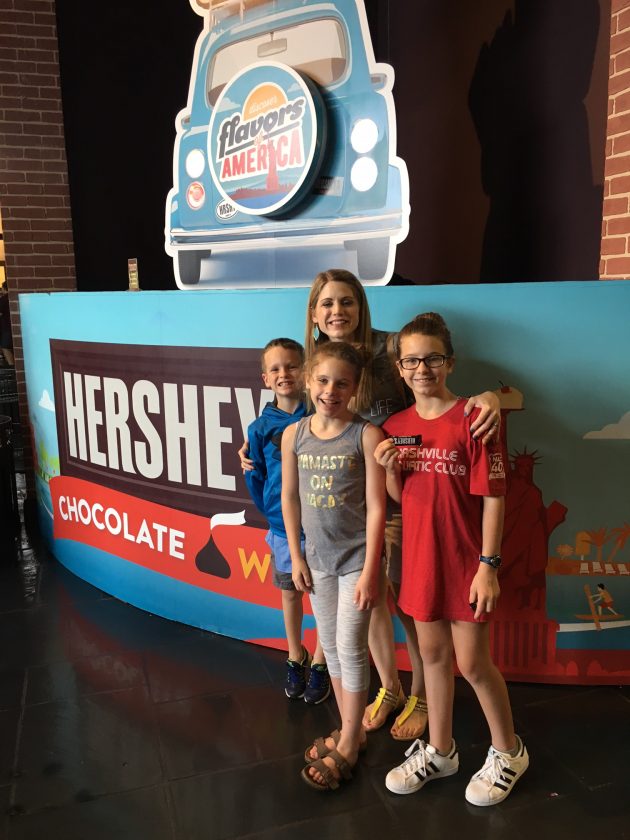

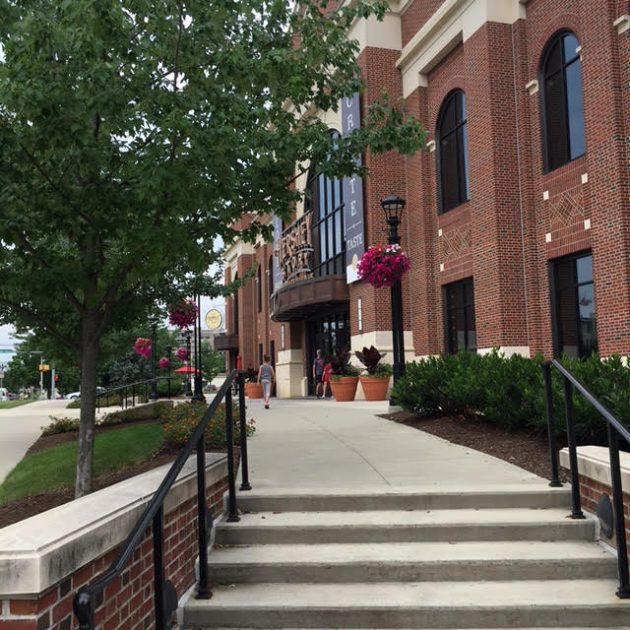
Next, we went to Hershey’s Chocolate World to do the free tour — which was a fun experience! Here are more details on this free tour:
Follow cocoa beans on a delicious journey in this immersive & FREE chocolate making tour. See, feel, hear and smell the transformation of cocoa beans to HERSHEY’S famous chocolate on this fun tour. Then, enjoy a FREE Hershey’s product sample on us!
A few things to note:
- There was almost no waiting time, but based upon the HUGE area they had set up for a line, I’m guessing that they sometimes do have a very long line.
- The tour is 30 minutes long and it’s a “ride” that you’re sitting in and just going through the tour.
- The admission is free, no tickets are required. The tours run continuously until closing.
- If you have a child who tends to get over-stimulated by a lot of noise and color and lights and sounds, this might not be an attraction for you because there is a lot of that going on during this tour.
(And yes, near the end of the day, being around all that sugar kind of made me feel like I should go eat a kale salad after I left! ?)
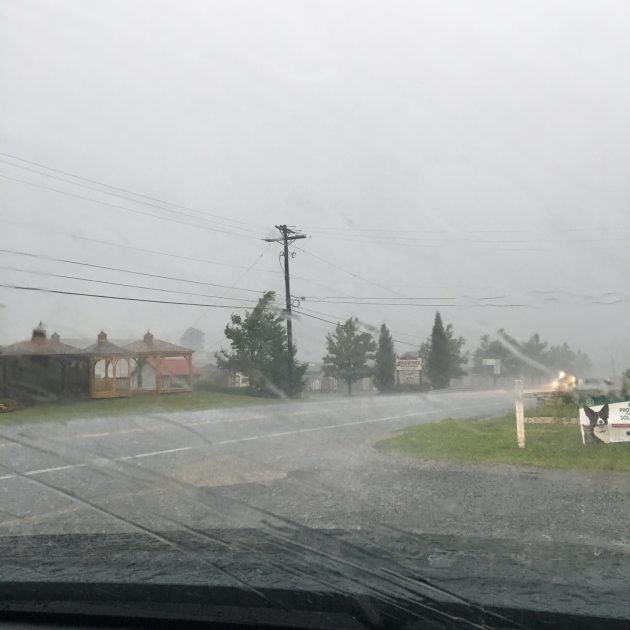
We had planned to visit the Flight 93 Memorial, but there was a big thunderstorm on our way there, so we ended up having to skip it & hang out at a gas station until the storm had cleared.

We made it to Pittsburgh around 9 pm and I enjoyed some quiet (see my book stack photo) while the kids watched a show.
Tomorrow: exploring Pittsburgh and then driving to Cincinnati!
To be continued…
P.S. I hesitate to share so honestly because I know that we’re so blessed to get to go on this trip & many, many people would love to be in my shoes. But at the same time, I want to be honest that traveling is not always roses & rainbows.
5 Free Resources You Might Be Overlooking at the Library
Guest post by Sarah Anne of Sarah Anne Carter:
I love to read. I love the library. If I had to buy every book I wanted to read, I would very quickly go broke!
My children are now voracious readers, too, and we visit our local library at least twice a month. While we’re most often there for books, we’ve discovered several other resources the library offers that are often overlooked, but are still free!
1. Magazines
Libraries often have a section of magazines you can read while you’re at the library. With Overdrive, a library app that you log on to with your library card, you can also read magazines in the comfort of your own home.
The app can be accessed on smartphones, tablets and computers through a Web site. Magazines such as Mental Floss, Glamour, Homespun and Discover are available through Overdrive. To read them, you will have to download Barnes & Noble’s free Nook app, but that can also be downloaded to smartphones, tablets and computers.
2. Movies
Our library has a large selection of DVDs that you can check out for a week. They also recently started a Quick-Pick selection of recently-released DVDs that you can check out for two days and you can put them on hold.
Overdrive also has streaming videos you can check out for five days. There are movies, TV shows, exercise videos, documentaries and children’s videos.
3. Meeting space
Almost every library offers a meeting space and there are two ways you can use it – go to events held there or hold your own events.
Libraries host events from book club and writing groups to essential oil classes and history talks – and a bit of everything in between. If you have a special interest, expertise or skill, think about using the library’s meeting space to host a class. You’ll be able to advertise the event to everyone who visits the library and possibly reach people you normally wouldn’t reach.
Keeping tabs of events at the library is a good idea, too. You can learn a lot by going to events and classes at the library. We recently learned about African penguins where my children got to touch one and heard a talk from a Native-American re-enactor who discussed Native American history in our local region.
4. Audiobooks
Books on CD are about the only way we survive long road trips as a family. I can check out several children or young adult books. I can also use Overdrive to download audiobooks to my and my husband’s smartphones so we can listen to books, too.
If your child has a device that has apps, you can download audiobooks through Overdrive to that device. This can be helpful if you have children in various reading stages.
5. Expertise
The people who work at the library are usually wonderful, very knowledgeable people. When one of my daughters was stuck reading a series over and over again, I talked to our children’s librarian for suggestions of other books that might entice my child. Her advice worked wonders – she knew a book that was the series’ author’s favorite as a child and my daughter read that one next.
Librarians know about new books coming out and can make recommendations based on what you like. They also know who many of the experts are in the community as they often come through for events or sponsor library events. When in doubt about a topic, ask a librarian!
What else do you use the library for besides checking out books? Share your library tips here!
Sarah Anne Carter often won summer reading programs at her library as a child. She is working on her first novel, but when she is not writing, she is reading. Find book reviews and a free adult summer reading Bingo printable on her blog, Sarah Anne Carter.

East Coast Road Trip: Traveling to Pennsylvania
Welcome to my 14-day series on our East Coast Road Trip where I share our adventures along the way, how we’re doing this on a budget, honest reviews of attractions & restaurants we visit, and money-saving tips and ideas. If you missed it, read Day 1 here, Day 2 here, Day 3 here, Day 4 here, Day 5 here, Day 6 here, Day 7 here, Day 8 here, and Day 9 here.
Day 10 on our road trip was a laid-back, quiet travel day. And after a few go-go-go days, it was just what we all needed, especially the 4 of us who are introverts! (Yes, can you believe that it appears Silas is the only extrovert in our family??!!)
 The morning began with swimming and hanging out at the hotel and then we packed up and headed for Pennsylvania.
We made a pit stop at two different travel centers along the way. One had a farmer’s market stand where I found fresh whole wheat bread (it was $7/loaf, which is almost 5 times what I usually pay!! But I was out of the bread I had brought and I usually eat 3-4 slices of whole wheat bread every day, so I coughed up the money and bought it.)
 …
…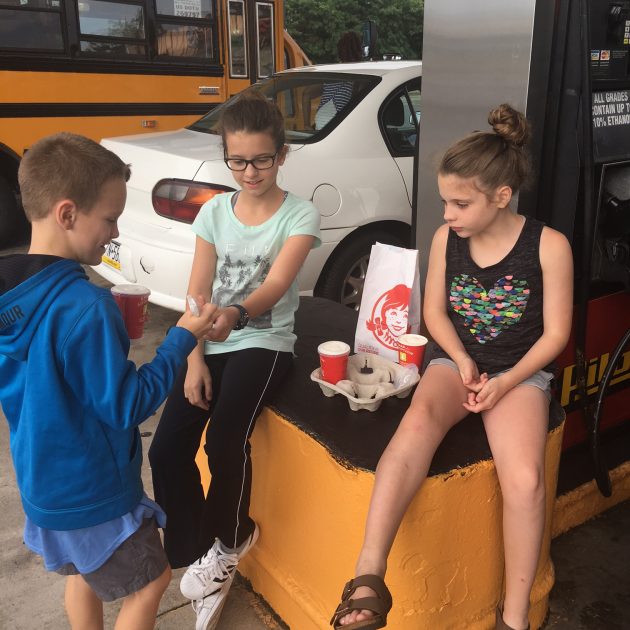
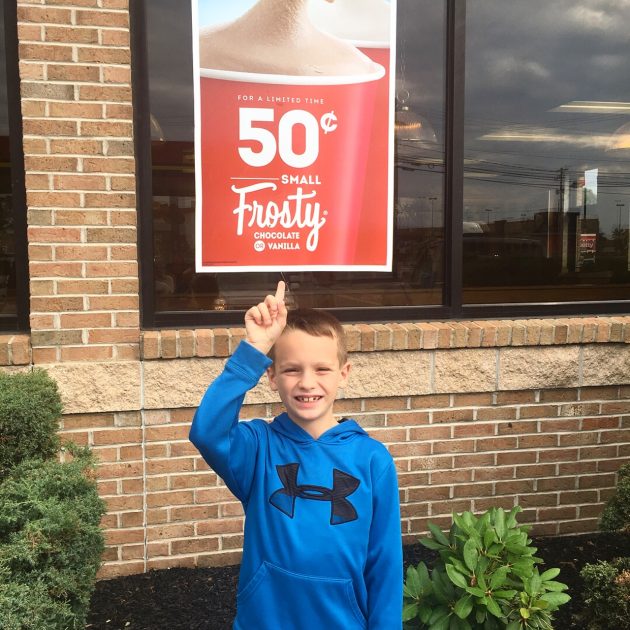
We also got $0.50 frosty’s for the kids at the Wendy’s at the other travel center (that’s much more my kind of price range!)

We started reading the sequel to The Upstairs Room aloud today called The Journey Back, which we’re all excited to dive into as we loved the first book! (Note: Just like the first book, I’m editing it as there is some crass language.)
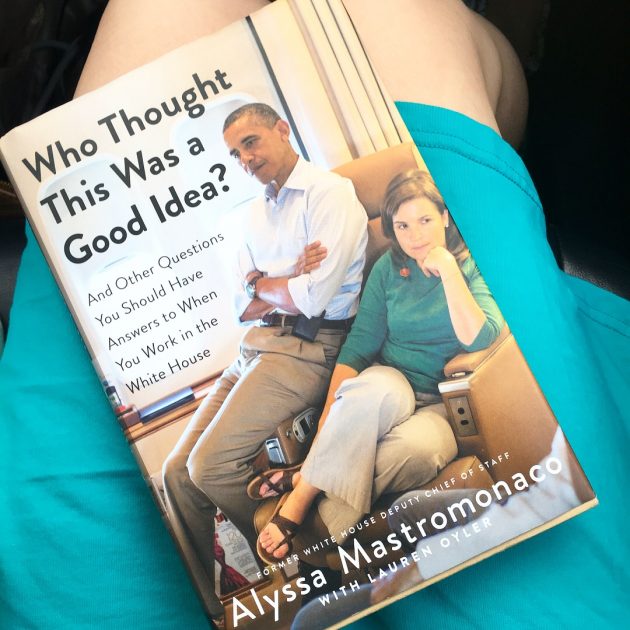

And I finished reading Who Thought This Was a Good Idea? (I really enjoyed this book and the fascinating look that it gives at what it’s like to work for the President, but it comes with a huge crass language warning.) and started reading What Falls From the Sky (I think it’s going to be an inspiring read!)


We made it to Harrisburg around 7 pm and enjoyed a completely laid-back evening at the hotel! Basically, today fed my introverted soul and I’m ready to hit the ground running again for the last five days of our trip!
Tomorrow: exploring Harrisburg, PA and then driving to Pittsburgh in the late afternoon/early evening.
…To be continued

Brigette’s $62 Grocery Shopping Trip and Weekly Menu Plan for 6
Brigette’s $62 Grocery Shopping Trip and Weekly Menu Plan for 6
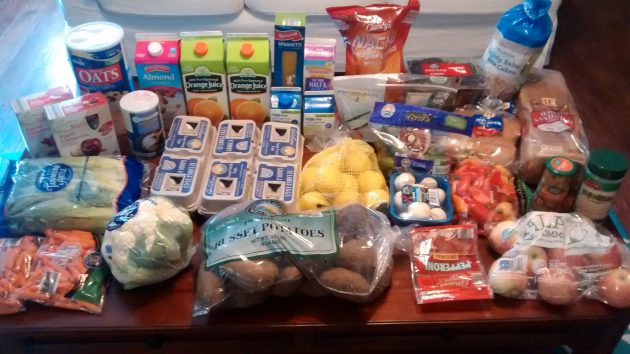
Aldi
3 dozen Eggs – $1.59
2 16-oz cartons Egg Whites – $3.78
2 64-oz cartons Orange Juice – $3.68
1 jar Green Olives – $1.19
1 Cauliflower – $2.29
1 bag Mini Peppers – $2.79
1 bag Mini Cucumbers – $1.99
1 10-lb bag Russet Potatoes – $3.49
2 bags Baby Carrots – $1.98
1 3-lb bag Gala Apples – $2.99
1 bag Zucchini – $1.99
1 3-lb bag Lemons – $2.99
1 8-oz carton Mushrooms – $1.29
1 pkg Artisan Lettuce – $1.99
1 pkg Romaine Hearts – $1.99
1 32-oz pkg Spaghetti Noodles – $1.45
1 pkg Rice Cakes – $1.49
1 bag Nacho Cheese Chips – $1.09
1 can Parmesan Cheese – $2.29
1 pkg Pepperoni – $2.19
1 carton Salt – $0.39
1 loaf Bread – $0.83
1 pkg Hamburger Buns – $0.83
1 canister Quick Oats – $2.39
1 64-oz carton Unsweetened Almond Milk – $1.99
1 32-oz carton Half and Half – $1.79
2 4-ct boxes Cinnamon Applesauce Fruit Squeezies (My kids LOVE these, and I bought them for our road trip this coming week) – $3.78
Total: $56.31
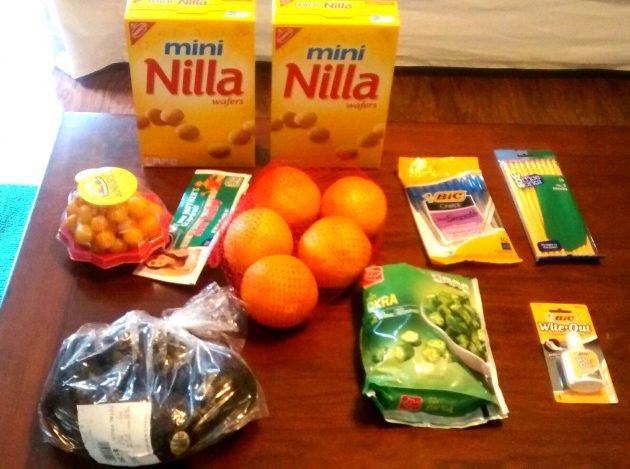
Harris Teeter
1 carton Grape Tomatoes, reduced – $1.00
1 4-ct bag Avocados, reduced – $1.00
1 bag Grapefruit, reduced – $1.00
1 bag frozen Okra – $1.50
2 boxes Nilla Wafers – $3.44, used $0.75/2 Nabisco Cookie or Cracker Products – 6-25-17 SS; Includes 3.5 oz or Larger Only (exp. 08/05/17) (doubled) – $1.94/2 after coupons (I need these for an ice cream birthday cake)
1 pkg No.2 Pencils – $1.00, used $1.00 off any school supplies purchase catalina (received last week) – FREE after coupon
1 pkg BIC Pens – $1.00, used $1.00/1 BIC Stationery Product – 7-23-17 SS (exp. 08/05/17) – FREE after coupon
1 pkg BIC White-Out – $1.00, used $1.00/1 BIC Stationery Product – 7-23-17 SS (exp. 08/05/17) – FREE after coupon
Total: $6.65
Grocery Total for the Week: $62.96
Weekly Menu Plan
(We are out of town for a few days this week, so I don’t need to plan a full weeks’ worth of meals)
Breakfasts
Oatmeal
Toast and Eggs
Cereal x 2
Lunches
PB and J sandwiches, Raw Veggies, Apples Slices x 2
Build-Your-Own Salad Bar (Romaine, Various Raw Veggies, Cheese, Nuts, Avocado, Raisins, Apples, Hard Boiled Eggs) x 2
Dinners
Sloppy Joes, Roasted Cauliflower, Grapefruit
Taco Salad, Rice, Fruit Salad
Homemade Pepperoni Pizza, Tossed Salad, Chocolate Sundae Pie (this is my mom’s recipe)
Leftovers/Clean Out the Fridge 🙂
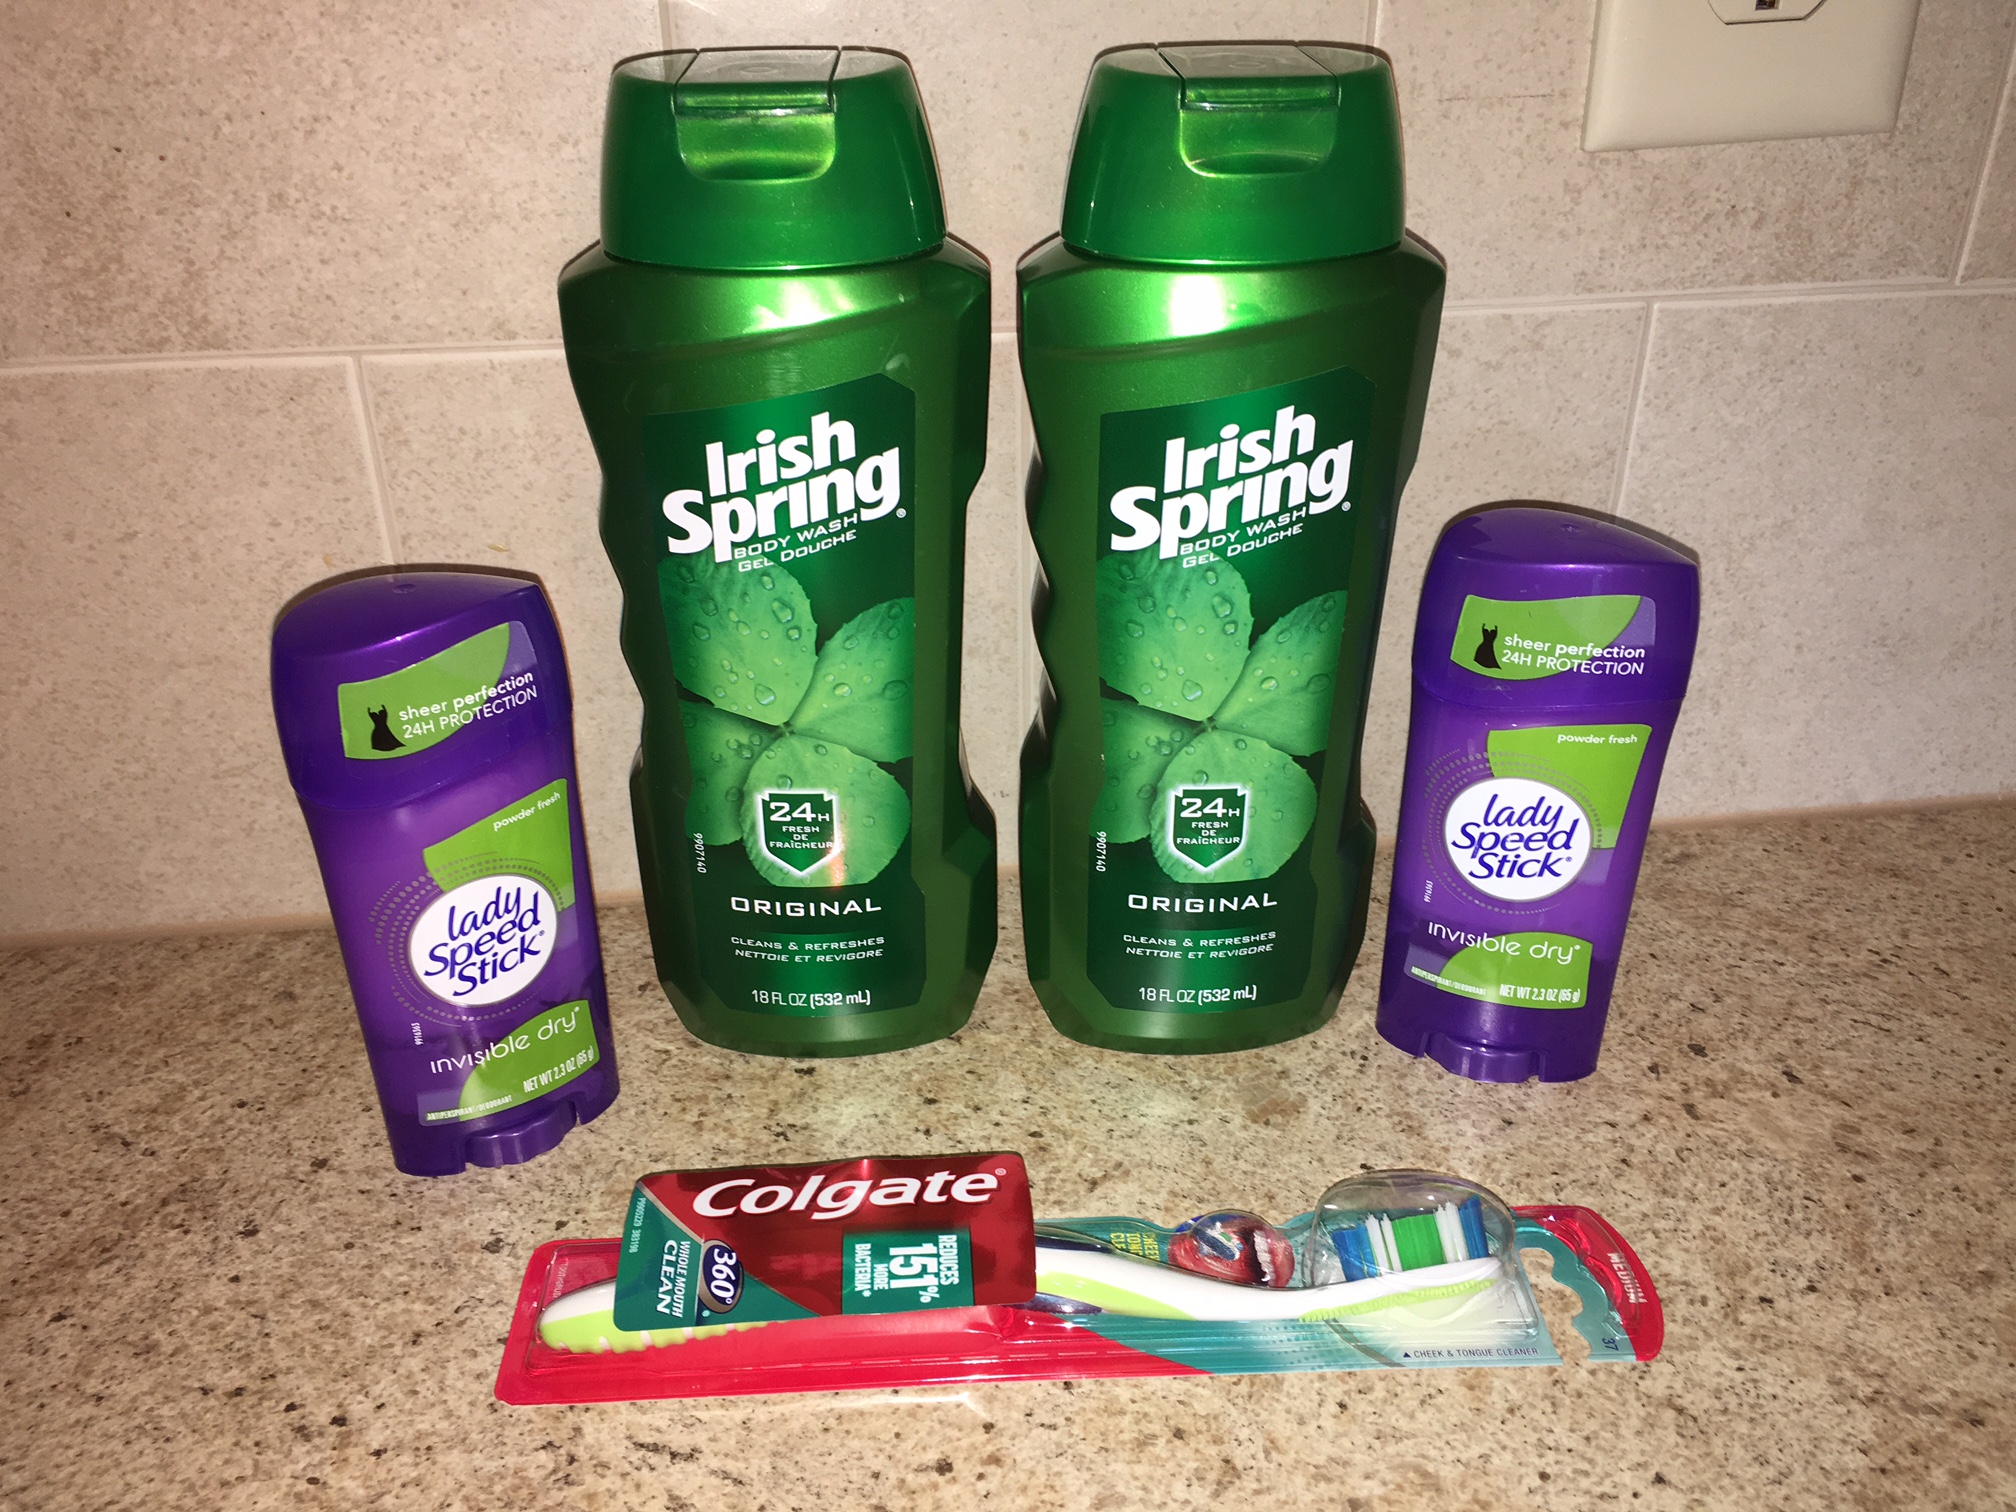
Gretchen’s $2.20 Walgreens Trip
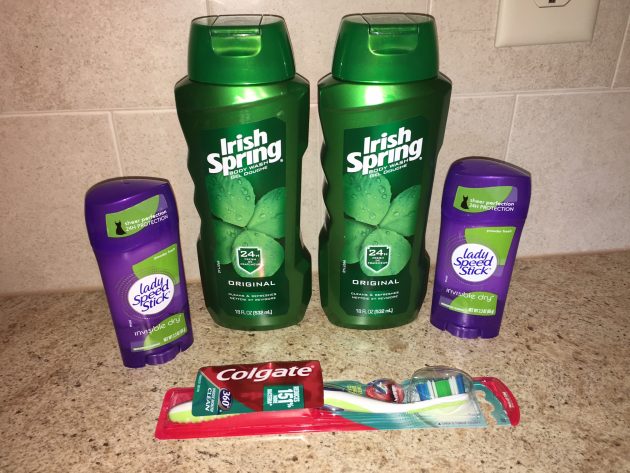
Walgreens Shopping Trip
1 Colgate 360° Toothbrush – $2.99
(Buy 1, Get $1.50 Register Rewards)
Use $0.75/1 printable
Submitted $0.50/1 Ibotta rebate
2 Lady Speed Stick @ $2.99 each – On Sale Buy One Get One 50% off
(Buy 2, Get 3,000 Balance Reward Points)
2 Irish Body Wash 15 or 18oz – $3.99 each
(Buy 2, Get 4,000 Balance Reward Points)
Used 2 $1/1 printable
Used $10 Register Rewards from previous shopping trip
Total before sales, coupons, rebate and Register Rewards: $16.95
Total after coupons, rebate and Register Rewards: $2.20, PLUS received $1.50 Register Rewards AND 7,000 Balance Reward Points (like $7)
Here’s a deal idea if you don’t have any Register Rewards to start with, but would like to buy these items and spend less out of pocket:
Transaction #1
Buy 1 Colgate 360° Toothbrush – $2.99
(Buy 1, Get $1.50 Register Rewards)
Use $0.75/1 printable
Submit $0.50/1 Ibotta rebatePay $1.74, Receive $1.50 Register Rewards
Transaction #2
Buy 2 Lady Speed Stick @ $2.99 each – On Sale Buy One Get One 50% off
(Buy 2, Get 3,000 Balance Reward Points)Use $1.50 Register Rewards from Transaction #1
Pay $2.98, Receive 3,000 Balance Reward Points (like $3)
Transaction #3
Buy 2 Irish Body Wash 15 or 18oz – $3.99 each
(Buy 2, Get 4,000 Balance Reward Points)
Use 2 $1/1 printableRedeem 3,000 Balance Reward Points from Transaction #2
Pay $2.98, Receive 4,000 Balance Reward Points (like $4)
So you’ll pay $7.70 total for all transactions and still have 4,000 Balance Reward Points leftover!

Ever dreamed of starting a blog? Sign up for my FREE class!

Just a reminder! This class is tomorrow… so if you’ve not signed up yet, it’s your last chance to do so!
Do you want to start a blog but you feel overwhelmed by all the steps involved? Do you wish someone could hold your hand and walk you though the process?
I’m SO excited to announce that I will be hosting my first-ever LIVE online blogging class on Thursday, July 27, 2017!
In this class, I’ll teach you:
- The one habit you should begin today if you want to set up a successful blog (it might surprise you!)
- The few key things you need to have in place to get your blog up and running (it’s a much shorter list than you might expect!)
- 5 simple ways people are making a part-time or full-time income from blogging (& how you can, too!)
- Plus, I’ll be hosting a LIVE Q&A at the end of the class to answer your burning questions!
This class will be packed with information, instruction, and inspiration. If you’ve ever thought about starting a blog or you are in the process of setting up a blog, this class is for you!
I’ll be hosting one LIVE class at 11 a.m. CT/12 p.m. EST and another LIVE class at 7 p.m. CT/8 p.m. EST. on Thursday, July 27, 2017. Each class will be around 45 minutes long (plus the time for live Q&A at the end!).
Register for my LIVE Blogging Class for FREE here!
P.S. Can’t make the live class? Go ahead and register because I’ll send you a replay link once the class is finished!

This Week’s $78.87 Shopping Trip + Menu Plan!
I went to ALDI for groceries this week, but on the way there and back, I stopped at two different Kroger stores that were on my route.
Here’s what I got:
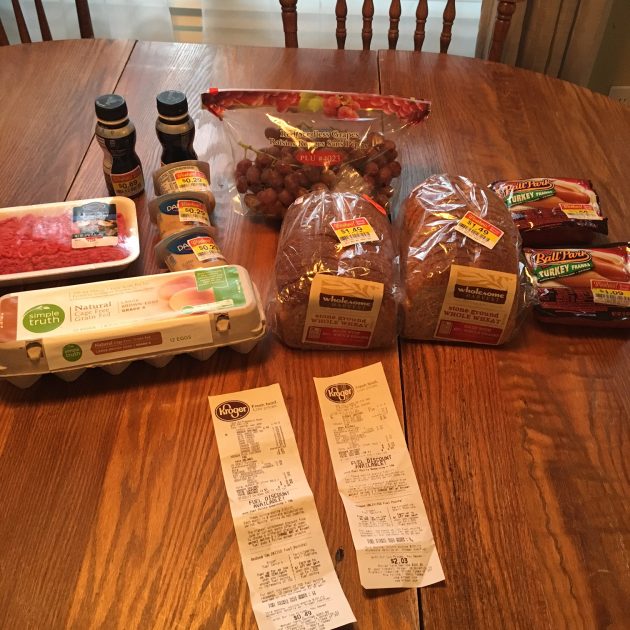
Kroger Trip #1
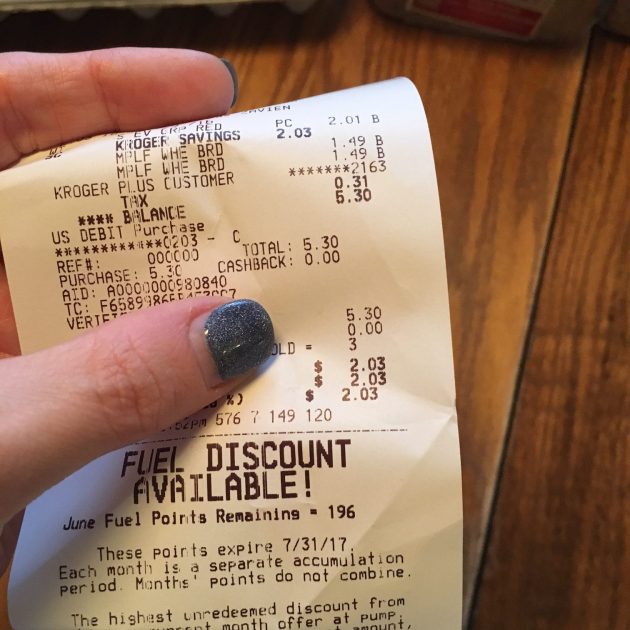
- Red Grapes — on sale for $0.99 per pound — $2.01 total
- 2 loaves of Whole-Wheat Bread — marked down to $1.49 per loaf
- Total with tax: $5.30
Kroger Trip #2:
- 1 pound Ground Sirloin — $5.99
- 2 packages Ballpark Turkey Franks — marked down to $1.09 per package
- 2 Dannon Oikos Drinkable Yogurts — marked down to $0.69 each
- 3 Dannon Coffee Yogurts — marked down to $0.29 each
- 1 dozen Cage-Free Eggs — $2.50
- Total with tax: $13.73

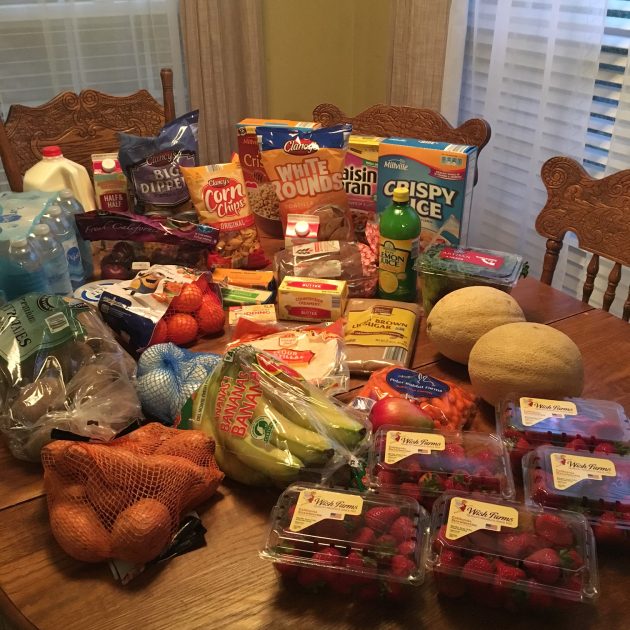
And here’s what I got at ALDI:
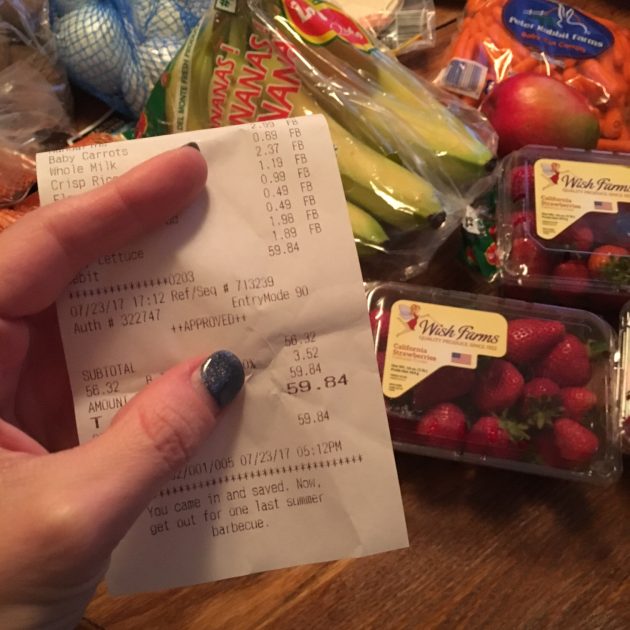
ALDI Shopping Trip
- Honey Nut Oats — $1.39
- Raisin Bran — $1.79
- Bottled Water — $1.99
- 3.85 pounds of Bananas — $0.44 per pound = $1.69 total
- Sweet Potatoes — $1.89
- Mozzarella Cheese — $1.79
- Cheddar Cheese — $1.79
- Sprouted Bread (I love Ezekiel Bread but it’s SO pricey, so I wanted to try this knock-off to see what I thought — even though the price is still high on this!) — $2.89
- Butter — $2.59
- Lemon Juice — $2.19
- 2 cans of Refried Beans — $0.75 each
- 5 packages of Strawberries — $0.99 per package (I was SO excited about this deal!!)
- Whipping cream — $1.69
- 10 pounds of Potatoes — $3.69
- Corn Chips — $0.89
- 2 bags of Tortilla Chips — $1.19 each
- 2 Cantaloupe — $0.99 each
- Half & Half — $1.79
- Brown Sugar — $0.99
- Feta Cheese — $1.49
- Onions — $1.69
- 3-pound bag of Mandarin Oranges — $2.99
- Baby Carrots — $0.89
- Milk — $2.37
- Crisp Rice Cereal — $1.19
- Tortillas — $0.99
- 1 Mango — $0.49
- Vanilla Pudding — $0.49
- 1 2-pound bag of Plums — $1.98
- 1 package of 4 heads of Baby Lettuce — $1.89
- Total with tax: $59.84
Here’s what’s on our menu plan this week:
This Week’s Menu Plan
Breakfast — Cereal, Oatmeal, Toast, Eggs, Fruit
Lunches — Chicken/Turkey Hot Dogs, Cheese Quesadillas, Refried Beans & Cheese With Chips, Yogurt, Fruit/Veggies, Chips/Salsa, Leftovers, Salad
Dinners — Corn Chowder, Haystacks, Egg & Ham Casserole, Southwest Roll-Ups, Sausage/Sweet Potatoes/Onions, Goulash, Dinner Out
New to shopping at ALDI? Read how we save close to $1,000 per year by shopping at ALDI. Also, check out my post with my 25 Favorite Things to Buy at ALDI.

Gretchen’s $39 Grocery Shopping Trip and Menu Plan
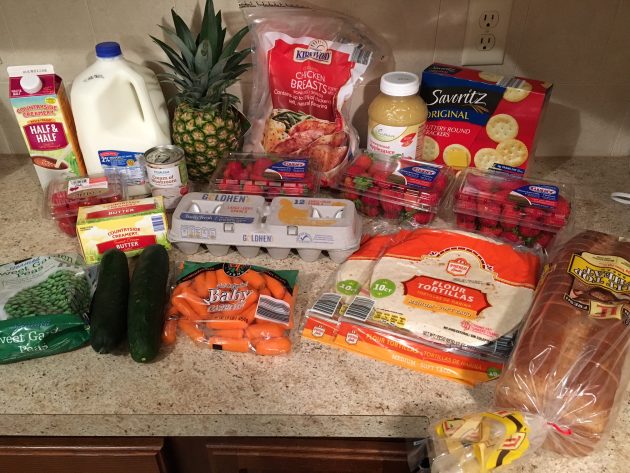
Aldi
I forgot to buy cheese when I was at Aldi so I will have to make a stop by there later this week to grab some since we are completely out!
2 pkg Flour Tortillas – $0.99 each
1 Pineapple – $1.29
1 can Cream of Mushroom Soup – $0.49
1 pint Grape Tomatoes – $1.29
1 pkg Frozen Chicken Breasts – $5.49
1 pkg Steamed Peas – $0.89
2 Cucumbers – $0.49 each
1 gallon Milk – $1.76
3 pkg Strawberries – $0.99 each
1 Unsweetened Applesauce – $1.89
1 dozen Eggs – $0.45
1 lb Butter – $2.46
1 Half & Half – $1.79
1 loaf Bread – $0.89
1 Baby Carrots – $0.99
1 pkg Snack Crackers – $1.59
Total: $27.20
Dillons
4 boxes Cheerios – $2.49 each, used 4 $1.50/1 e-coupon (no longer available) – $0.99 each after coupons
1 bag Kroger Frozen Cauliflower – $1.19
1 International Delight One-Touch Latte – $3.99
1 can Tuna – $0.69, used $0.40/1 e-coupon – $0.29 after coupon
2 pkgs Sour Punch – $1 each, used Buy One Get One Free printable – $0.50 each after coupon
1 Romaine Lettuce – $1.29
1.68 lbs Bananas – $0.99
1 Kraft Trios – $1, used Free e-coupon (no longer available) – Free after coupon
1 Nature Valley Granola Bars – $2.49, used $1.50/1 e-coupon (no longer available) AND $0.50/1 SavingStar.com rebate AND used $0.25/1 Ibotta rebate – $0.24 after coupon and rebates
Used $0.25/1 Ibotta rebate for any receipt
Total after coupons and rebates: $12.70
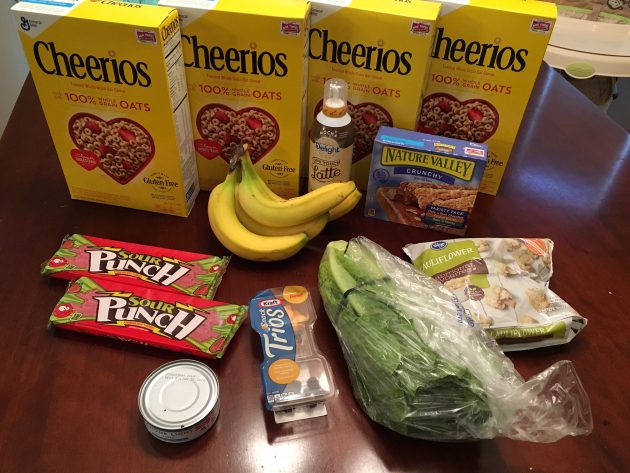
Total for both stores: $39.90
Menu Plan for This Week
Breakfasts
Toast & Eggs x 4
Homemade Bread, Fruit x 2 (We recently purchased a bread machine and I am LOVING it! What are your favorite recipes for bread machines? I’d love to try them!)
Cereal
Lunches
Peanut Butter & Jelly Sandwiches, Carrot Sticks, Cucumbers x 2
Grilled Cheese Sandwiches, Strawberries
Tuna Salad Sandwiches, Carrots, Fruit Salad
Baked Potatoes, Steamed Broccoli (from freezer)
Leftovers x 2
Dinners
Baked Lemon Pepper Tilapia, Homemade Bread, Steamed Cauliflower
Sour Cream Enchiladas, Fruit Salad, Steamed Peas
Homemade Pizza Pockets, Tossed Salad
Pancakes, Eggs, Sausage, Fruit
Chicken Noodle Casserole, Tossed Salad
Slow Cooker Honey Garlic Chicken and Veggies, Rolls
Leftovers
OVER-SPENDING EVERY SINGLE MONTH?Grab these FREE Budgeting Sheets!
Click here to download!
How to fight the lies of feeling like you have to “do it all”

I was so honored to be interviewed on Dr. Meg Meeker’s podcast!
We talked about the pressures of being a perfect mom, how to how to fight the lies of feeling like you have to “do it all”, how to replace lies with truth, and what I’ve learned about authenticity in my blogging journey.
You can listen to the podcast here.

East Coast Road Trip: A Day in Boston!
Welcome to my 14-day series on our East Coast Road Trip where I share our adventures along the way, how we’re doing this on a budget, honest reviews of attractions & restaurants we visit, and money-saving tips and ideas. If you missed it, read Day 1 here, Day 2 here, Day 3 here, Day 4 here, Day 5 here, Day 6 here, Day 7 here, and Day 8 here.
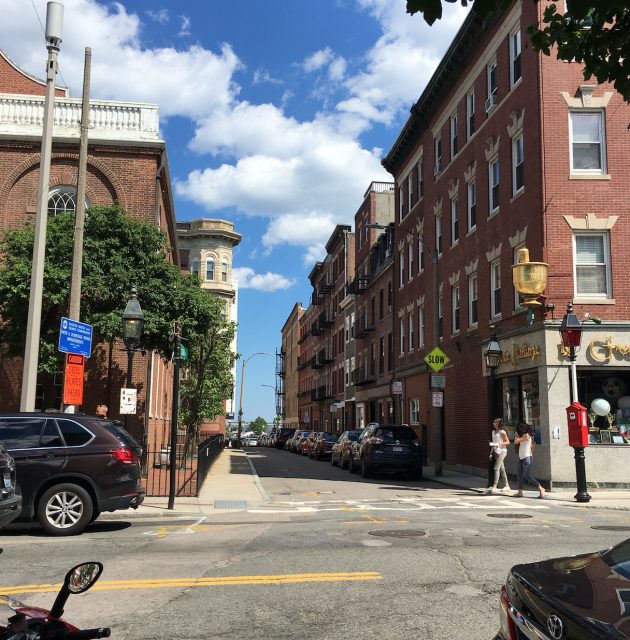
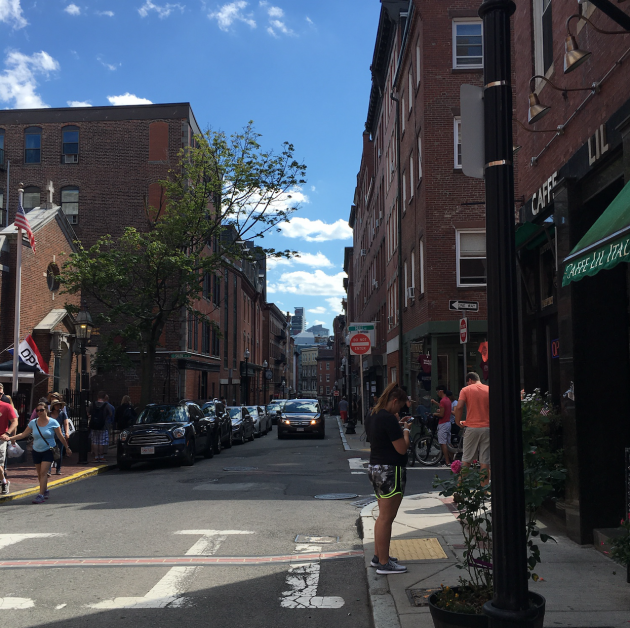
Okay. It’s official. I have fallen madly in love with Boston.
As in, I think I want to move to Boston. Or at least rent an apartment in the North End and visit for a week every month. (Hey, a girl can dream, right?? ;))
The coffee shops. The open air restaurants. The quaint streets. The scenery. The smells. I almost felt like I was back in Rome!
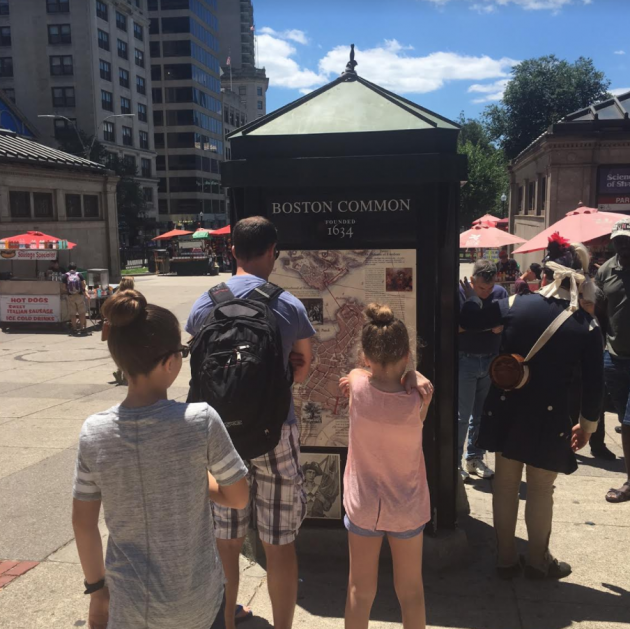
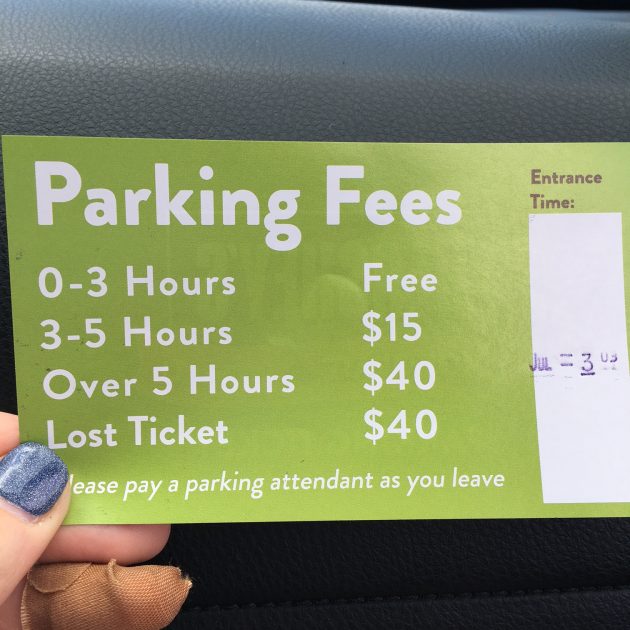
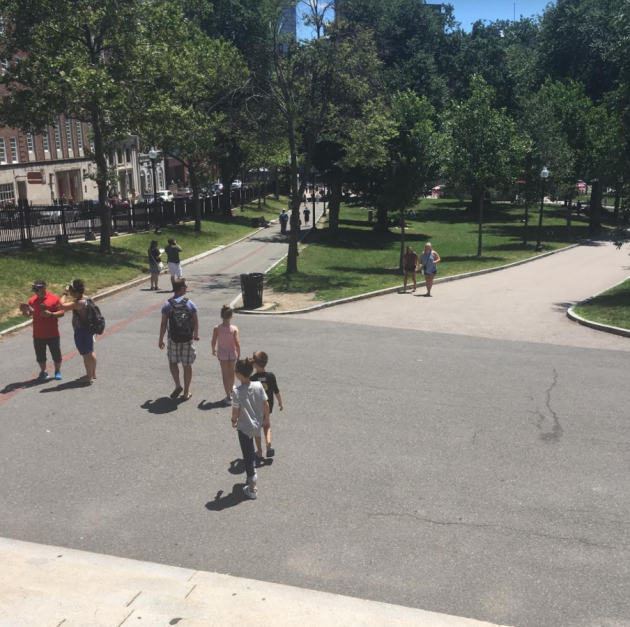
On Day 9 of our trip, we slept in and the drove to downtown Boston where we got all-day parking a block from Boston Common for just $15.
A few notes about parking and traffic:
- Since we were visiting on Sunday, a local hotel offered all-day valet parking for just $15! From what I could tell — and what I heard — visiting on the weekends means that parking is much less expensive than it is on weekdays.
- You can read more about parking in Boston here. (Locals: is that list accurate? I wasn’t sure.)
- We also found that the roads were easy to drive and navigate (however, keep in mind that we are used to Nashville traffic!), traffic wasn’t really heavy like we expected, and was nothing like NYC. So it was no problem for us to drive into the city instead of taking the subway into the city. However, we were there on a Sunday, so I think that made traffic a lot lighter.


After visiting the Boston Common, we headed out to walk the Freedom Trail. We LOVED how there was such an eclectic mix of modern and historical.
We were pleasantly surprised to notice how much cheaper the prices were in Boston compared to the prices we’d been seeing in NYC and DC! (For instance, tourist-y t-shirts were $10 and water bottles were $1.)


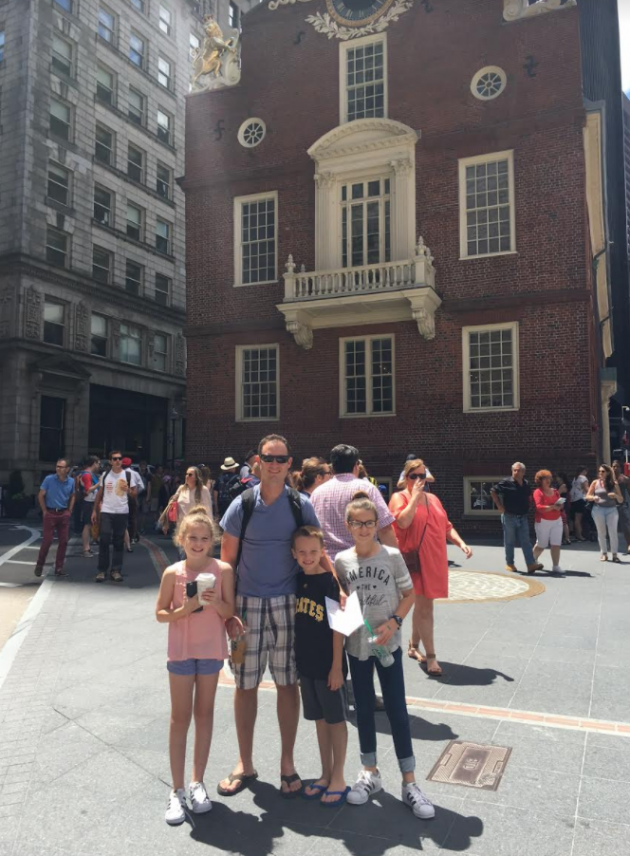
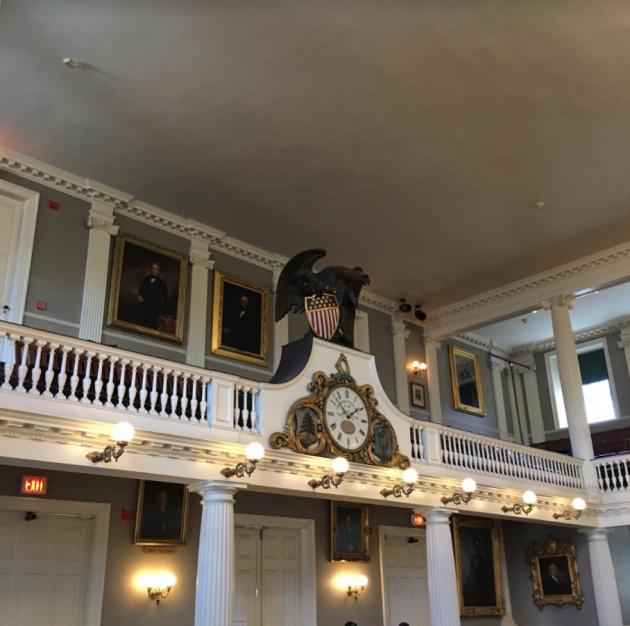
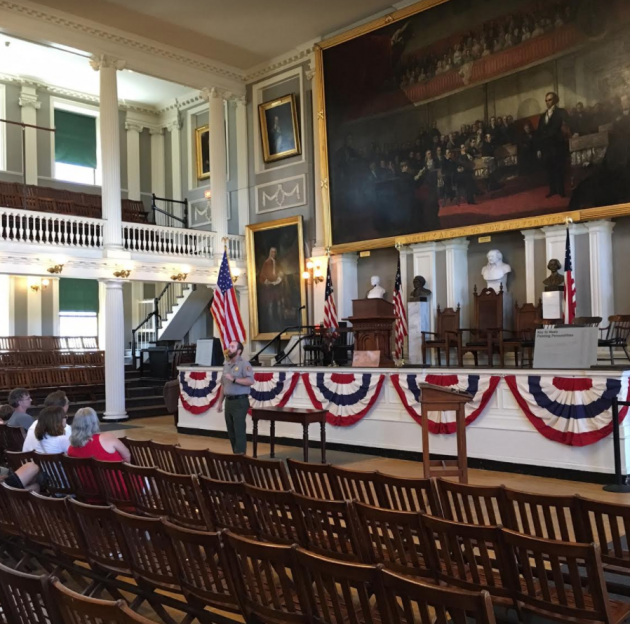
We loved getting to spend time at the Old South Meeting House, the site of the Boston Massacre, and Faneuil Hall.
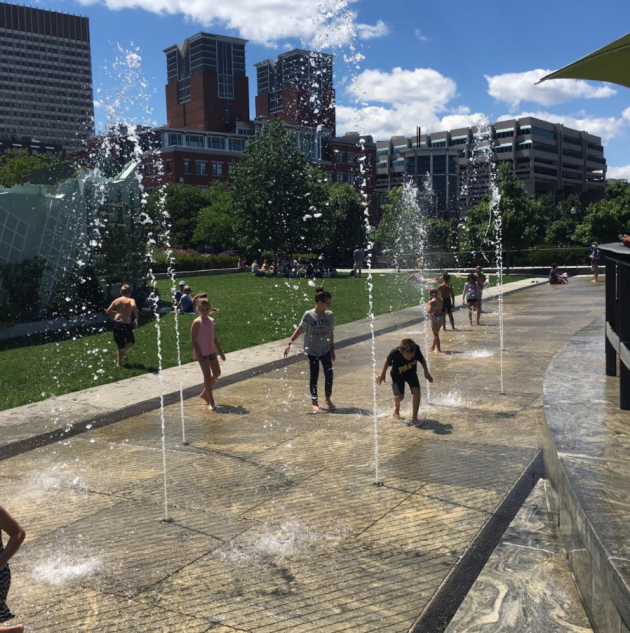


We went to the Rose Kennedy Greenway halfway through our day and then came back to it near the end of the day because our kids loved it so much!
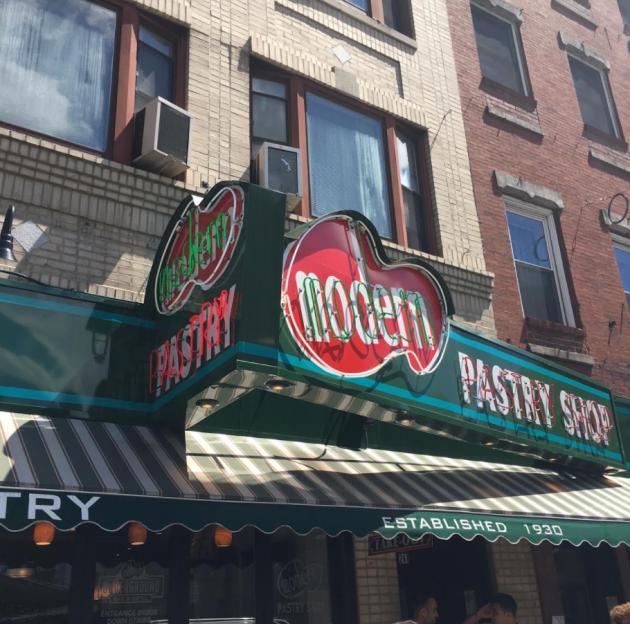
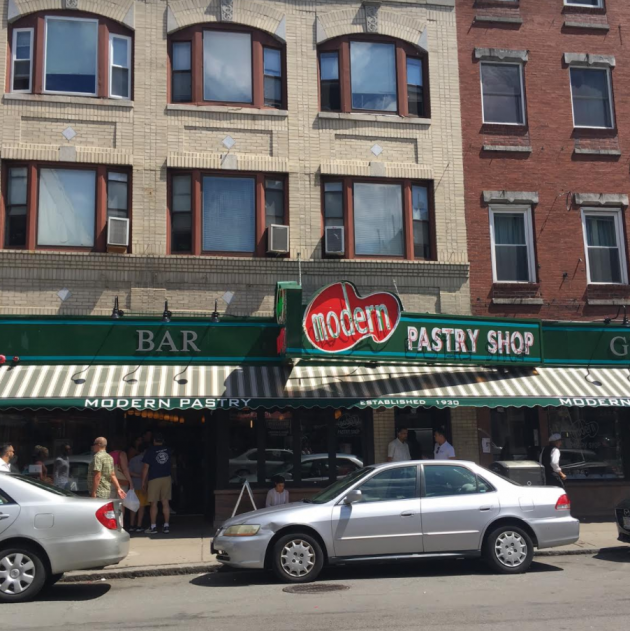
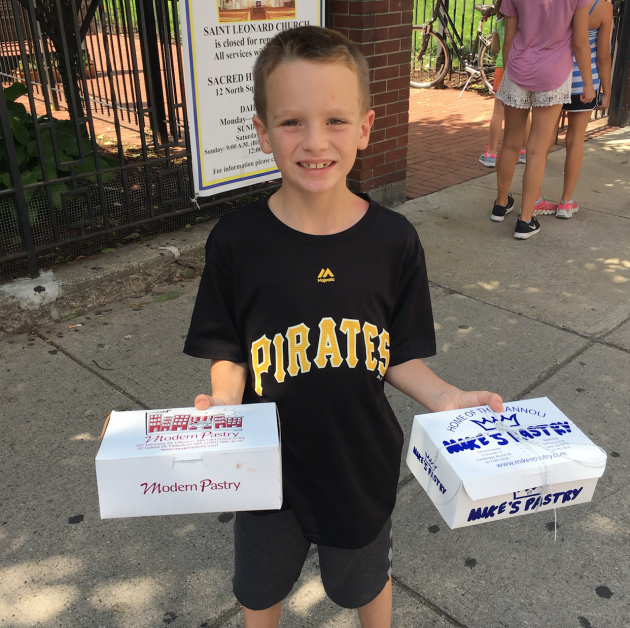
One of the things my followers on Facebook had told me that we had to do was to check out Mike’s Pastry’s and Modern Pastry. It seems like there might be a sort of friendly disagreement between locals as to which shop is the best.
Some locals said we HAD to go to Mike’s and others said we HAD to go to Modern. And most of the locals had a strong opinion as to which one we should go to! So we decided to go to both. 😉
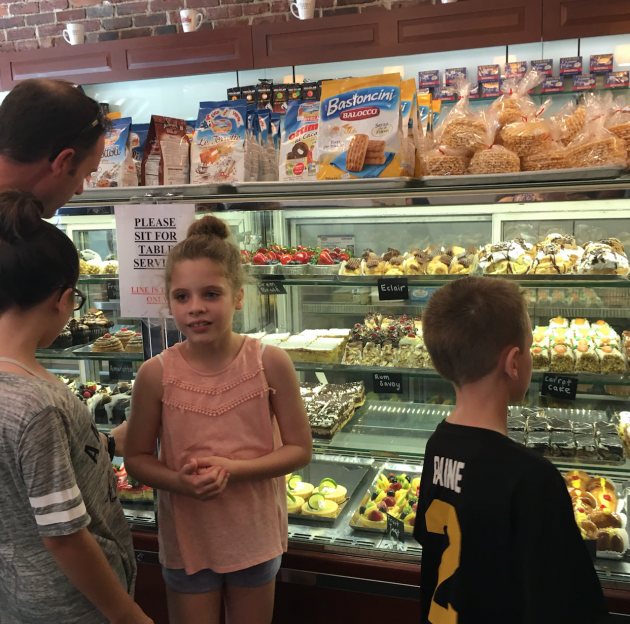
We went to Modern first. The line was out the door and they had quite a huge selection of options but they line moved so fast that we had barely made our decisions of what we wanted to get by the time we got up to purchase. Note: They only accept cash.


Mike’s was PACKED. As in, there were 6 (?) long lines out the door, you couldn’t really see what they offered (though it was clear there was a LOT of cannoli options!) because there were so many people in front of the display cases.
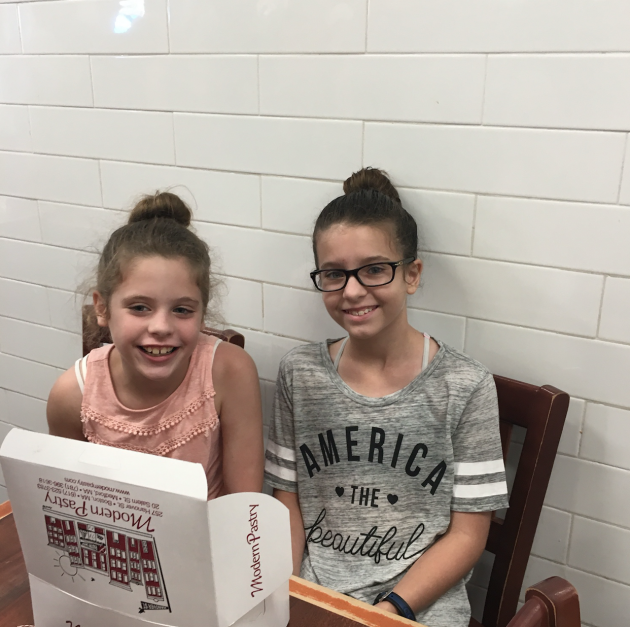
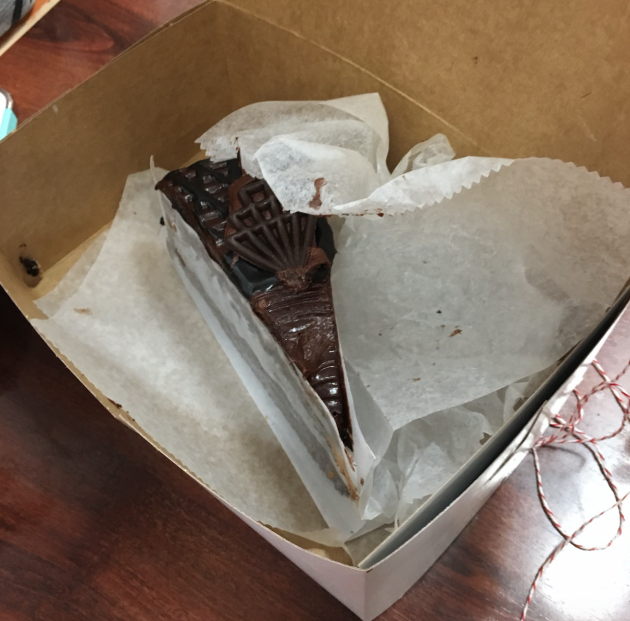
While Jesse waited in line, the kids ate what some of we bought at Modern Pastry… which was probably completely against the “rules”, but they were hungry and the wait was long! 🙂
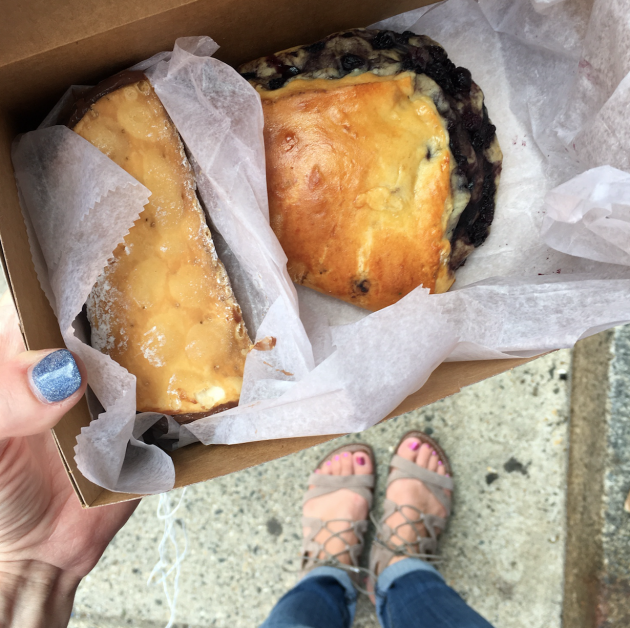
We got a cannoli and a scone at Mike’s and they were both so yummy!
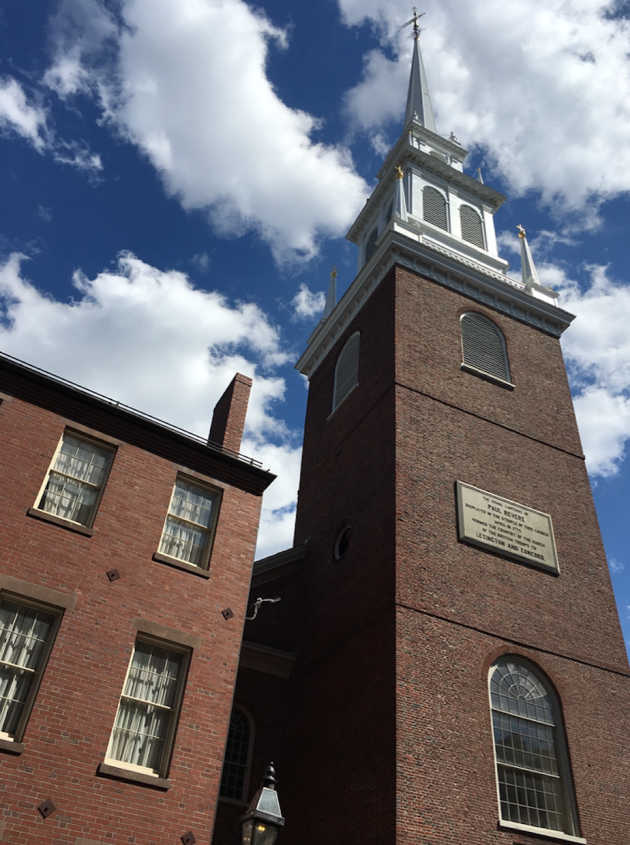
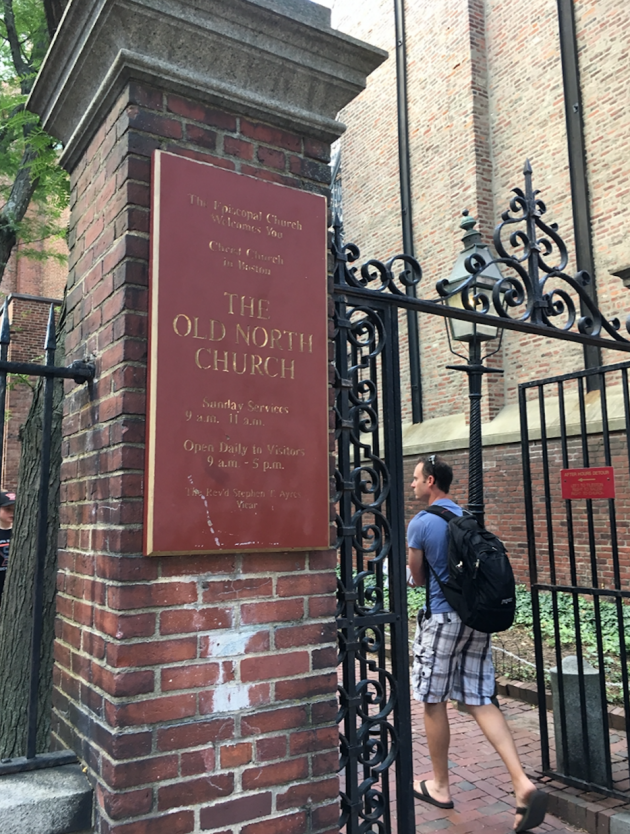

We also walked to see Old North Church and Park Street Church.
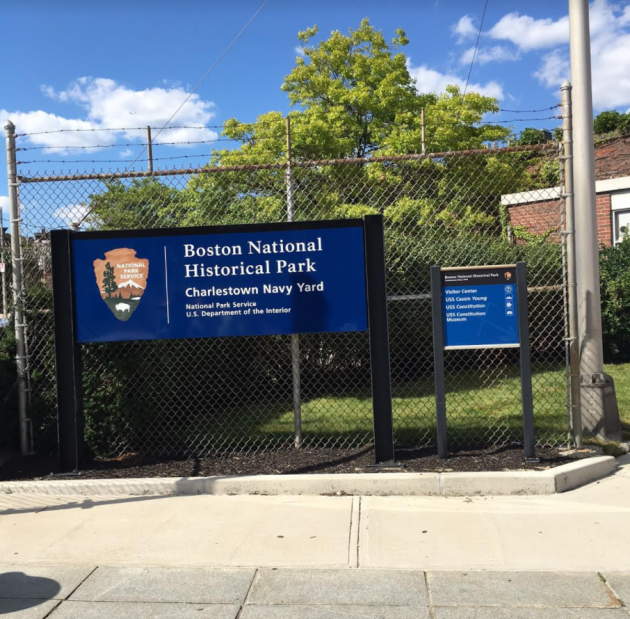

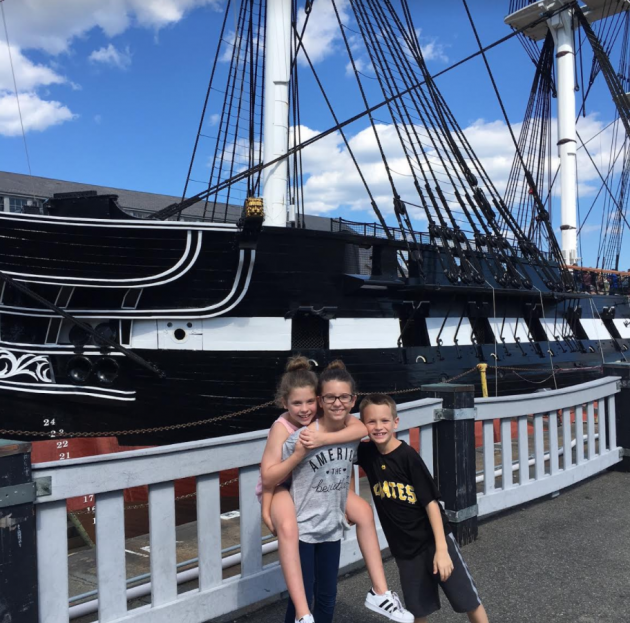
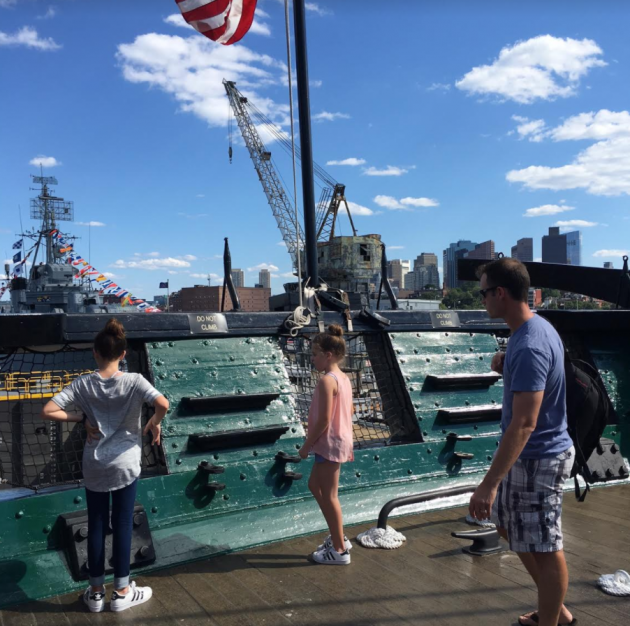


And then we walked over the bridge to the USS Constitution. We LOVED getting to go on board this ship and couldn’t believe how they let people just walk around and touch almost everything!
A few things I wish had known ahead of time:
- It’s a long walk to get to the USS Constitution from Boston Common — especially if you do it at the end of walking the Freedom Trail. Silas was pretty worn out, but he loved the ship.
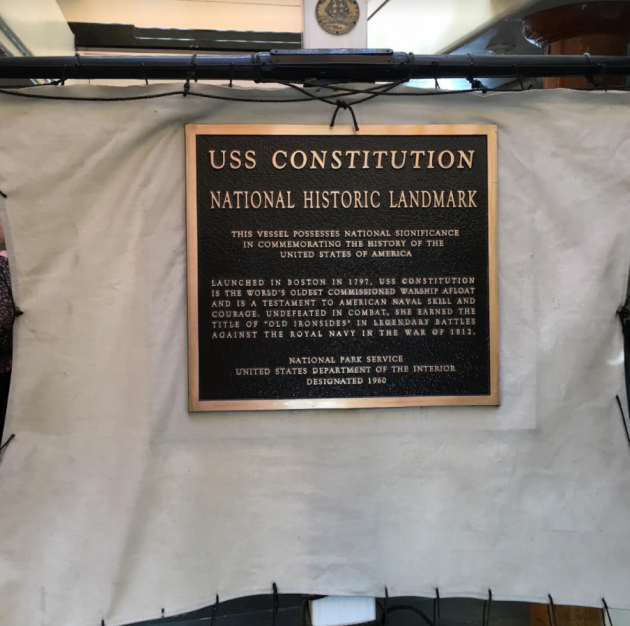
- It’s free to go on the ship. The museum (which we didn’t go to) is a suggested donation of $5-$10 for adults, $3-$5 for children, or $20-$25 for families.
- The ship is not open all the time. Sometimes it is closed for repairs. You’ll want to check before going to it. (I’d hate for you to make that long trek for nothing!)
- You have to show your ID to get on the ship and your bags are searched.
- They allow you to bring sealed food and water bottles on the ship. (Or at least they let ours through without mentioning that it would be a problem!)


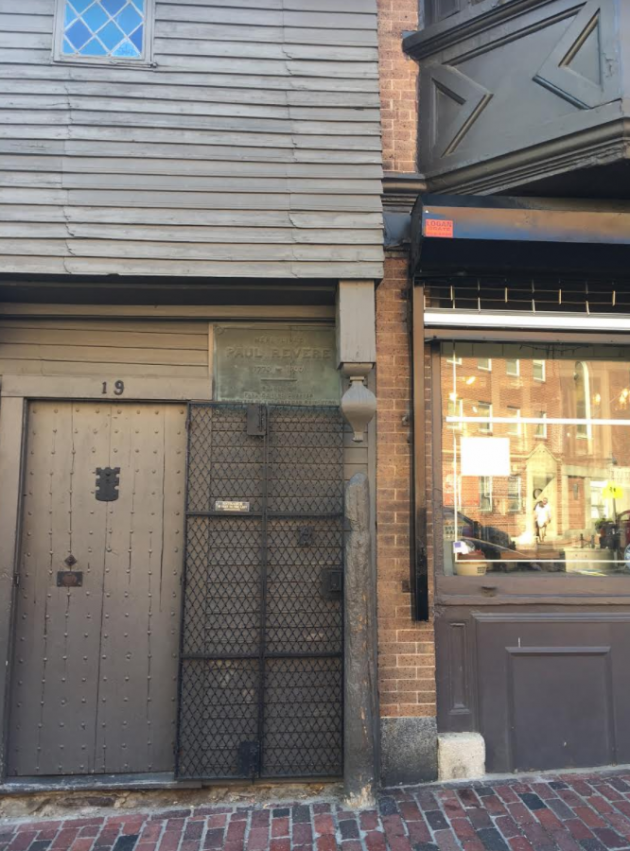
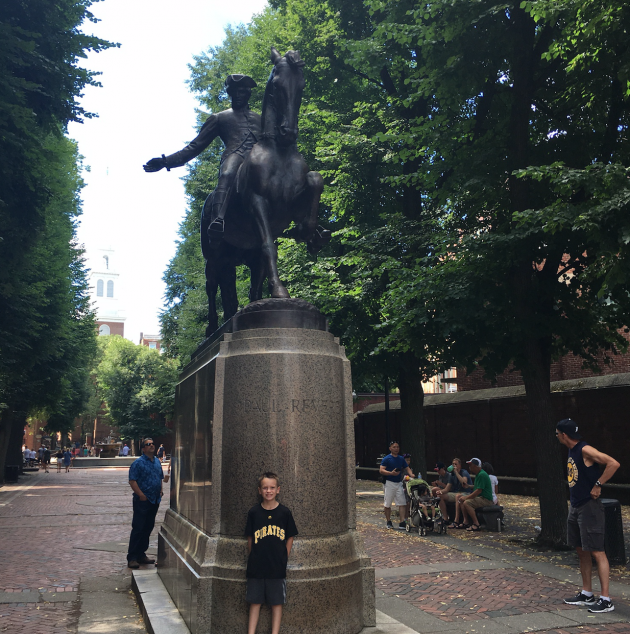
We walked back to Boston Common from the USS Constitution and saw Paul Revere’s house on the way.
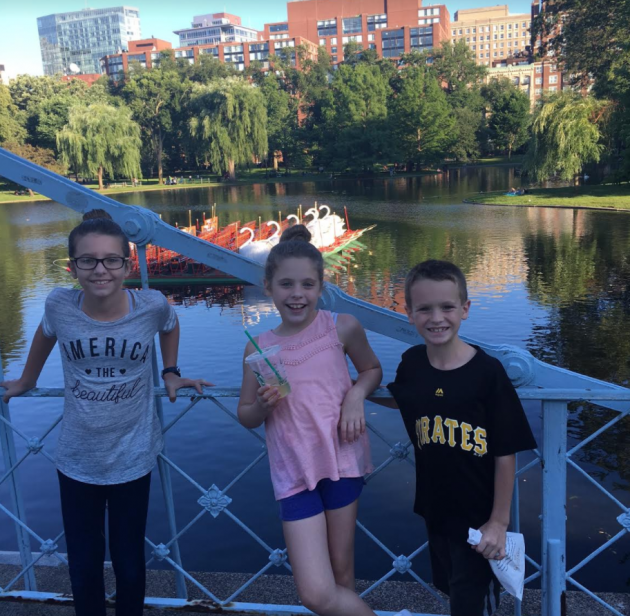

We stopped by a SweetGreen to grab some salads to split for dinner and then had a picnic at Boston Public Garden where we fed the ducks and marveled at how perfect the weather was and how beautiful the evening was. This park is very worth visiting!
We hadn’t expected to stay in Boston until after dinner time, so my phone died for the last hour of the day so I wasn’t able to get all the pictures I would have liked to of the park, but we would highly recommend it.
We then headed back to our car around 7:30 p.m. and drove to New Hampshire (our first time there!) to be able to say that we’d visited the state and then headed to Albany, NY for the night and then it’s onto to PA!
To be continued…
Have you been to Boston before? Any suggestions for the best free or inexpensive places to visit there?
Save Time, Money, and Your Sanity with an Annual Meal Plan
Guest post by Lisa of Lisa Tanner Writing:
Do you dream of lowering your grocery budget? Have you ever wander aimlessly through the kitchen, wondering what to cook? Are your kids always asking, “Mom, what’s for dinner?”
Yes…I can relate to all three of those questions! But don’t worry, I have a solution for you!
MEAL PLANNING!
I used to hate meal planning. In fact, I hated it so much I just didn’t do it. Then when meal times rolled around, the kids were hungry and wondering what we were going to eat… so was I!
I wasted so much time looking through cupboards, Googling recipes that use, “whatever ingredients I have in kitchen,” and then doing the actual cooking thing.
My grocery budget was out of control, because I wasn’t sure what I was going to cook — which meant buying a whole lot of everything, just in case. All that food sat in our pantry for who knows how long, and some of it eventually expired or spoiled. What a waste!
My Solution = Make an Annual meal Plan
Thankfully, three years ago, I discovered a better way. I tried an annual meal plan and a corresponding shopping list.
Now I always know what I’m cooking, the kids know what’s for breakfast, lunch, dinner, and snack on any given day, so they’ve stopped asking me, and I’m saving money because I’m buying with a plan! If I find a great deal on something on my master shopping list, I can stock up.
How to Make an Annual Meal Plan
Creating an annual meal plan isn’t nearly as complicated as it sounds! By using a combination of meal rotations and themed dinners, it comes together quickly.
I typically have my kids help me pick meals, because I’ve learned they complain a lot less if they have say in what we eat.
First, we tackle breakfast. Each child suggests a possible meal for breakfast. I mentally evaluate each of these options, looking for ideas that are:
- Easy
- Inexpensive
- Tasty enough to eat once a week for a year
If the idea meets all the requirements, I add it to our list. We keep brainstorming until we have seven, one breakfast for each day of the week.
On a piece of paper or a meal planner, I assign each breakfast to a day of the week. I try to match quick, or make-ahead breakfasts with days that tend to be busiest.
Lunch planning follows the same process, except I always have a day devoted to leftovers.
You can plan dinner the same way. But I don’t.
There’s something about eating the exact same dinner each week that I didn’t enjoy.
I needed a longer rotation period for dinner, so I decided to plan with themes. By picking four or five meals for each theme, I created a monthly rotation.
Wondering what themes to try? Here are some of my family’s favorites:
- Noodle Night
- Soup & Sandwich
- A variety of ethnic themes
- Seafood
- Crockpot Day
- Casseroles
For noodle night, we might enjoy these meals throughout the month:
- Beef stroganoff
- Spaghetti and Meatballs
- Chicken fettuccini
- Baked pasta
- Pasta salad
They’re all noodles, but it doesn’t feel repetitive!
NOTE: If you’re making your plan on the computer, I recommend linking to the recipes you find for each idea, to save time.
I’ve included copies of my own annual meal planner below — maybe it will help you get started!
- PDF version (it will open in a new window)
- Word Doc. (it will download to your computer so you can open and edit it with Word)
Making Your Shopping List
The real time and money saving magic happens through making your shopping list.
It typically takes me three hours, BUT then I’m finished for the year (except for a quick glance each month before I shop).
I go through each recipe, and write down every ingredient needed. By doing it in an Excel document, I don’t have to worry about writing something down twice, because I just filter out the duplicates.
I determine how much I need to buy each month of each ingredient, and put that on my spreadsheet. Using my best guess, I use another column to record prices for each. Then when I multiply the quantity by the cost, I have a pretty accurate budget for each month.
While taking the first shopping trip with the new list, I make sure to note price differences to update when I get home. I always round up to give myself a little buffer.
Benefits of an Annual Meal Plan
My favorite thing about an annual meal plan is that I only have to do it once every year! Other benefits include:
- Cooking faster. When you make the same thing every week or every month for a year, you learn to streamline each step.
- Less meal time complaining. Everyone knows what to expect, and they enjoy it!
- Fewer decisions to make. I’m all for freeing up brain power for more important things!
- Saving money. I’ve cut out grocery budget significantly.
- More opportunities for kids to master cooking. They help me cook the meals they pick each week, and have lots of practice by the time we switch.
Give annual meal planning a try. It seriously saves time, money, and your sanity!
As a mom of 8, Lisa Tanner is skilled at finding order in chaos. She loves helping other moms find ways to minimize their decisions to maximize productivity and live the life they want. When she’s not homeschooling the kids or milking a cow, you’ll find her blogging at Lisa Tanner Writing, about balancing diapers and deadlines.
Brigette’s $40 Grocery Shopping Trip and Weekly Menu Plan for 6
Brigette’s $40 Grocery Shopping Trip and Weekly Menu Plan for 6
We’ve had a different-than-usual week with company here for several days (and they showed up bringing lots of food with them!) and several different generous friends stopping by our house with things like freshly picked peaches and home grown tomatoes! Yum! When I analyzed our refrigerator yesterday, I realized there was almost nothing we needed – except to eat up all kinds of leftovers. 🙂 I did make a Harris Teeter trip to snag a few good deals, but the main goal this week is to work on eating up what we already have.
 Zaycon
This is the first time I’ve bought 80/20 ground beef from Zaycon, and if you’re into grilled hamburgers – this stuff is GREAT! I already buy all my chicken from Zaycon, and I’ve tried their 93/7 ground beef – all of which we love! I decided it was time to branch out a little. 😉 We’ve been enjoying the meat all week! It comes in 4 10-lb packages, so I divided it up into around 40 freezer ziplocs before freezing it. It does take some work to get it freezer ready, but it’s worth it. It normally sells for $111.60 ($2.79/lb), but I waited for Zaycon to run a “deal” on it, which they run on all their products periodically. Our family loves Zaycon, and this mama loves not having to buy meat every week at the grocery store!
40lbs 80/20 Fresh Ground Beef – $87.05, used $62.31 in credits – $24.74
Total: $24.74
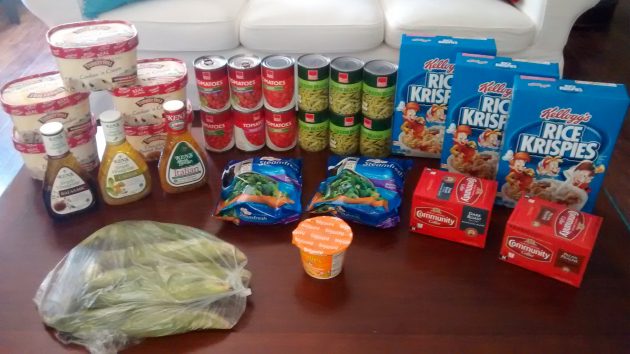
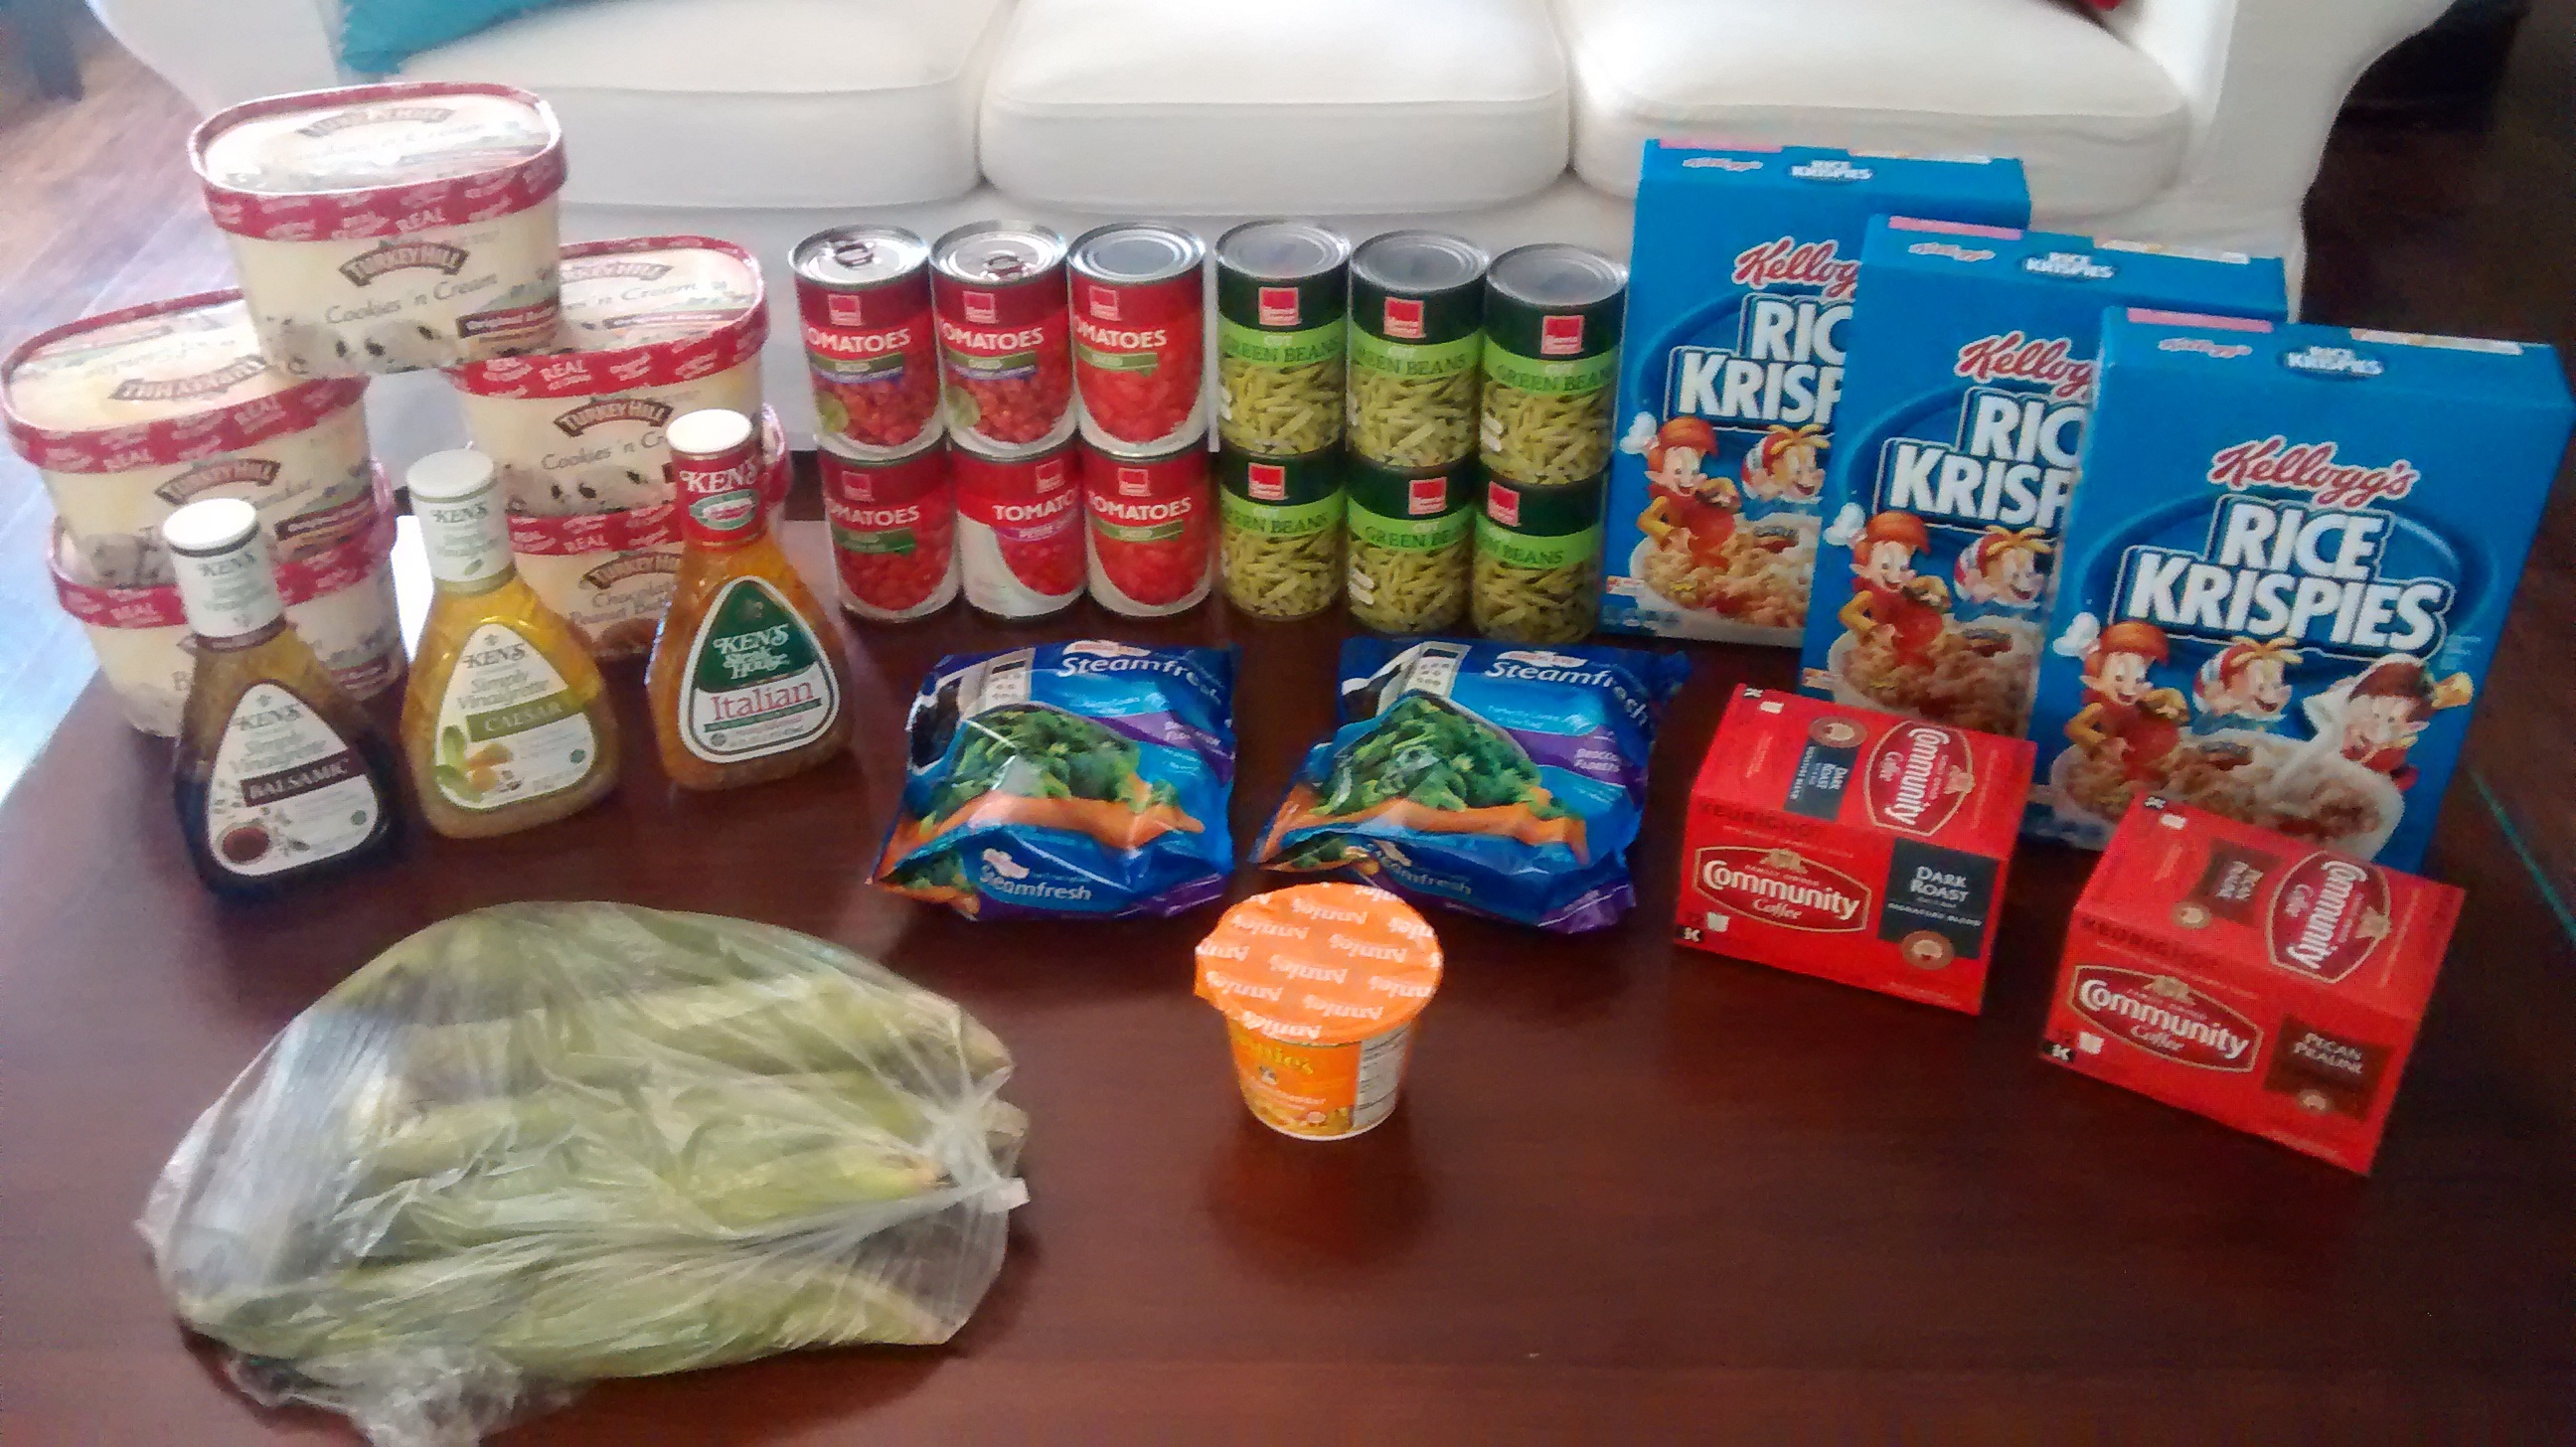
Harris Teeter
5 tubs Turkey Hill Ice Cream (B2G3) – $9.98, used $1.50/1 printable – $8.48 after coupon
5 ears Sweet Corn – $1.00
6 cans Tomatoes – $2.00
6 cans Green Beans – $2.00
3 boxes Rice Krispies – $5.01, used 3 $0.50/1 printable (doubled) – $2.01/3 boxes after coupons
2 bags Bird’s Eye Steamfresh Broccoli – $2.39, used $1.00/2 Birds Eye Varieties – 6-25-17 SS (exp. 08/14/17) – $1.39/2 after coupon
3 bottles Ken’s Simply Vinaigrette Salad Dressing – $4.47, used 3 $0.75/1 printable (doubled) – FREE after coupons
1 Annie’s Mac and Cheese Cup – $1.00, used $0.50/1 printable from annies.com (doubled) – FREE after coupon
2 boxes Community Coffee Kcups – $9.98, used $4/2 Community Coffee Coupon, RP 7/16, plus receive 2 $2 rebates from Checkout 51 AND a $3 catalina for buying 2 – $1.02 MM after coupons, catalina and rebate!
Total after coupons, rebates, and catalina: $15.86
Grocery Total for the Week: $40.60
Weekly Menu Plan
Breakfasts
Peach Overnight Oatmeal x 2
Cereal x 2
Scrambled Eggs, Toast, Fruit x 3
Lunches
Grilled Cheese and Tomato Sandwiches, Peaches, Carrot Sticks x 2
Lunch at Church – I’m bringing a big Tossed Salad
Homemade Macaroni and Cheese, Raw Veggies with Dip, Apple Slices x 2
Leftovers x 2
Dinners
Grilled Hamburgers, Baked Potato Wedges, Tossed Salad, Green Beans
Teriyaki Chicken, Rice, Broccoli, Peaches
Homemade Cheese Pizza, Watermelon
Grilled Chicken, Corn on the Cob, Grilled Veggies (Peppers, Zucchini, Onions and Mushrooms), Sliced Tomatoes
Egg Roll Bowl Recipe, Rice, Fruit Salad
Leftovers x 2

7 Freezer-Friendly Dessert Recipes

Looking for some fun dessert recipes that you can make ahead of time and freeze for later?
These are 7 of my favorite freezer-friendly dessert recipes…

1. Whole-Wheat Chocolate Chip Oatmeal Cookies — This a staple dessert recipe in our family. It’s a hearty cookie that blends two of my favorite foods together — chocolate and peanut butter. And the whole-wheat flour and oats might help balance out the sugar and fat… or at least I like to tell myself that!
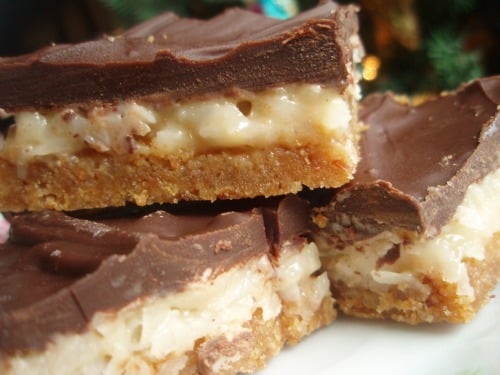
2. Better Than Mounds Bars — This delicious dessert from my sister is great for special occasions! If you take a plate of these decadent candy-bar-like cookies to a get-together or party, you will have people begging you for the recipe! They are very rich (which means one pan goes a long way!), indulgent, and an amazing addition to a plate of assorted homemade Christmas goodies.

3. Oreo Ice Cream Cake –Need a quick and easy recipe for a hot day? This is such a simple recipe and pretty much everyone loves it! This cake is perfect for a summer birthday or get-together. Plus, it doesn’t heat up the house!
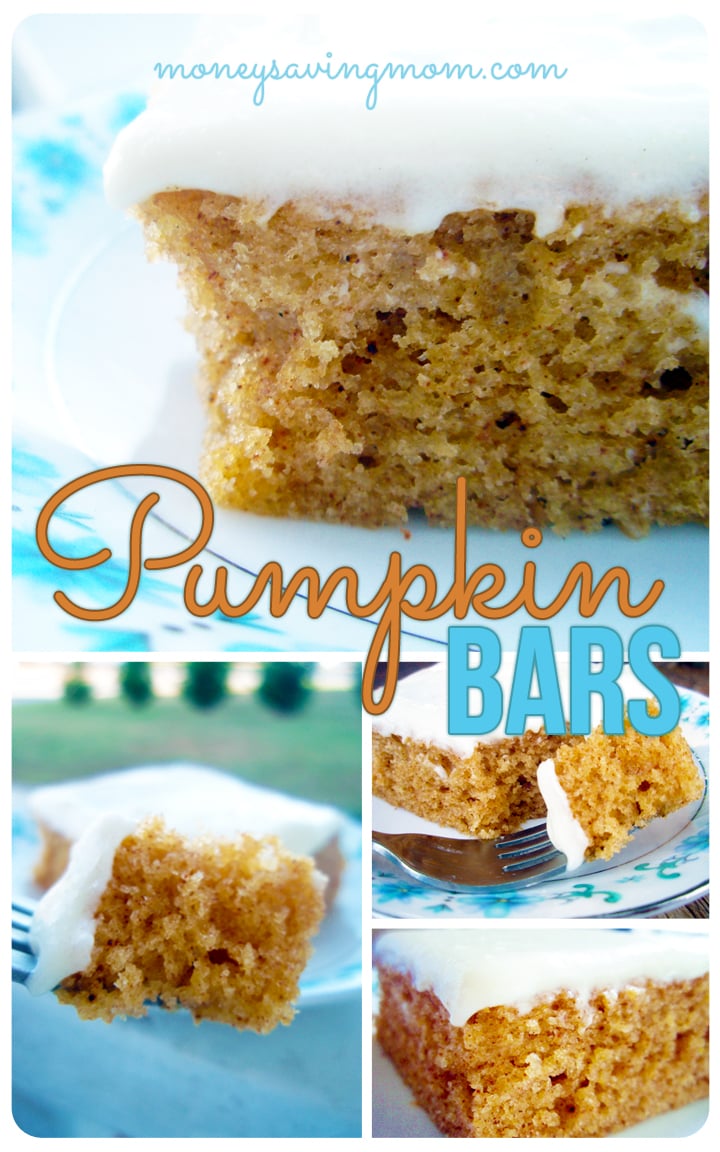
4. Pumpkin Bars — For as long as I can remember, this recipe has been a family favorite during the fall months. Since these pumpkin bars are easy to make and the recipe makes a huge pan, they are perfect for serving to company or taking to a party. They also freeze beautifully, thaw extremely quickly, and stay incredibly moist without getting soggy.

5. Favorite Chocolate Chip Cookies — These buttery gems are crispy on the edges and soft and gooey in the center. Not too puffy, and not too flat. Perfect. It’s a pretty basic recipe with a couple of interesting additions. I don’t recommend making any substitutions or leaving anything out!

6. Peanut Butter Bon-Bons — These bon-bons only take a handful of ingredients, make a large batch, and store in the freezer very well. They look fancy and indulgent and taste amazing. Just one word of warning, though: these are extremely addictive!
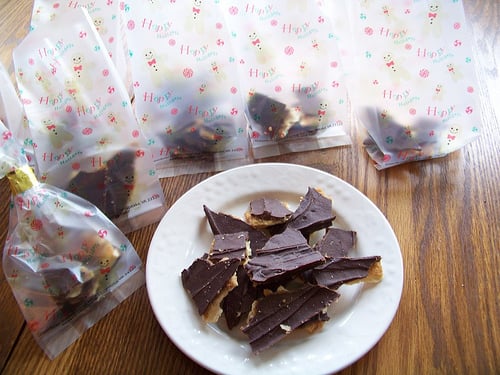
7. World’s Easiest Christmas Candy — We used to have a yearly family tradition of making this Christmas Candy. It’s the easiest stuff ever to make, it is inexpensive, and it’s SO addicting! And I think this would be a fun dessert any time of the year. 😉
Looking for other freezer-friendly recipe ideas? Try these:
- 7 Make-Ahead Freezer-Friendly Pancake Recipes (Plus Tips & Tricks!)
- 9 Freezer-Friendly Breakfast Recipes to Simplify Your Mornings
- My Top 7 Favorite Freezer-Friendly Muffin Recipes (Plus Grain-Free Options!)
- 8 Delicious & Healthy Freezer-Friendly Snack Ideas
What are some of your family’s favorite dessert recipes? I’d love to hear!