
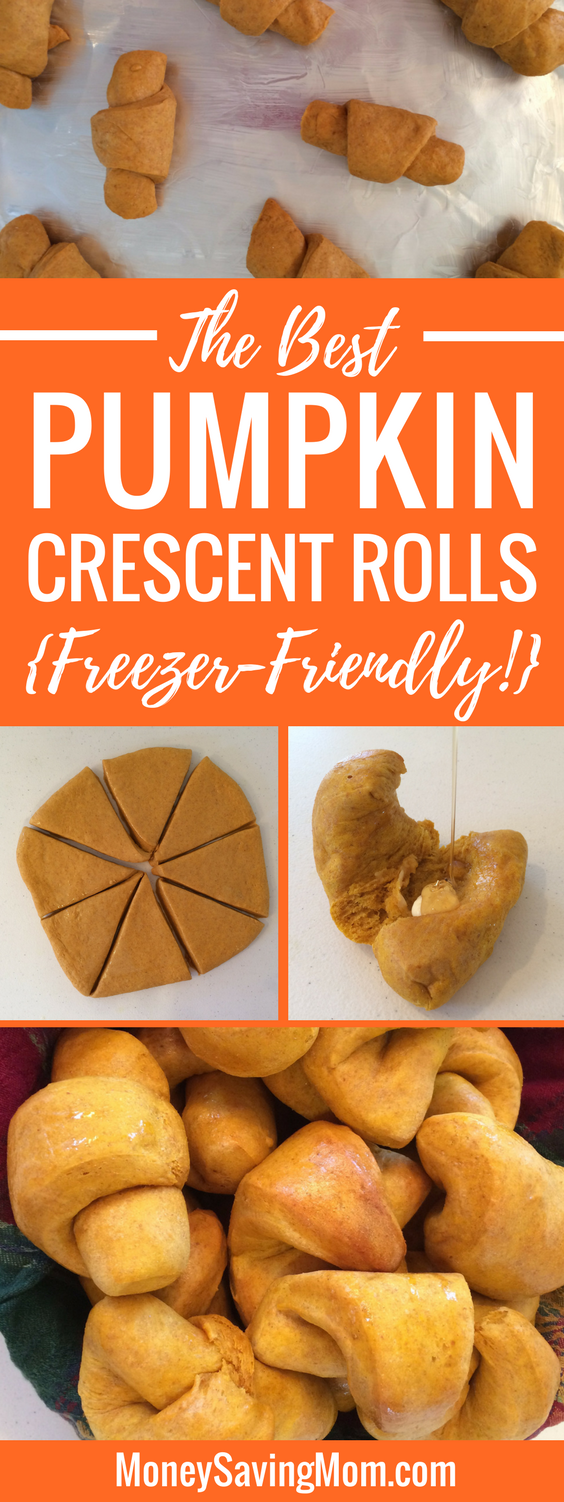
These Pumpkin Crescent Rolls are SO soft, delicious, and perfect! You’ll make these time and time again. They pair wonderfully with almost any meal! (Find more homemade bread recipes here.)
Guest post from Brigette Shevy
I absolutely love baking. I am constantly experimenting in the kitchen with my two favorite things to make – breads and desserts. I try new recipes on a weekly basis, and I rarely make the same thing twice.
My point in mentioning this?
We love these pumpkin crescent rolls!
I have made this recipe again, and again, and again. They’re that good, folks!
When it comes to homemade rolls, it doesn’t get much better than these.
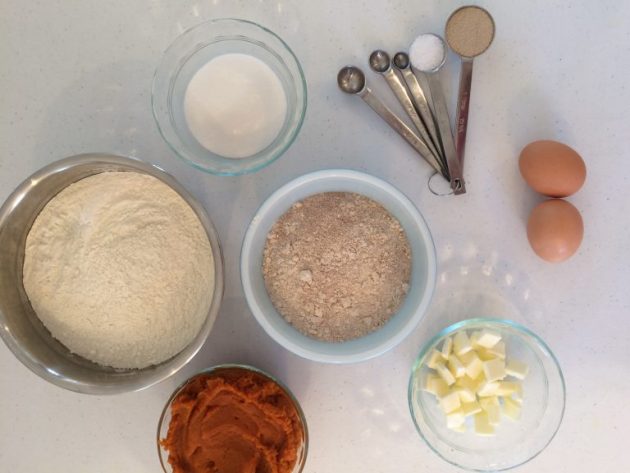
Ingredients for Pumpkin Crescent Rolls
- 1 ½ c. pumpkin puree (canned or homemade), slightly warmed
- ½ c. warm water
- 1/4 c. sugar
- 3 Tbsp. softened butter, cut into pieces
- 2 eggs
- 1 tsp. salt
- 4 c. all-purpose flour
- 1 ½ c. whole wheat flour (or additional all-purpose flour)
- 1 package instant active dry yeast
- 1/4 c. melted butter, divided
NOTE: if you’re worried about a pumpkin taste, let me reassure you that you actually can not taste the pumpkin in the finished rolls at all. That said, the pumpkin is there for a reason — it makes these rolls tender, soft and absolutely delicious (all while boosting your daily vitamin A intake!)
How to make Pumpkin Crescent Rolls
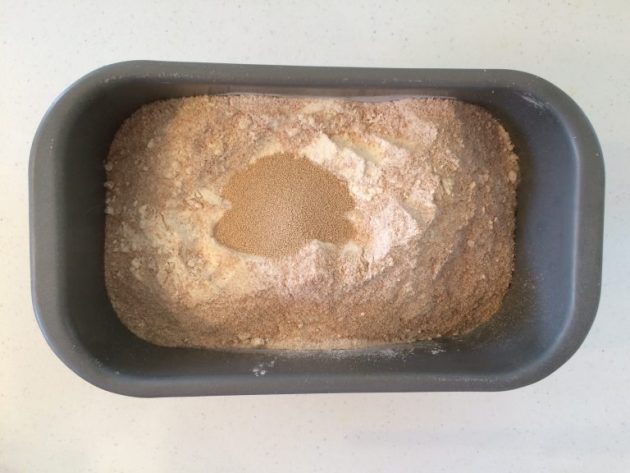
1. In a 2-lb bread machine (I love this one!), add all ingredients in the order listed (except 1/4 c. melted butter), or in the order recommended by your specific bread machine.
2. Run the short dough cycle.
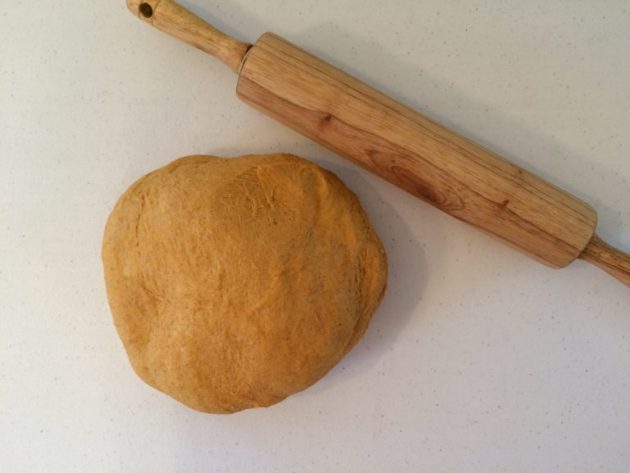
3. On a lightly floured surface, divide dough into 2 balls.
4. Roll each ball into a 12-inch circle and brush with half the melted butter.
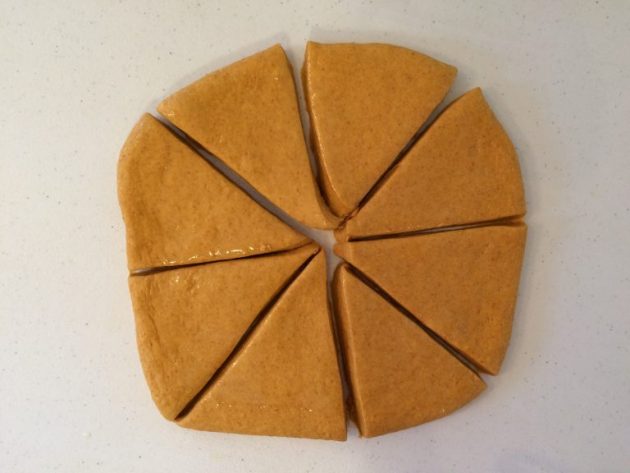
5. Cut each circle into 8-12 wedges.
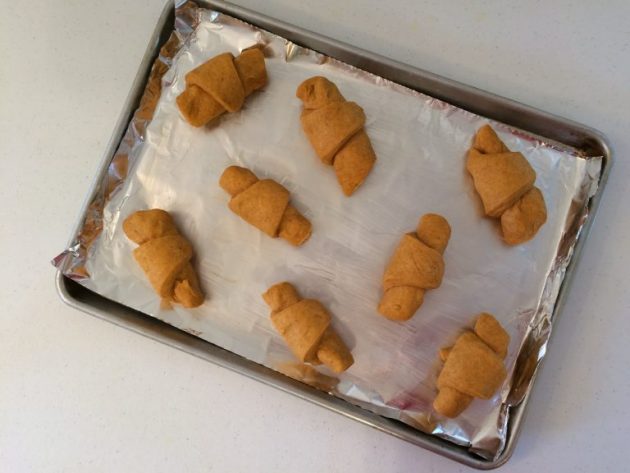
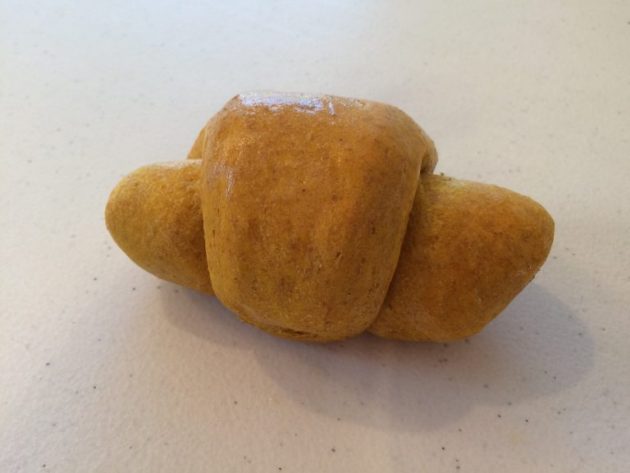
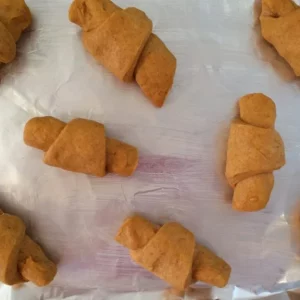
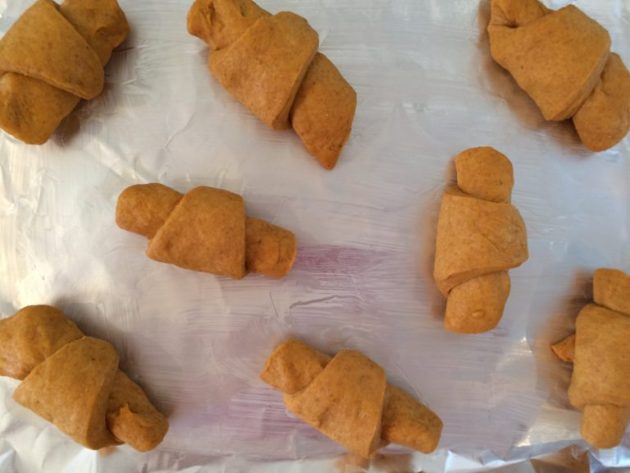
6. Starting at long end, roll each wedge to the tip of the dough and pinch to seal.
7. Place crescent rolls on greased cookie sheets and let rise in a warm place for 30 minutes.
8. While rolls rise, preheat oven to 375ºF.
9. Bake rolls in preheated oven for 12 minutes, or until starting to brown.
10. Brush with remaining melted butter.
11. Serve with even more butter and honey!
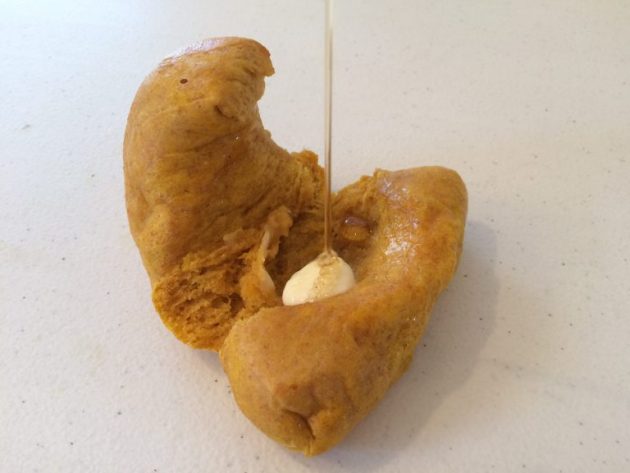
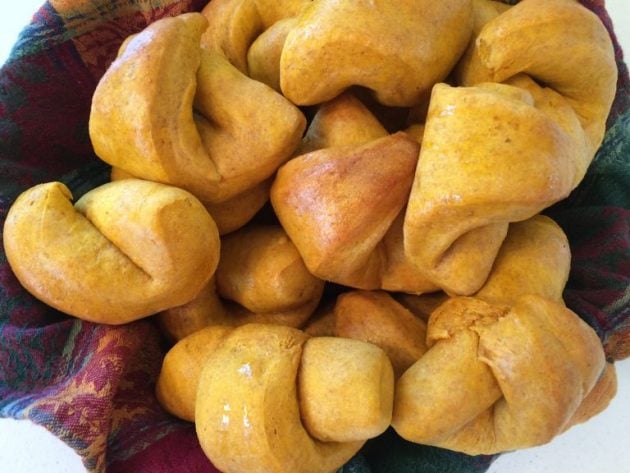
The finished rolls are a beautiful golden fall color – although the color varies depending on what kind of pumpkin you are using, but as mentioned above, they will not taste like pumpkin.
How to Freeze Pumpkin Crescent Rolls
These rolls freeze well — just put cooled rolls in a zip top freezer bag and pop in the freezer. You can pull out however many you want for a meal, let them defrost on the counter, and pop them in the microwave for a few seconds to reheat them.
I’ve had great success with them still being nice and soft after several days too — they really are the perfect accompaniment for soups and stews, or almost any meal!
We love these plain or slathered with butter and honey – and we even cut them in half and use them as sandwich bread (for any sandwich filling that works well on soft, light bread).
I can almost guarantee these rolls will be a new favorite food at your dinner table too!
Pumpkin Crescent Rolls
Ingredients
- 1 ½ c. pumpkin puree slightly warmed
- ½ c. warm water
- 1/4 c. sugar
- 3 Tbsp. softened butter cut into pieces
- 2 eggs
- 1 tsp. salt
- 4 c. all-purpose flour*
- 1 ½ c. whole wheat flour or additional all-purpose flour
- 1 pkg instant active dry yeast
- 1/4 c. melted butter divided
Instructions
- In a 2-lb bread machine, add all ingredients in the order listed (except 1/4 c. melted butter), or in the order recommended by your specific bread machine.
- Run the short dough cycle.
- On a lightly floured surface, divide dough into 2 balls.
- Roll each ball into a 12-inch circle and brush with half the melted butter.
- Cut each circle into 8-12 wedges.
- Starting at long end, roll each wedge to the tip of the dough and pinch to seal.
- Place crescent rolls on greased cookie sheets and let rise in a warm place for 30 minutes.
- While rolls rise, preheat oven to 375ºF.
- Bake rolls in preheated oven for 12 minutes, or until starting to brown.
- Brush with remaining melted butter.
Notes
Nutrition
Love this recipe?
Make sure to share and save it on your favorite platform below!
Brigette is a full-time wife and mother who is blessed with three amazing bundles of energy (ages 5, 3 and 1). She enjoys music, experimenting in the kitchen, homeschooling her children, finding great deals, long-distance running, and anything chocolate.
Looking for more yummy pumpkin recipes? Check these out:
- Pumpkin Pie Oatmeal
- Gluten-Free, Dairy-Free Pumpkin Pecan Chocolate Chip Muffins
- Homemade Pumpkin Spice Latte
- Homemade Pumpkin Pie Frappe
- Pumpkin Scones (these are SO good!)
- Pumpkin Chocolate Chip Muffins (these are the BEST!)
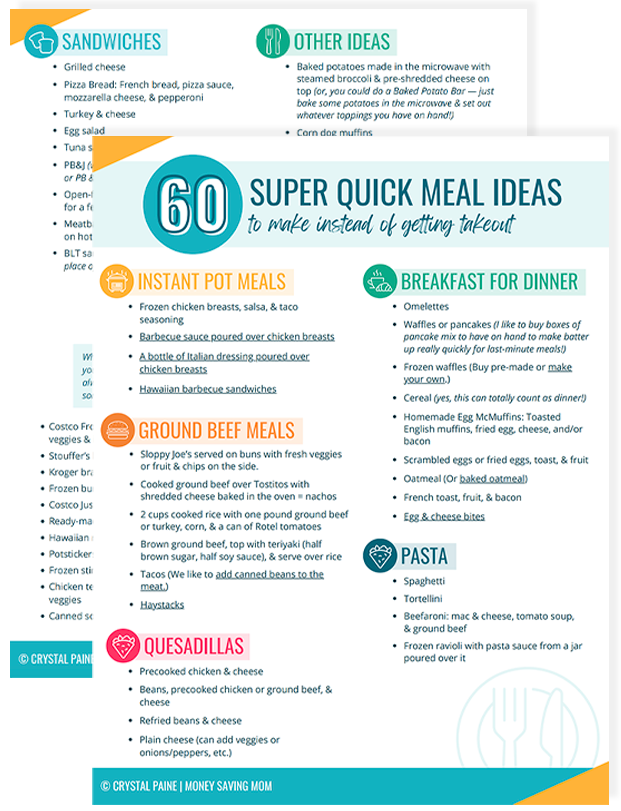
FREE DOWNLOAD: 60 Meals To Help You Avoid Takeout!
Meal time just got so much easier!
Reader Interactions
Money Saving Mom® Comment Policy
We love comments from readers, so chime in with your thoughts below! We do our best to keep this blog upbeat and encouraging, so please keep your comments cordial and kind. Read more information on our comment policy.
These make the best rolls!! Just made a batch today. Thanks to your sister for a great recipe. 🙂
Oh yay!! I love these rolls too! -Olivia, MSM Team
I made these years ago when you first posted. I can attest that they are indeed wonderful! Thanks for the reminder. Will be making again tonight.
Dude, I’ve totally made these before. Think i found the recipe here on your blog in times past. It’s one of my faves now. Super easy, perfect everytime. They freeze really well too. Highly recommend.
We love these! We have been making them every Thanksgiving and/or Christmas for years since you first posted this recipe!