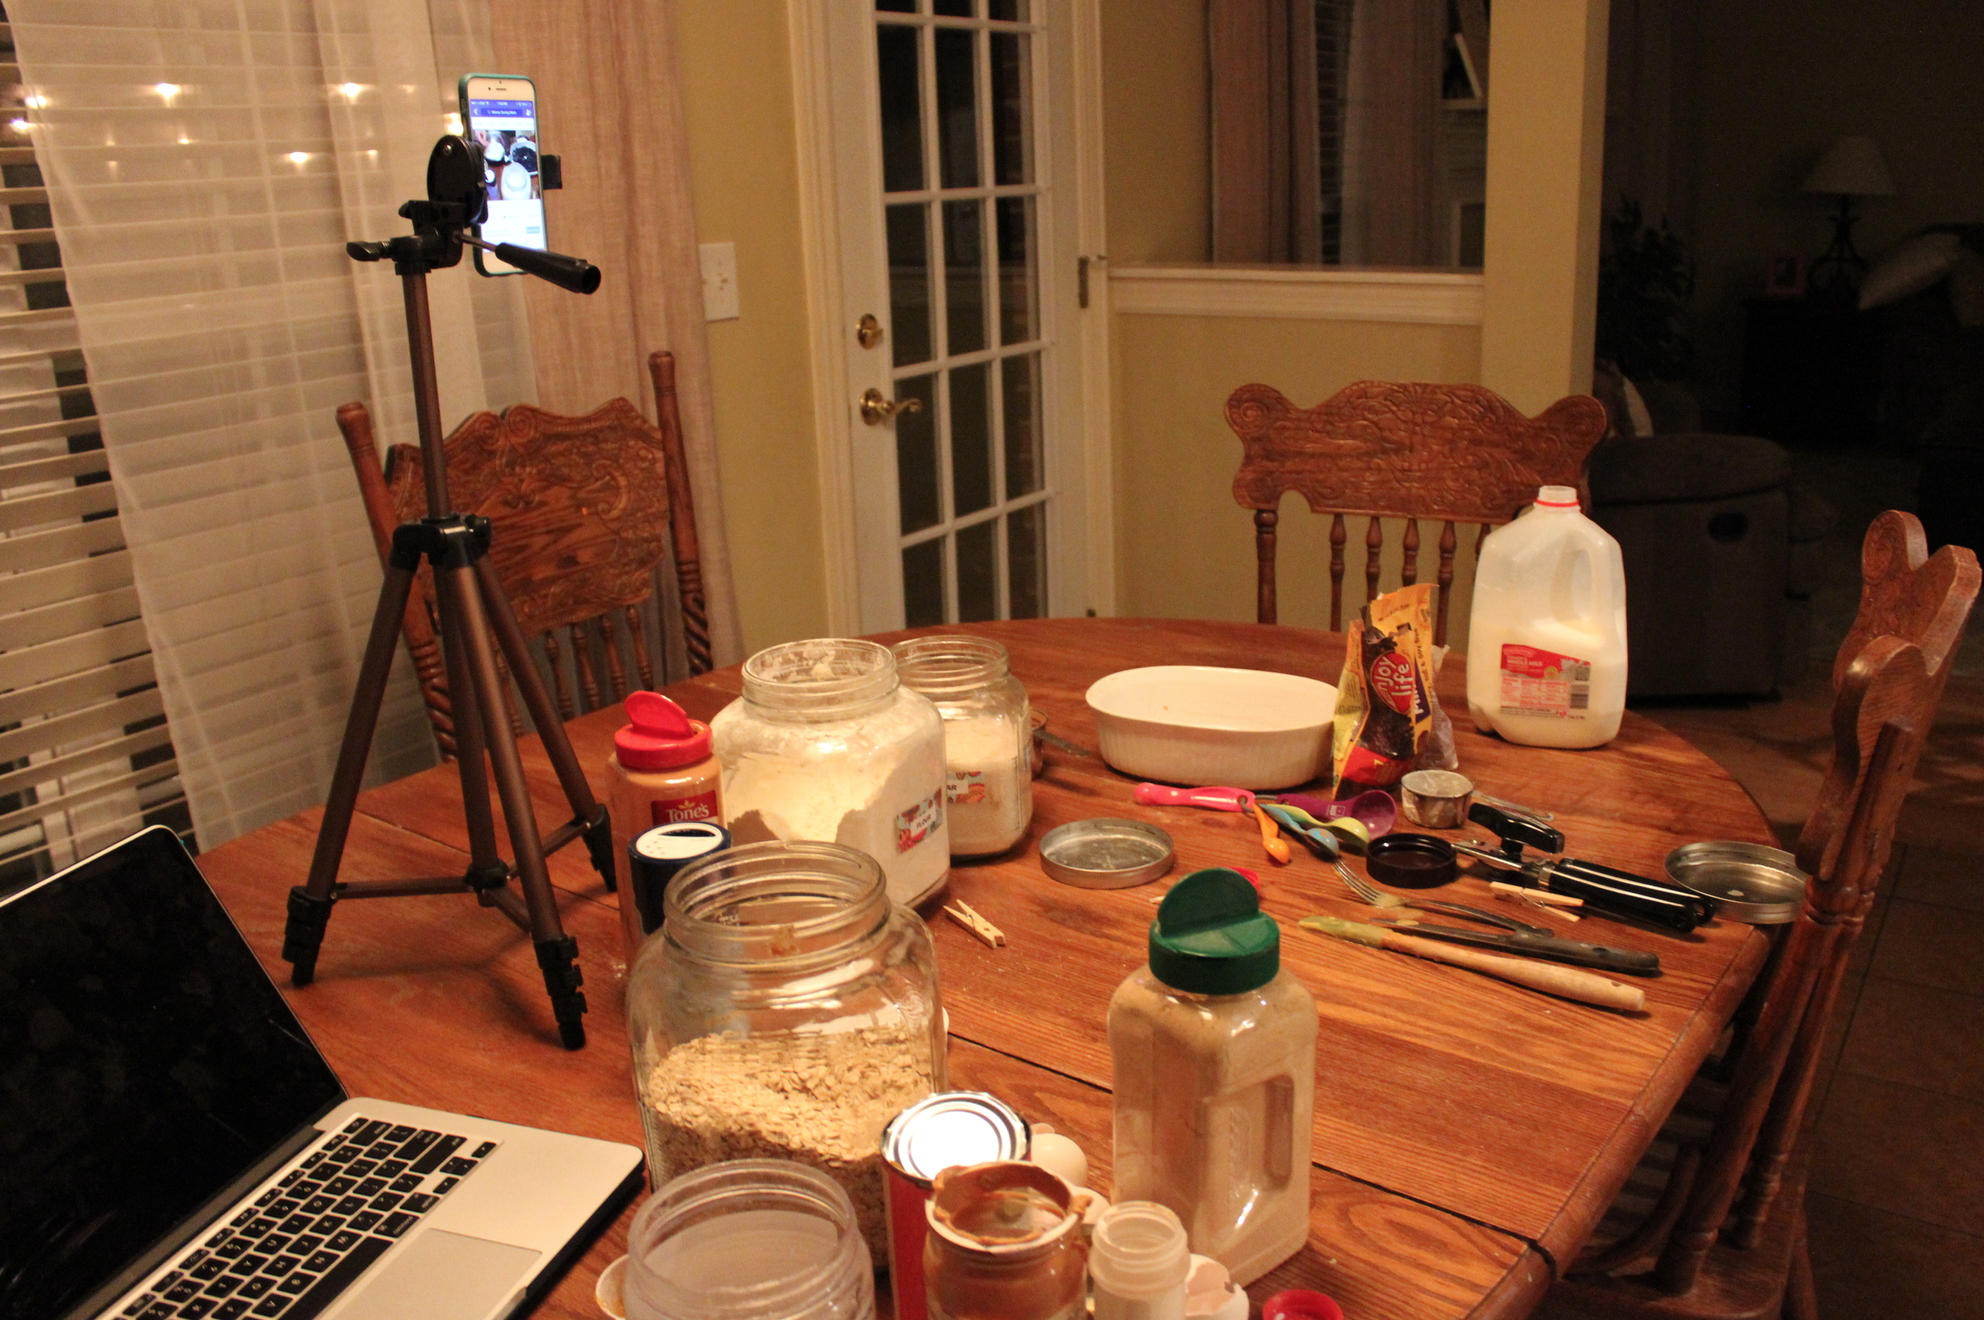
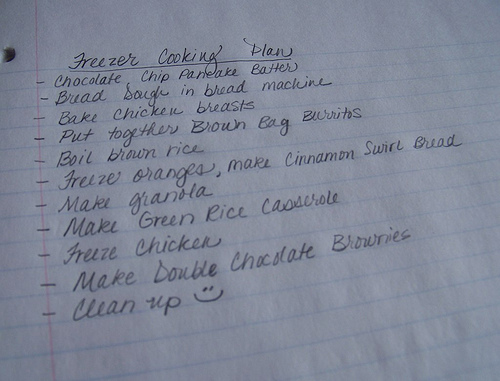
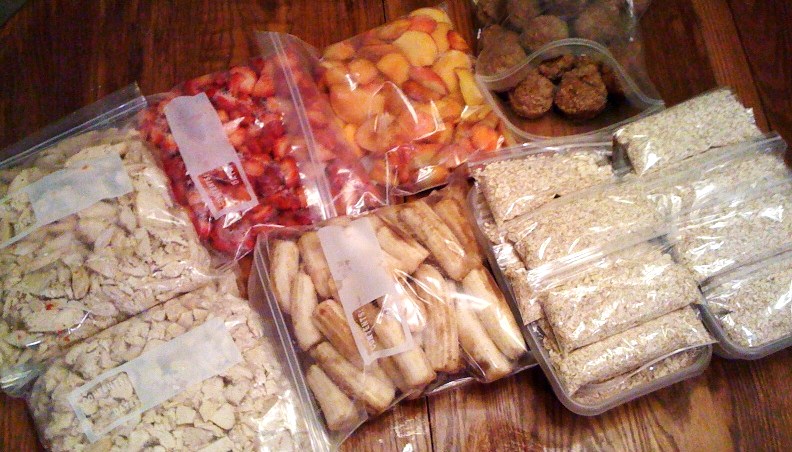
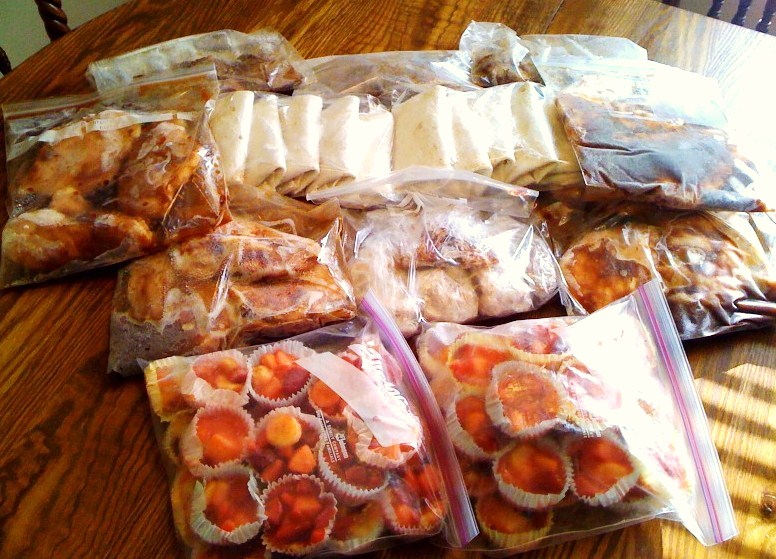
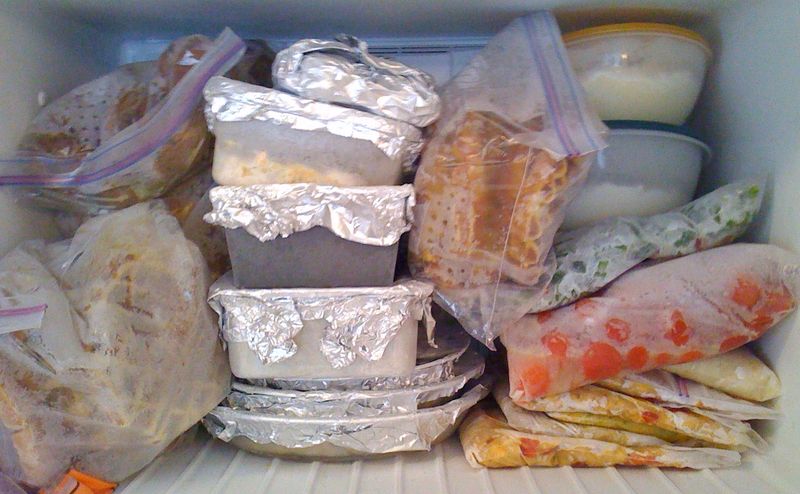
Freezer Cooking Day: Crockpot Sausage & Peppers, Slab Apple Pie, Apple Pie Filling, Muffins, Ziti, and Taco Meat
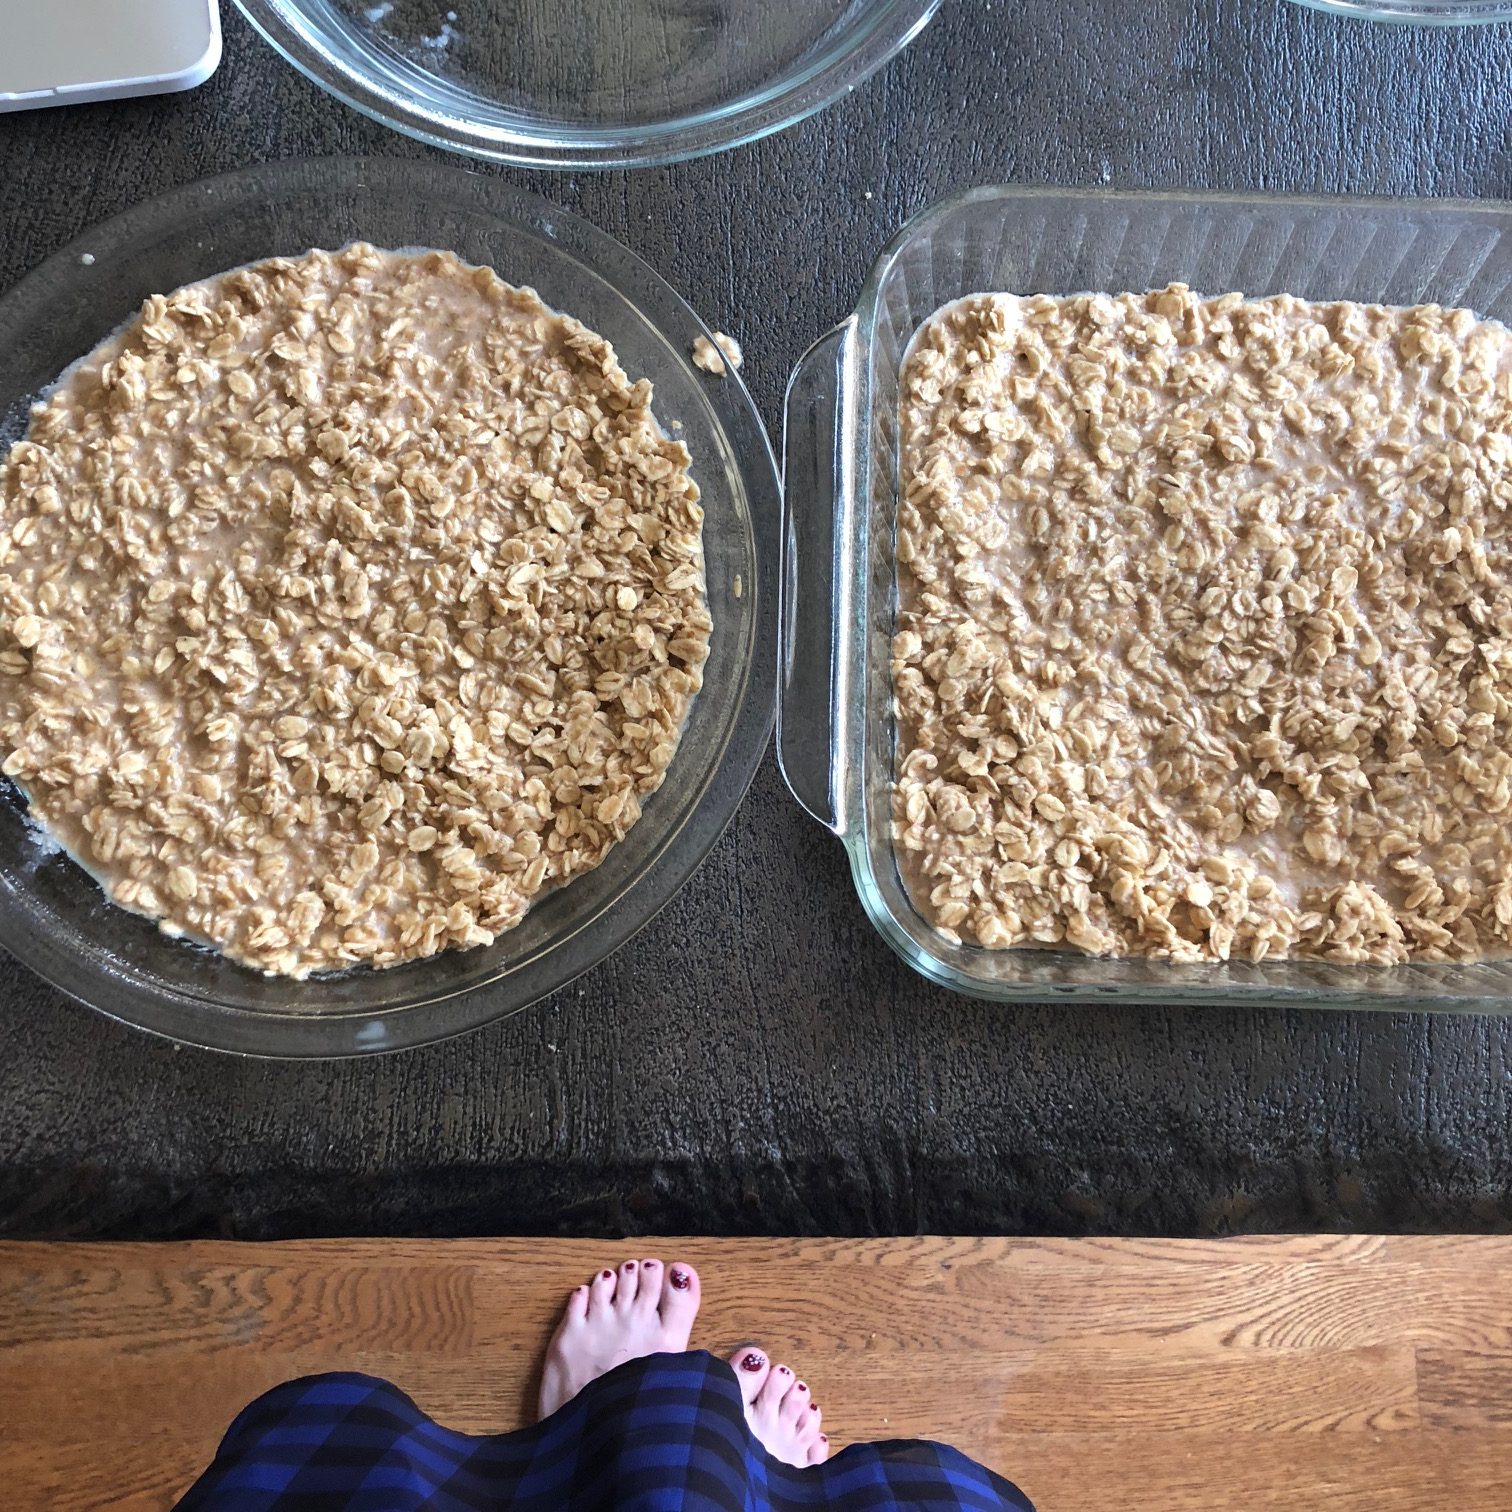
Freezer Cooking: Blueberry Coconut Crisp, Chocolate Chip Peanut Butter Bars, and Pumpkin French Toast