
Head on over to QueenBee Coupons to see how she creatively scored $110 in free groceries from her garage sale proceeds and chicken coop purchases.

Saving Families Money Since 2007


Head on over to QueenBee Coupons to see how she creatively scored $110 in free groceries from her garage sale proceeds and chicken coop purchases.


I’ve been wanting to try making homemade window cleaner for awhile, so when I discovered we were completely out of it, I knew the day had come!
This stuff is so simple to make — and it really works. I put it to the test on our grimy, fingerprint-laden sliding glass door and it totally passed with flying colors.
Now my question is: why have I waited this long to try making my own window cleaner?? I certainly will never be able to justify paying even a $1 per bottle for Windex again when this is so easy to make, works so well, and is so inexpensive!
By the way, this does smell a little like vinegar, but I think that the essential oil helps to tone down the vinegar-y smell. If you try this recipe and you don’t think it works very well, there are two other homemade window cleaner recipes on The Family Homestead site.
Combine all ingredients in a plastic spray bottle. Shake well before using. Use like Windex on glass and mirrors.
Note: I was concerned it might only work if you used a paper towel to wipe the glass surfaces. I was pleasantly surprised to find that it worked well when wiped with a cloth, so I can use it without having to buy paper towels!
Recipe from How Does She.
Have you made your own window cleaner before? If so, what recipe did you use and do you think it works well?

I’ve been hinting around that I’m starting a new series/challenge here this week and it’s finally time for the “big reveal”! 🙂
We’ve done 4 Weeks to a More Organized Home and 4 Weeks to Fill Your Freezer so far this year. Those challenges were great, but they required quite a bit of time and effort many days (or maybe that should be all of the days??).
I wanted to do a challenge for summer, but I wanted to keep it simple and fun. So, we’re going to focus on being intentional about family fun for the next four weeks.
I’m always on the lookout for things we can do as a family that don’t involve a lot of prep work, don’t cost a lot of money, and are a lot of fun. Based upon the emails I’m receiving, I’m not alone in this quest.
For the next four weeks (beginning June 15 through July 13), I’ll be sharing a fun and frugal activity that we do every weekday as a family. I’ll be taking pictures and sharing how-tos (like the Homemade Puffy Paint tutorial from last week).
And I’d love to have you join us by blogging about a fun activity you do as a family each week day. The activity can be as simple or as complex as you’d like to make it and it can be for any age. The only requirements are that it is inexpensive, fun, and family-friendly.
I can’t wait to be inspired by all your ideas!
I’ll be back tomorrow evening around 5 p.m. EST with a post on our frugal and fun activity for the day along with a link-up for you to share your posts, too!


If any of you are doubting whether signing up for freebies is worth it or not, take a look at what I’ve gotten in my mailbox over the last two weeks:
Tresemme Shampoo and Conditioner samples
2012 Women’s Health Calendar
BB Cream
Garnier Fructis Shampoo and Conditioner samples
Coupon for a free Oscar Mayer Selections product
Hyland’s Cough & Cold Syrup
Eye Liner and Body Wash from Trymbl.com
Goof Off! sample and coupon
Free Bottle of Old Orchard Juice coupon
Arm & Hammer Toothpaste sample
Clif Bar
Tampax Gift Bag with free samples and coupons
Want to start having fun freebies fill up your mailbox, too? Just start signing up for the freebies I post which interest you and within 4-6 weeks, you should start seeing them arrive!

We checked out A Chair for My Mother from the library last week (based upon a recommendation from Read for the Heart) and really loved this book.
It’s the simple story of a grandmother, mother, and daughter who lost everything in a house fire. They began rebuilding their lives piece by piece, dreaming of the day when they would be able to afford a nice plush chair to sit in and relax at the end of the day.
They started saving for the chair penny by penny, nickel by nickel, and quarter by quarter. Each day, they would deposit any extra coins they could scrounge up from a long day’s work into a big glass jar. Slowly ever so slowly, all of those coins added up to enough to pay cash for a beautiful new chair.
This book depicts the rewards of hard work, sacrifice, and paying cash — an almost lost art in this day and age. And it would be an excellent springboard for a discussion on many topics related to finances, work ethic, simple living, and contentment.
For more book ideas, check out my series on Books We Love. For more picture book ideas, check out my list of 15 Favorite Children’s Books.
Have you read any great books (children’s books or otherwise) recently?

A testimony from Liz
Shortly after we were married, my husband and I started house hunting. Our budget was pretty limited but we finally found a builder who was building houses in our price range.
The downside to a brand-new home in our price range meant that everything was budget grade. We were so excited to have a new house that we didn’t care. Fast forward 15 years, the trendy counter top I picked out was outdated and our budget cupboards had seen better days.
I was so dissatisfied with my kitchen that it was influencing the joy that I felt in my home. I constantly nagged my husband about it. It may seem petty, but I actually prayed for the discontentment to be taken away. I truly wasn’t expecting the answer that I received from my prayers.
While listening to the radio one day, my husband found out a local kitchen remodeling store was offering a giveaway for $4,000 worth of free counter tops. We both agreed that if we won we would get new cabinets.
To our delight, my husband’s ticket won!
We told the builder that we would need to wait to install so we could save money for cupboards, too. The plan we immediately implemented was to:
We had the floor plans drawn up right away so we had an idea of how much money we would need. We wanted to get higher-quality cupboards, new appliances, a garbage disposal, and a better kitchen layout.
To keep our expenses down we:
Shortly after Christmas I found out I would be getting a nice bonus that would help pay for the cupboards. I called the builder to let them know we were ready to start.
Much to my delight the cupboards we had picked out were on sale — saving us about 15% off the original quote! At this point, the only items left to worry about were the appliances. To help pay for those we sold our refrigerator, stove, old kitchen cupboards and counter tops, and saved our tax return money.
When it came time to buy appliances, we mercilessly shopped for the best price. We watched for deals, price matched, and used a last-minute coupon to get a terrific price on a stove, refrigerator, and microwave.
It took us about nine months to save enough money. Our total out of pocket for the remodel and new appliances was about $9,000 — which (between my bonus, our tax return, the items we sold, and the money we saved) was paid for completely with cash!

In addition to being a wife and mother, Liz works outside the home and blogs at Wonder Woman I’m Not – a home management blog for the busy woman striving to find balance in their lives.
Have you saved up and paid cash for something — large or small? Submit your story for possible publication here.

SnailPaceTransformations.com shows you how to make homemade your own button headbands.
Do you have a fun and frugal DIY idea to share? I’d love to hear about it! Read the submission guidelines and submit it here.

Stephanie emailed in the following tip:
Did you know that instead of throwing out the stems of romaine lettuce or celery you can re-plant them?
Just cut the ends off of the plants (about two inches from the base), put in a shallow dish of water, and let them sit for a day or two.
Then plant the pieces in the vegetable garden with the stalk side up and water thoroughly. You could also plant them in any container filled with dirt if you don’t have a garden, just make sure they get plenty of sun.
Once you have them growing, you can cut off your new lettuce/celery on an “as needed” basis.
What a great way to save yourself some money at the grocery store! -Stephanie

DIY Crafty Projects has pictures and links to 40 different things you can create from toilet paper tubes, including the wall-hanging shown above. Talk about creativity at its finest!
 Today’s question is from Bobbie-Jo:
In lieu of the $30 grocery budget post… I would love know what readers’ most frugal recipes are that they turn to when money is really tight. -Bobbie-Jo
Do you have a question you’d like to ask Money Saving Mom® readers? Read the submission guidelines and submit it here.

As you’ve probably noticed from my weekly goal posts, we’ve been reading Quest for Truth: Taken together over the past few months. It’s a thick book and it’s a little above Kathrynne’s level, but she really got into it — as did our whole family. 🙂
Brock Eastman, co-author of one our family’s favorite Imagination Station books, found out we love the Imagination Station books so he asked if he could send us one of his other books. And I’m so glad he did!
From the moment I picked up Taken, I was pretty sure it was going to be a book Kathrynne would enjoy. Boy, was I right!
The characters are fascinating, especially if you love mystery, science fiction, and high-tech gadgets. The storyline is fast-paced and packed with adventure and cliff-hangers. (Kathrynne was on the edge of her seat while I was reading aloud. She kept begging for “Just another chapter, please!”)
If your family is looking for a family-friendly science fiction novel, you’ll definitely want to consider getting a copy of Taken. We’re already anxious to get started on the just-released second book in the series — Risk.

Special Offer! Get a Signed Copy of Taken or Risk for Just $7.49 + Shipping!
I was chatting with Brock the other day and I mentioned I was going to be doing a short review and plug for his book on my blog. Well, being the generous guy he is, he offered to put together some special prices on signed copies of his books.
There are limited numbers of these available, so if you’re interested, I wouldn’t hesitate to jump on this deal — it’s the best deal you’re likely going to find online. In fact, Brock’s not making a penny by offering these: he just wanted to bless my readers with a great deal!
So, what are you waiting for? Go get your signed copy of Taken or Risk for just $7.49 plus shipping. You can also get a copy of HowlSage for $9.99 plus shipping or a copy of The Imagination Station Series Book #5 for just $2.99 plus shipping.

I try to get up between 5 and 6 a.m. most mornings. If I go to bed early enough, I’ll get up even earlier than that.
Yes, it might sound crazy to some of you night owls and yes, there are seasons of life when I’ve skipped early rising in favor of much-needed sleep (when I was pregnant and/or waking up multiple times in the night with a baby/child), but I’ve found that I get so much more done by getting up early than I ever do by staying up late.
Even if I can’t get up really early, I have found that getting up just 15 minutes before my children do makes a world of difference in my day. I start the day out with more clarity and purpose, I’m more organized, and I’m a much more cheerful and relaxed mom.
In addition, when I get up early, I usually go to bed earlier, which results in better sleep for me. (I’m not sure what it is, but I seem to get a much more restful night’s sleep when I go to bed before 10 p.m.!)
I know that getting up early doesn’t work for everyone, but I’d encourage everyone to at least give it a try for a six-week period to see if it makes a difference. As I always say, you can’t knock something until you’ve at least tried it. 🙂

Since getting up early has made such a difference in my life, I was especially excited to read Laura Vaderkam’s new ebook, What the Most Successful People Do Before Breakfast. It’s a short read, but packed with lots of inspiration as to how to use your mornings well.
It’s not enough to get up early, though, you also need to make sure that you wisely prioritize your time and energy in the early morning hours so that it effectively benefits your day — and your life.
In this ebook, Laura shares a peek into the lives of some very successful people — and how they are structuring their lives to make the most of the morning hours. What works for them might not work for you, but I promise you’ll be inspired to make the most of your mornings — whether or not you are an early riser.
Be sure to check out Laura’s guest post from Monday on What the Most Successful People Do Before Breakfast. In addition, you might enjoy Carrie’s post on What the Happiest Moms Do Before Breakfast.

Want some practical help with setting up your day for success? Be sure to grab a copy of my brand-new online course, Make Over Your Mornings.
This 14-day online course includes videos, a workbook, and step-by-step projects and is designed to help you revolutionize your productivity, streamline your routines, invest your time in things that truly matter, and find more joy and peace in the process.
If you’ve ever wished that you could figure out how to get more done, have more organization in your life, and find time to spend on things you love, the Make Over Your Mornings Course is for you. Find out more about it here.
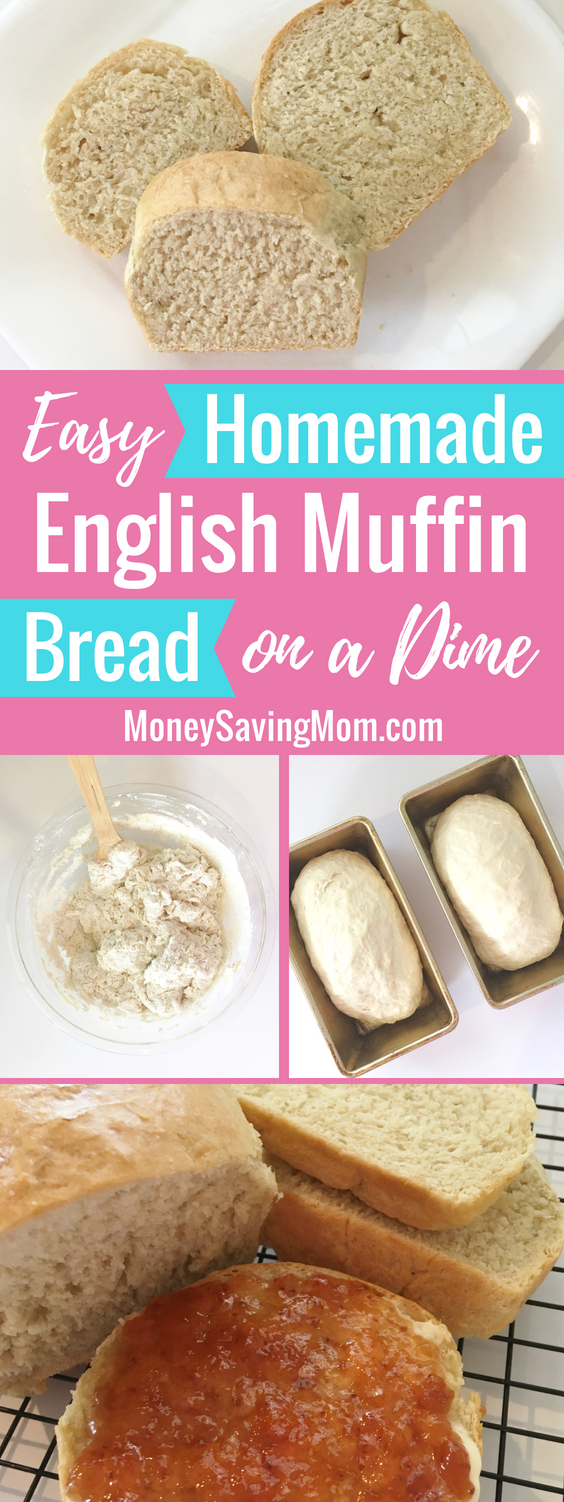
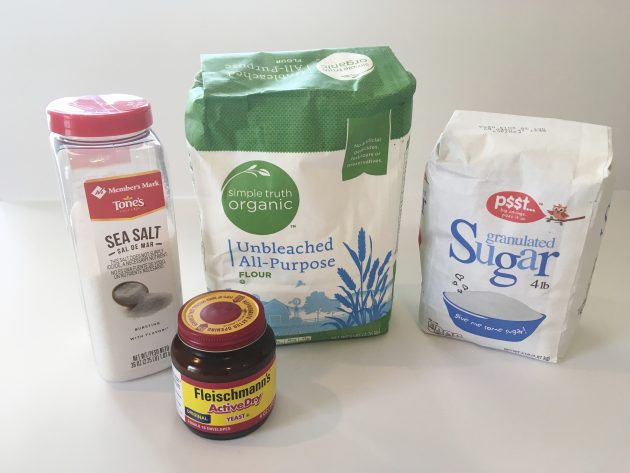
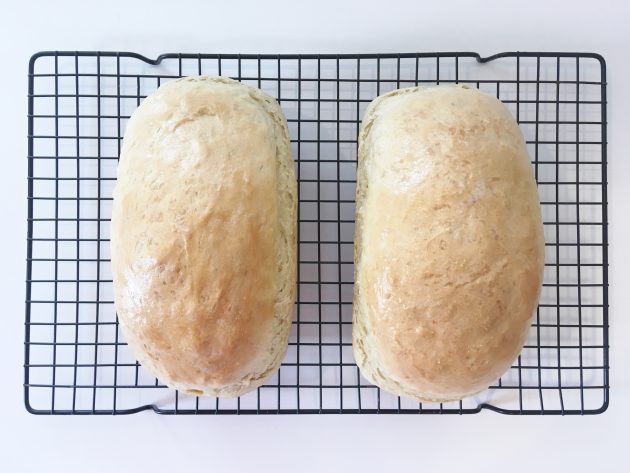
Not only is this English Muffin Bread so delicious, it’s also extremely easy to make and is a very frugal alternative to store-bought english muffins!
As one of my do-it-yourself projects, I planned to make English Muffins.
However, after some blog commenters suggested I try English Muffin Bread instead, I decided it looked much, much easier to make.
I’m so glad I tried this recipe. It’s a winner. So easy to make, so frugal, and so good!
English Muffin bread is a coarse-textured bread with a crisp crust that is ideal for toasting.
It tastes exactly like the English Muffins you’ve come to love (with those little nooks and crannies) but it’s way faster and easier to make!
1. In a large bowl, mix together all ingredients (a KitchenAid works well — or you can do it by hand with a wooden spoon).
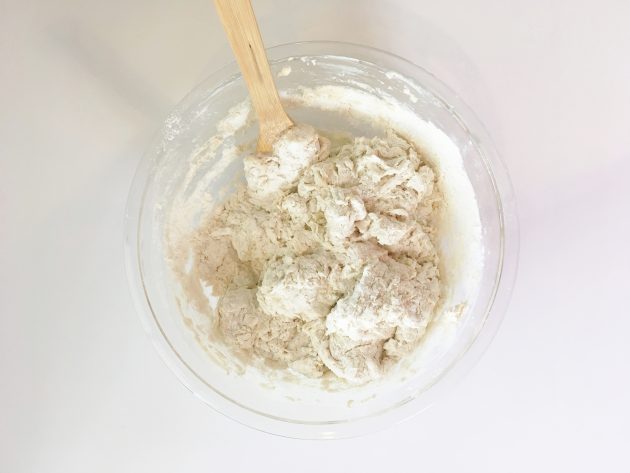
2. Cover bowl with a cloth and let dough rise in a warm place until doubled (skip this step if using rapid rise yeast).
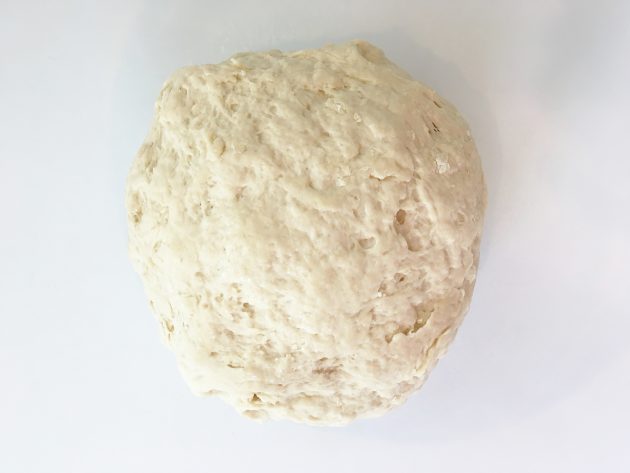
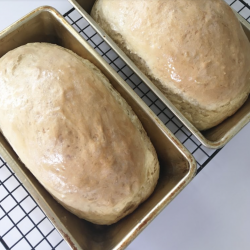
3. Punch down the dough and “scoop” half of the dough into two well-greased loaf pans (dough will be extremely sticky).
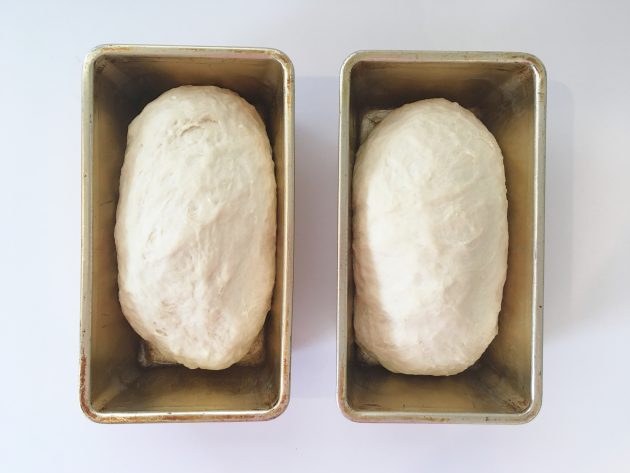
4. Cover pans with a cloth an let dough rise again until it reaches the top of the pans.
5. While dough rises for the 2nd time, preheat your oven to 350º
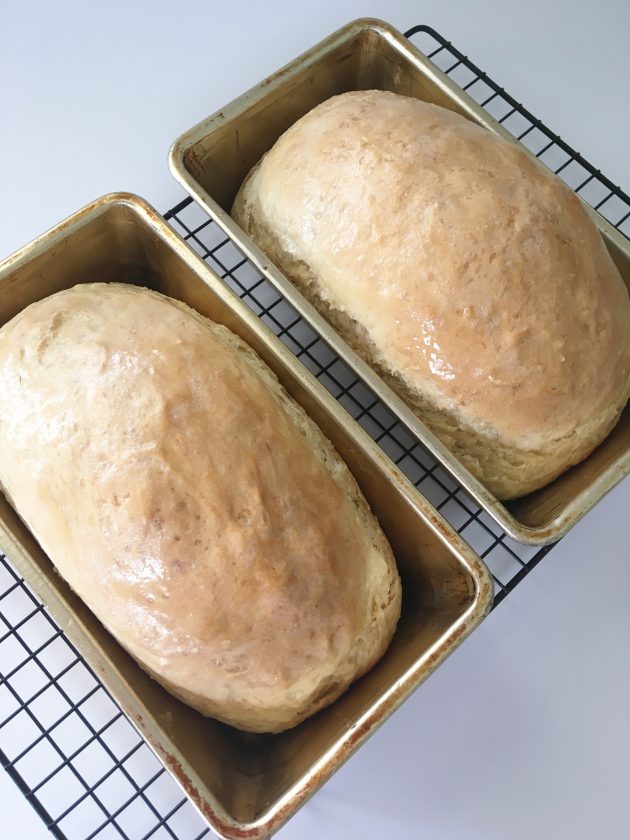
6. When dough is fully risen, put pans in preheated oven and bake for 45 minutes, or until golden brown.
7. Remove pans from oven and brush the tops of loaves with melted butter.
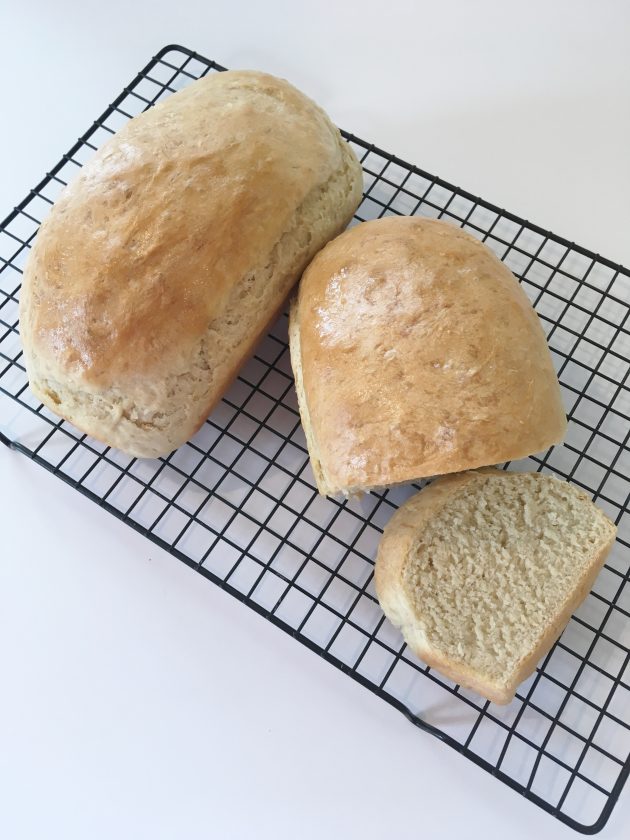
8. Cool completely before cutting.
To freeze:
Let the loaf cool completely. Slice and put in an airtight ziptop freezer bag in the freezer for up to six weeks.
To thaw:
Remove the desired number of slices and let thaw at room temperature for 30 minutes to one hour (or thaw in the microwave). Warm in the oven or microwave or toast.
Don’t freak out if the dough is very sticky — it’s supposed to be that way! You don’t need to worry about shaping it into loves — just literally scoop the dough into 2 loaf pans and let it rise.
Also, it freezes wonderfully — so save yourself a bunch of time and slice the bread before you freeze it, then you can simply pull out one or two slices whenever you want toast.
If you want to increase the nutritional value, you could make it with half whole-wheat flour.
My husband isn’t a huge bread person, but he absolutely adores this bread. He has raved about it repeatedly and often asks if we can have it with dinner!
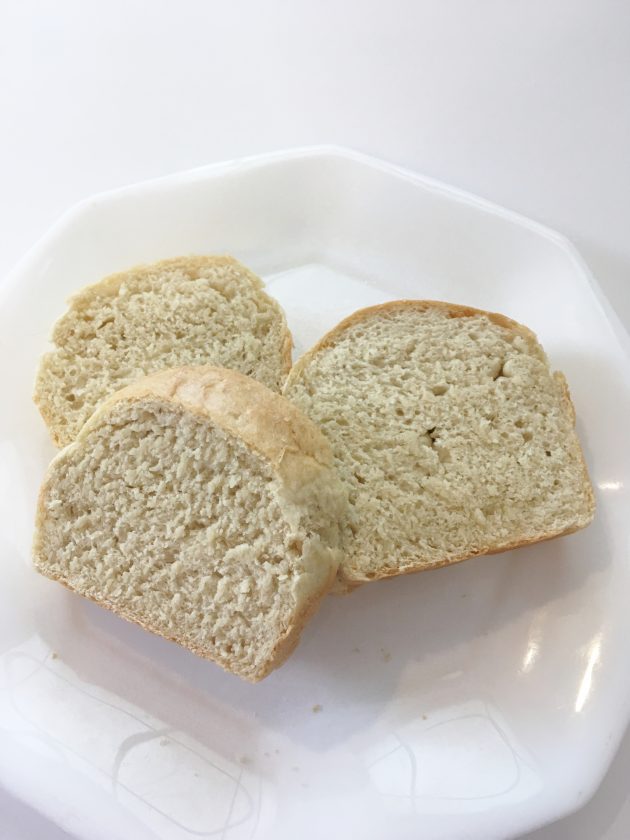
I slice the loaves after they cool, then packaged them in freezer bags. We take out however many slices we want at a time — so easy!
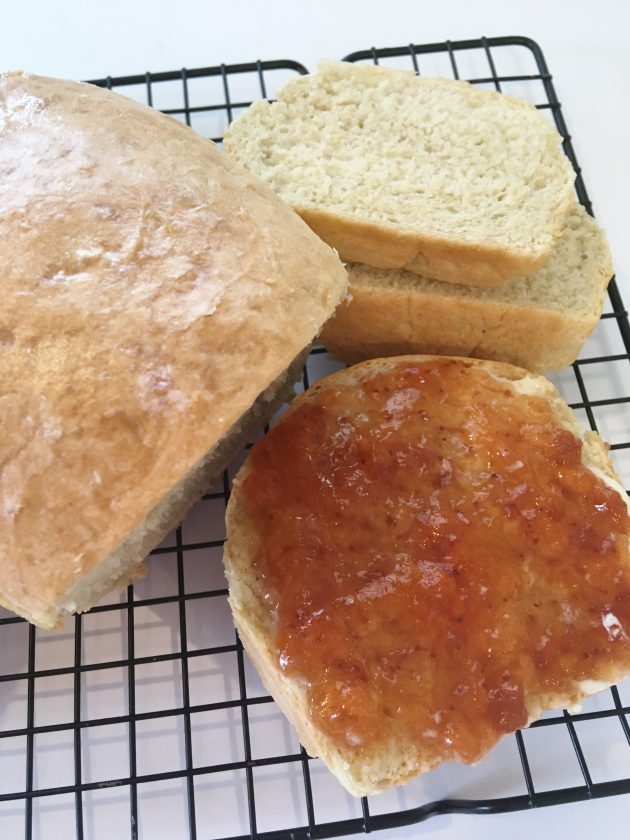
English Muffin Bread is best served warm or toasted with butter and jam/jelly or honey.
A loaf of English Muffin Bread would be such a lovely gift, paired with homemade jam or honey.
English muffin bread uses store-bought yeast as its leavening agent while sourdough bread uses wild yeast from the air. Sourdough bread is “long-fermented” which helps to break down some of the carbohydrates and protein in the flour, releasing gas, which makes the bread rise (and makes it easier for many people to digest).
English Muffin dough is quite wet and cannot be shaped into loaves like traditional bread dough. The texture of the finished bread is also unlike traditional bread in that English Muffin bread has a smaller crumb, a tougher crust, is slightly denser, and has more nooks and crannies (especially after toasting).
Homemade bread is better for you than store-bought bread with all its added preservatives. However, bread made from white all-purpose flour doesn’t have much nutritional value (but it sure tastes good!) If you use freshly ground whole grain flour, then English muffin bread would be much more nutritious.
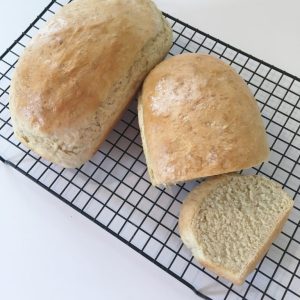
Make sure to share and save it on your favorite platform below!
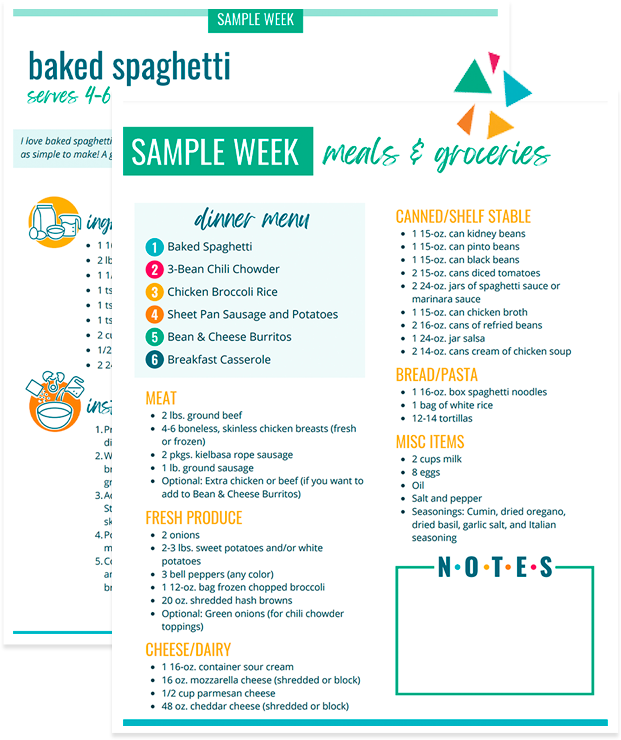
Done-For-You Dinner Recipes With Simple Ingredients and a Grocery Shopping List!


