I saw an idea for making Homemade Puffy Paint on Pinterest the other day. And I knew we had to try this — especially since my children love to paint.
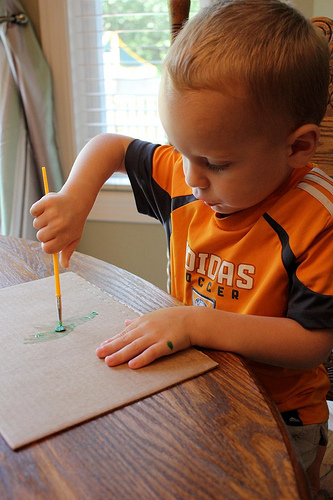 It was really quite simple to make.
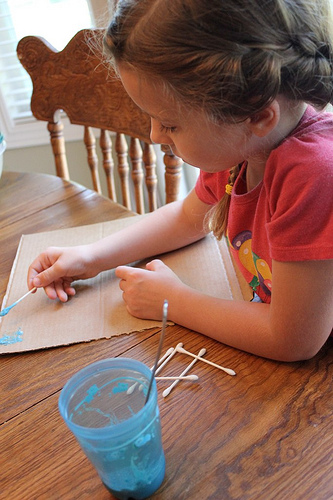
Though we quickly discovered we didn’t have enough paint brushes to go around. But cotton swabs worked great as stand-ins.
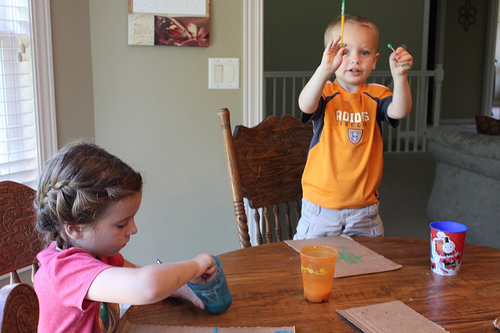
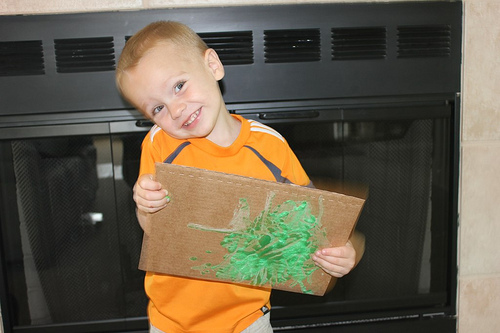
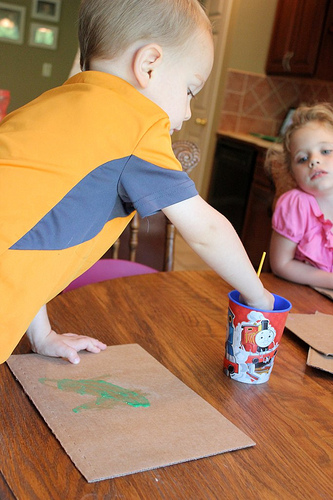 Silas had a blast — and didn’t make too much of a mess, either.
While Silas had the “crazy painter” act going on (i.e. hurriedly dipping his paint “brushes” into the paint and slopping it onto the page), the girls were much more methodical.
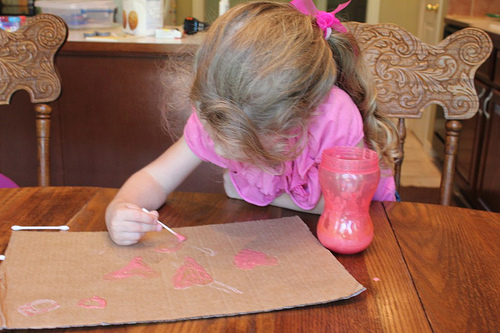
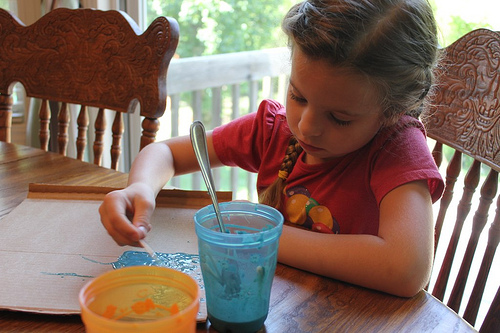
They painstakingly worked to create pictures — and were a little frustrated that the paint solutions wasn’t as easy to work with as regular paint.
With some effort, we figured out how to make the paint and swabs work decently — at least you could tell what they were painting.
Kathrynne made a landscape scene.
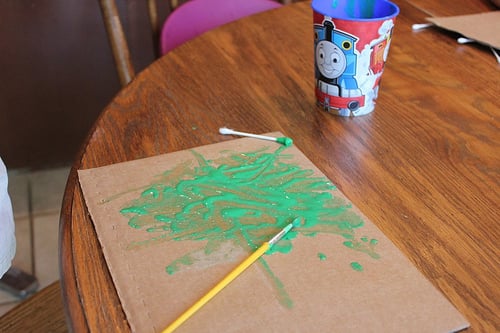
Silas made what we decided was a tree — though I think it wasn’t intentional. 🙂
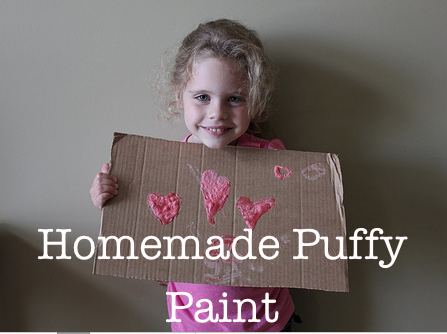
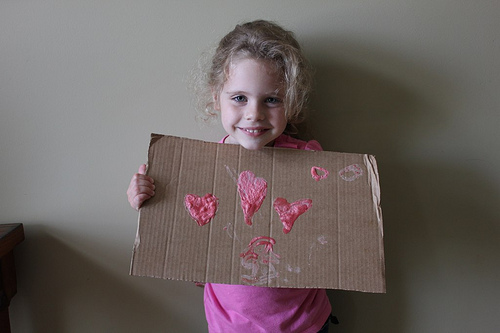
And Kaitlynn — ever the girly-girl — made hearts and a princess. The poor princess didn’t get a enough paint on her so that you could really see here, though.
It was a fun experiment and while our end result wasn’t as puffy and cool-looking as the original recipe on Skip To My Lou, we had fun trying something new and different together.
Homemade Puffy Paint Recipe
- 1 Tablespoon self-rising flour
- 1 Tablespoon salt
- Food coloring
Combine the flour and salt. Drop 3-4 drops of food coloring over it. Add in 1-3 Tablespoons water to make a smooth paste.
To make more than one color, repeat the steps above with a different color of food coloring.
Use paint brushes or cotton swabs to paint designs on cardboard.
When finished painting, microwave the design on high for around 30 seconds (until the paint puffs and it’s dried).
Recipe originally posted at Skip To My Lou

Crystal,
This is off topic, however I just read your post on homeschooling. I was floored when I saw that you taught your children ASL. I am an ASL major. I will finish at Columbia this next year with my interpreting degree. You would be amazed at the amount people I meet & ask me what it’s like to learn to read braille. *crosses eyes* Thank you for teaching your children about this beautiful language in people
How fun!
Sweet pics of your kiddos!
I love this idea. My girls would really enjoy this. They’re all for hands on activities, especially art.
I love this wonderful idea, my kids too, they love to paint and get many lovely ideas from your blog
The puffy pain we use is shaving cream, white (Elmers) school glue, & desired pain colors. It dries truly puffy & feels like velvet! Very fun for young kids & those with sensory needs to play with. 🙂
Thanks for another great idea! And Kaitlynne looks JUST like you!! Seriously, like a little twin!! =)
So fun! I have to say that I didn’t even recognize Kathrynne, at least from the angles in the photos. She must really be growing up! 🙂
When I worked in a preschool, I made puffy paint by mixing regular tempera paint with shaving cream. It was super easy and the kids loved it!
I think my kids would really like this. We will have to give it a try. Thanks for sharing.
We just made this today, but we used a slightly different recipe from Family Fun Magazine. The paint puffed really well in the microwave:
1 Tbsp Flour
1 Tbsp Salt
1 tsp Baking Powder
2 Tbsp + 2 tsp water
Several drops of food coloring
Microwave 20 seconds or until dry. So much fun!
We used the Family Fun recipe today too, and thought it was great!
Thanks for sharing! My four year old is blind and i’m always looking for tactile crafts for her!
Crystal,
Are your children homeschooling to any extent, this summer?
Also, do you have a post where you talk about homeschooling – like the reasons that you homeschool, possible challenges, socializing opportunities, the curriculum that you use, etc.?
I think homeschooling is an amazing thing to do and I’d like to learn more about it.
Cute pics, by the way and the children do indeed look like they’re having such fun. 🙂
We always do some homeschooling through the summer, following a more relaxed schedule and allowing more time for extracurricular stuff. Here’s what our summer homeschooling schedule looked like last year:
https://moneysavingmom.com/2011/06/qa-how-do-you-manage-homeschooling-and-homemaking-without-the-house-falling-apart.html
I’ve written some about homeschooling here:
https://moneysavingmom.com/2012/04/15-recommended-preschool-and-kindergarten-resources.html
What cute pictures! Fun idea. Thanks for sharing, Crystal 🙂
We did this this morning! I also saw it in pinterest. The recipe we used had baking soda in it. My 3 year old painted 11 pictures!