Fill your home with the delicious scent of freshly made artisan bread with just a few minutes of hands-on time and some pantry staples! Everyone will rave about this incredibly easy artisan bread recipe! (Check out all of our other homemade bread recipes, too!)
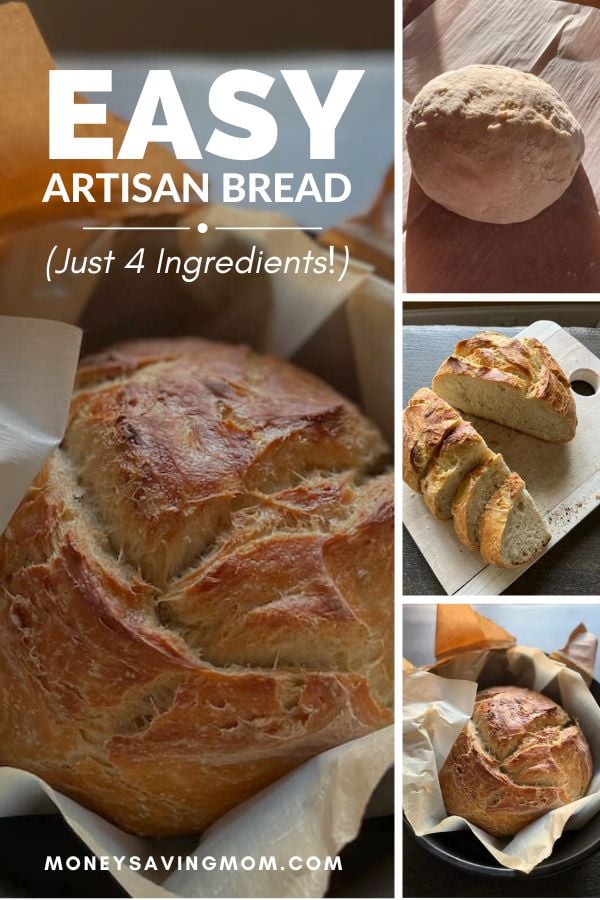
Ridiculously Easy Artisan Bread (Just 4 Ingredients!)
This bread is literally so easy that you’ll feel like you’re cheating. But it is SO good and it looks so impressive that people will never believe it only has 4 ingredients (one of them is water!!) and took you a cumulative effort of about five minutes to put together!
I got the idea to make this from my sister-in-law. She had us over a few years ago and served a similar bread and I loved it so much and she told me it was Easy Overnight Artisan Bread.
I was instantly sure that I would probably ruin it. You see, I’ve tried multiple recipes that have “Artisan” in them and they’ve never turned out great.
I had convinced myself that me and Artisan just don’t cooperate! But, inspired by my sourdough bread success, I decided to get brave and try again!
I was in Kansas staying at my family’s house and was itching to bake bread but didn’t have my sourdough starter. I remembered the yummy Overnight Artisan Bread my sister-in-law had served us and decided to just try googling to see if I could find a similar recipe.
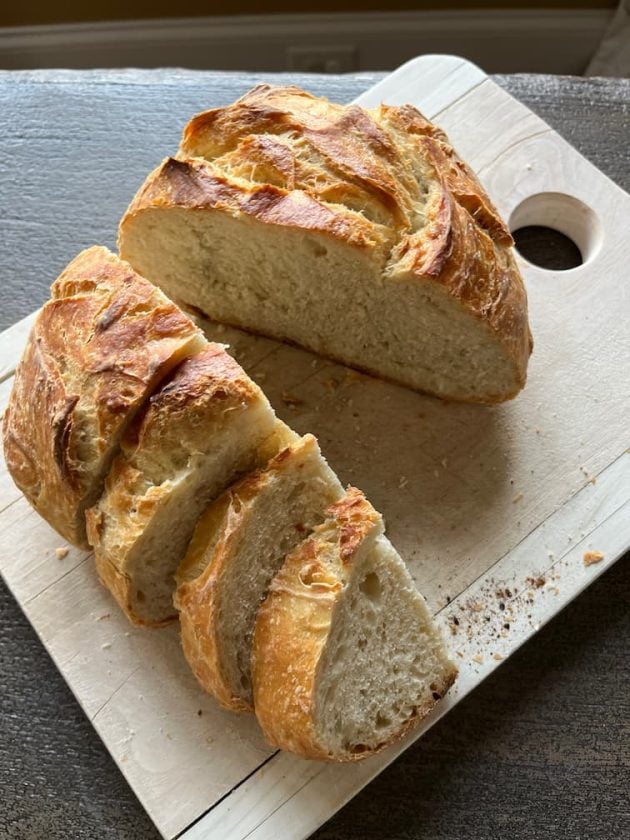
I landed on this one and promptly made it. It was so good and my extended family — who ate it for Sunday lunch — loved it, too. In fact, the whole loaf didn’t even make it through lunch!
After I got back home to Tennessee, I tried to make it again. Sadly, it didn’t turn out as well. I ended up making it multiple times to figure out what worked and what didn’t. After multiple attempts and different versions, I think the recipe below is truly fail-proof.
I hope you love it and that it becomes a favorite at your house, too!

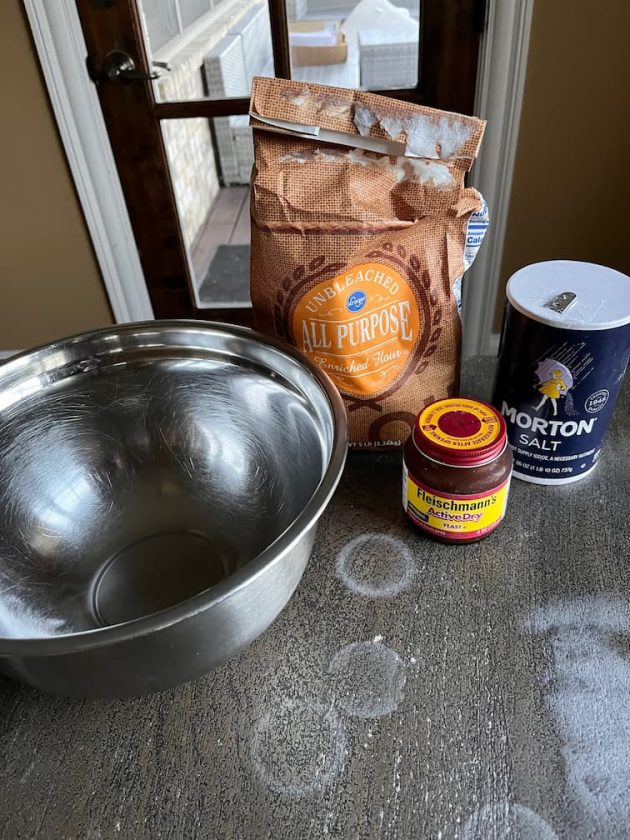
Ingredients for Dutch Oven Bread Recipe
- 3 cups all-purpose flour
- 1/2 heaping teaspoon active dry yeast
- 1 1/4 teaspoons salt
- 1 1/2 cups warm water (about 110 degrees — not hot, just warm)
How to make Overnight Artisan Bread
1. In a large bowl, combine flour, yeast, and salt.
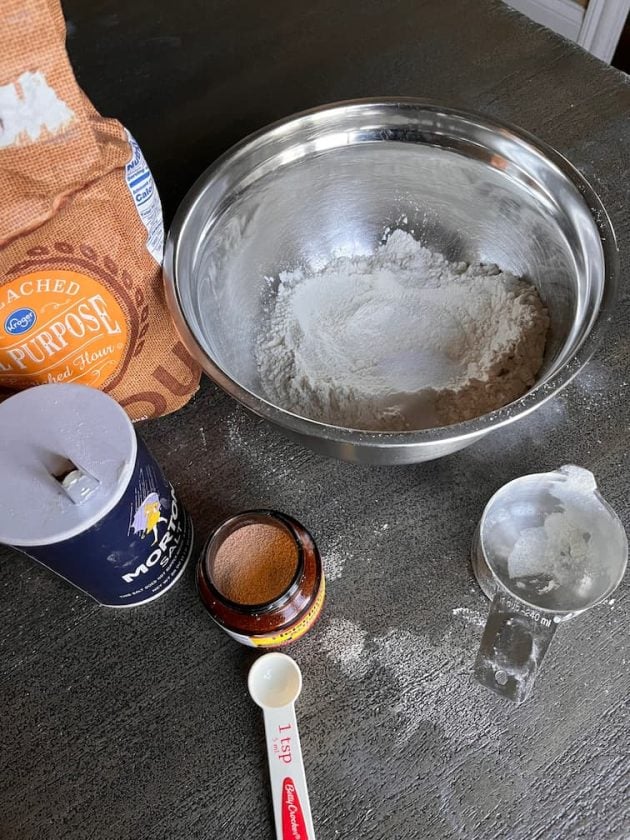
2. Add warm water and stir until blended (with your hands, wooden spoon, or Danish dough whisk). The dough should be sticky and loose, and you want it to be mixed together fully.
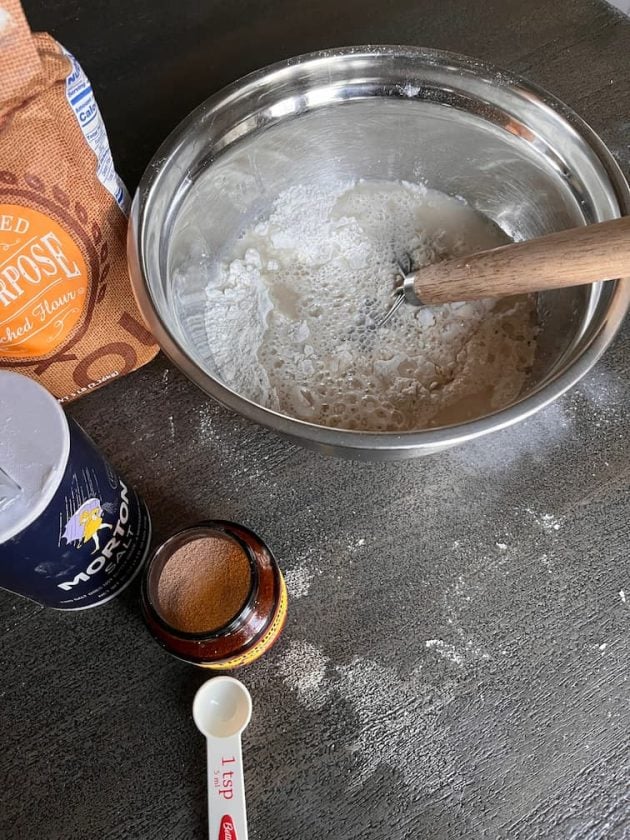
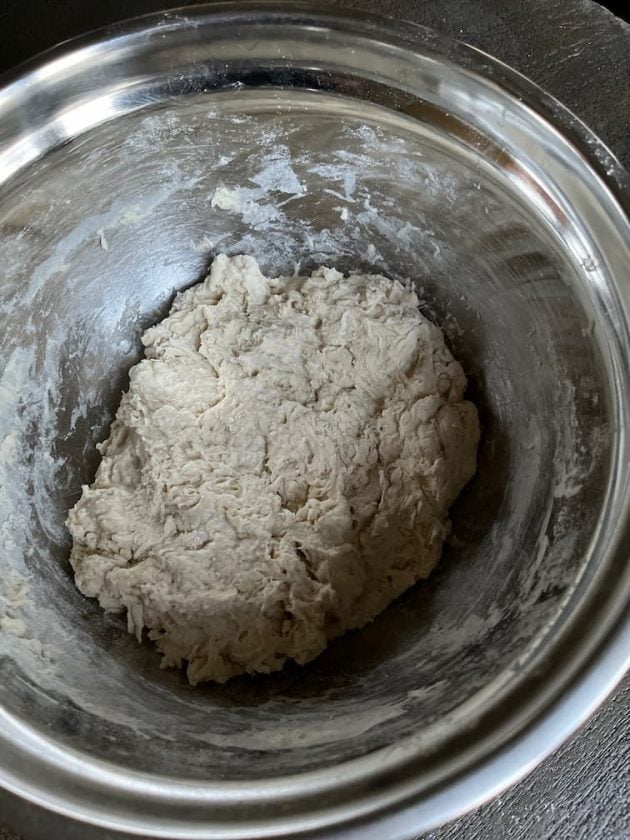
3. Cover the bowl with plastic wrap and let the dough rest at room temperature for around 12 hours.
4. After 12 hours, preheat your oven to 450ºF and put an empty 6-to-8-quart Dutch oven or heavy pot in the oven while it preheats.
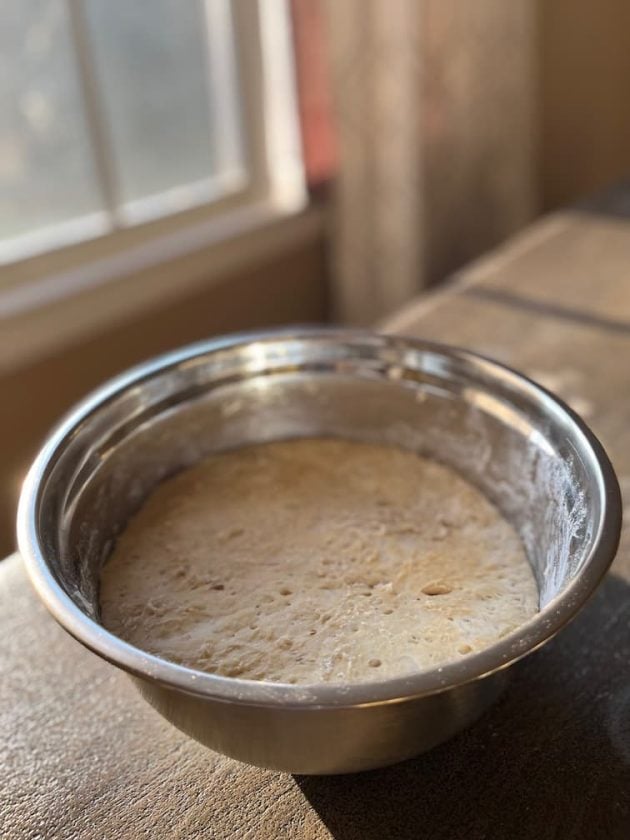
5. Lightly flour a work surface and gently fold the dough over a few times (using flour sparingly and only if it’s too sticky to handle).
6. Shape into a round ball and place on a piece of parchment paper. Cover and let rest for another 30 minutes.
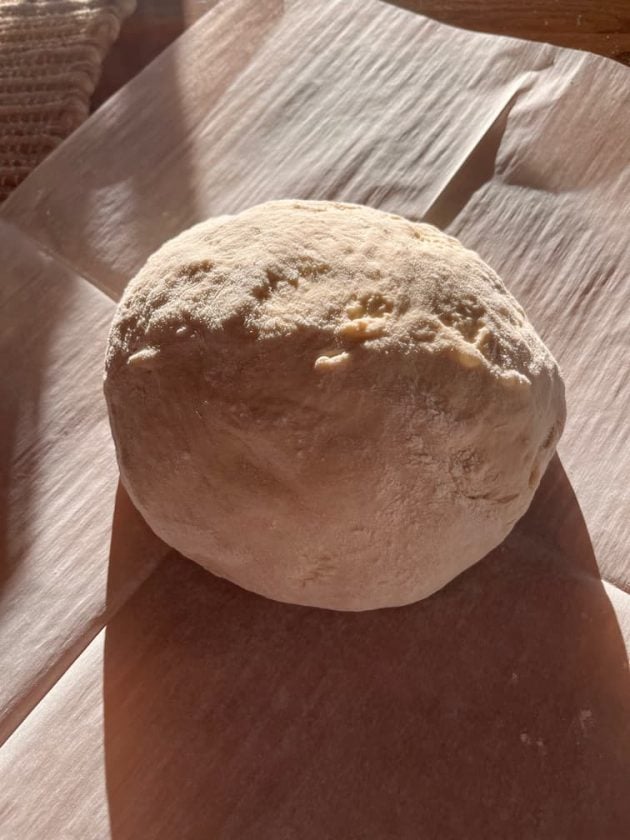
7. After the dough has rested for 30 minutes, use a sharp knife to cut an X on the top of the loaf.
8. Pull the pot out of the oven and place the dough ball (still on the parchment paper) straight into the pot and place the lid on top.
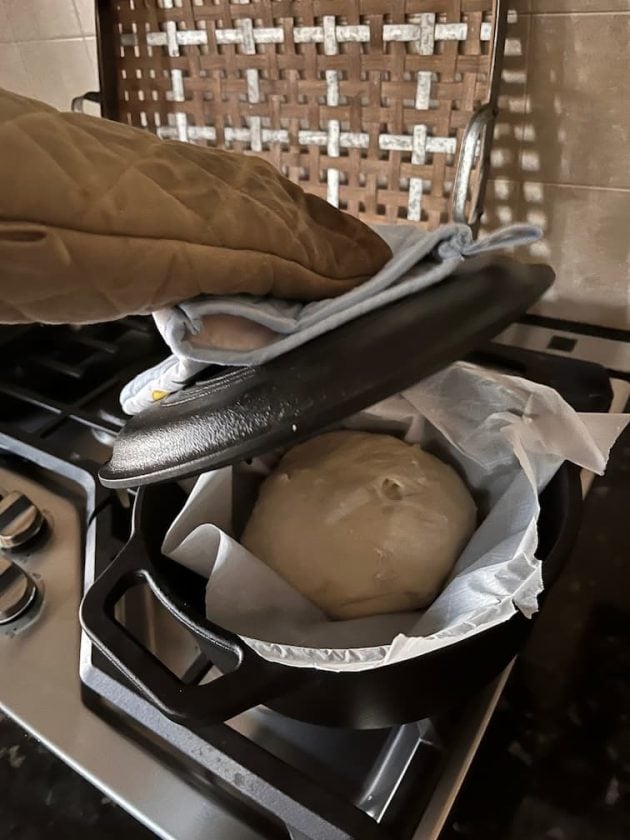
9. Bake (covered) at 450º for 35 minutes.
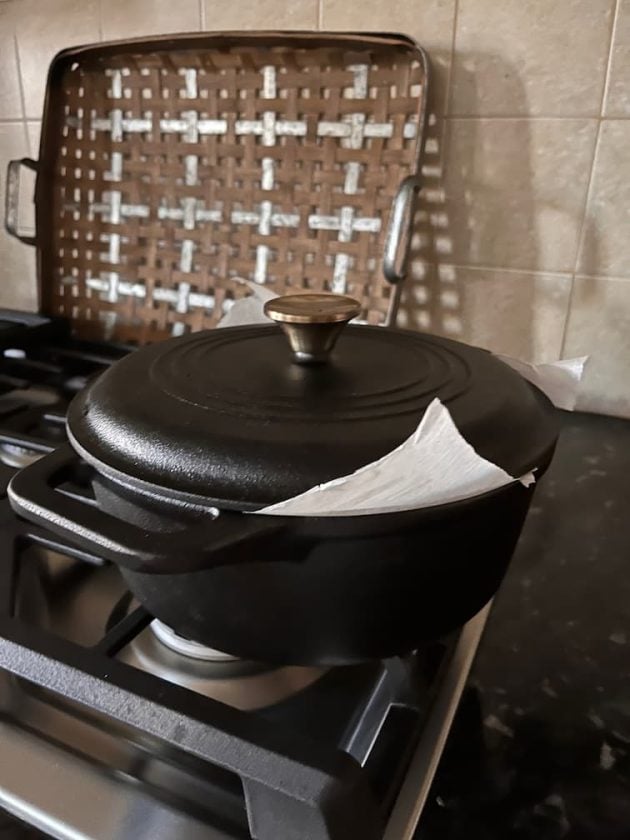
10. Remove the lid and bake another 10-15 minutes until the loaf is golden brown.
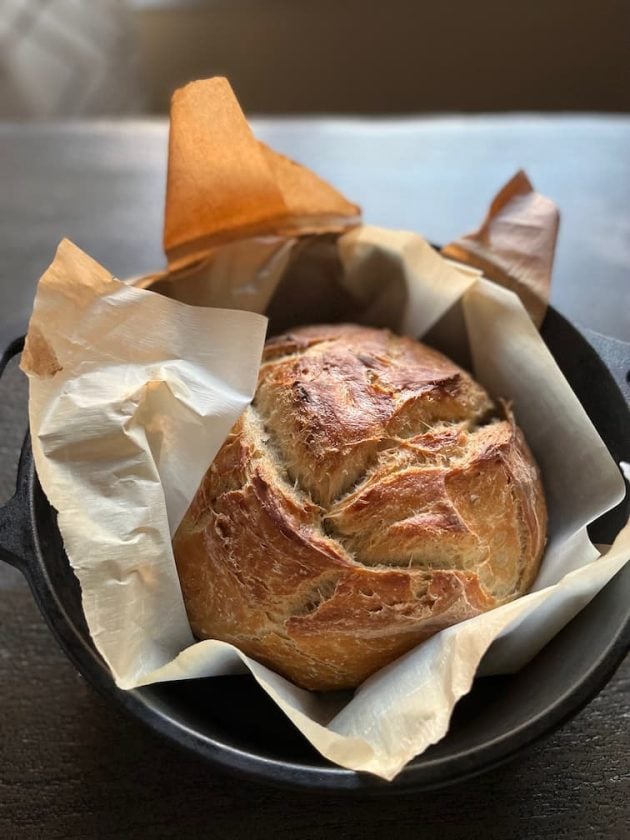
11. Remove the parchment paper (with bread) from the pot and place it on a cooling rack.
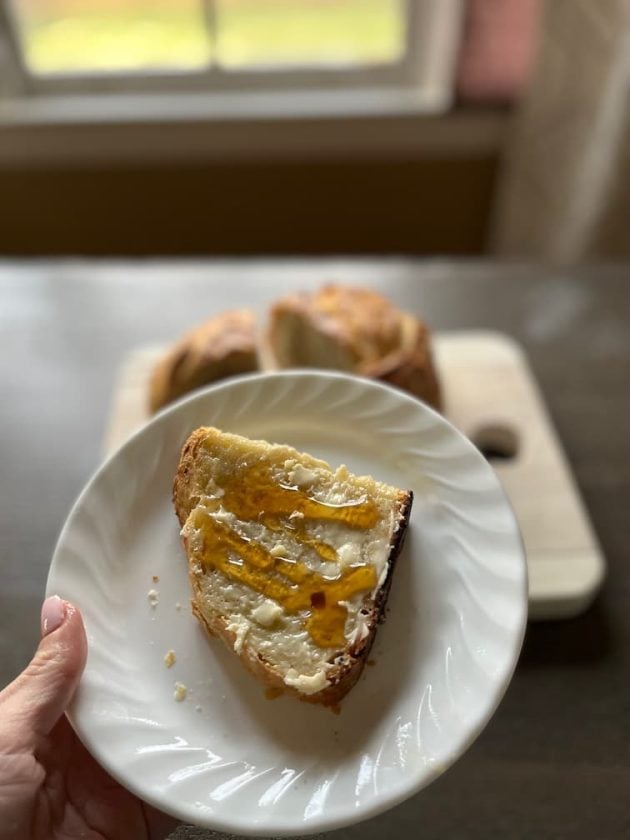
12. Serve with a generous amount of butter and honey
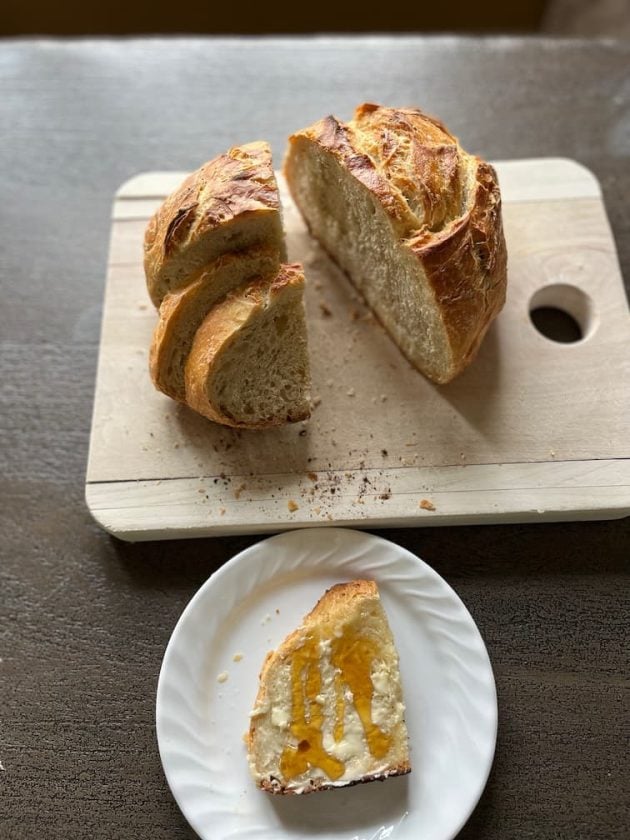

Four Ingredient Artisan Bread
Ingredients
- 3 cups flour all-purpose
- 1/2 teaspoon active dry yeast
- 1 1/4 teaspoons salt
- 1 1/2 cups warm water about 110 degrees — not hot, just warm
Instructions
- In a large bowl, combine flour, yeast, and salt.
- Add warm water and stir until blended (with your hands, wooden spoon, or dough whisk). The dough should be sticky and loose.
- Cover the bowl with plastic wrap and let the dough rest at room temperature for around 12 hours.
- After 12 hours, preheat your oven to 450ºF and put an empty 6-to-8-quart Dutch oven or heavy pot in the oven while it preheats.
- Lightly flour a work surface and gently fold the dough over a few times (using flour sparingly and only if it’s too sticky to handle).
- Shape into a round ball and place on a piece of parchment paper. Cover and let rest for another 30 minutes.
- After the dough has rested for 30 minutes, use a sharp knife to cut an X on the top of the loaf.
- Pull the pot out of the oven and place the dough ball (still on the parchment paper) straight into the pot and place the lid on top.
- Bake at 450 degrees for 35 minutes.
- Remove the lid and bake another 10-15 minutes until the loaf is golden brown.
- Remove the parchment paper (with bread) from the pot and place it on a cooling rack.
- Serve with a generous amount of butter and honey
Notes
Nutrition
Love this recipe?
Make sure to share and save it on your favorite platform below!
Reader Interactions
Money Saving Mom® Comment Policy
We love comments from readers, so chime in with your thoughts below! We do our best to keep this blog upbeat and encouraging, so please keep your comments cordial and kind. Read more information on our comment policy.


Do you know if this recipe can be doubled successfully?
I’ve tried this twice and both times, when I check the dough after 12 hours, it’s wet and can’t be folded. And when we bake it, it comes out flat and hard. Any ideas? We followed the recipe exactly. Thank you!
Are you baking it in a Dutch Oven that is fully heated before you put it in the oven? And baking with the lid on? The dough should be pretty wet but dry enough to transfer to parchment paper and then to the Dutch Oven.
Thanks for your reply! Yes, I am using a Dutch Oven, full heated. And the lid was on. The dough is too sticky and wet to fold after the 12 hours and looks different from your pics. I appreciate any tips!
I would try adding some flour before you put it in the Dutch Oven or adding a little extra flour before you let it rest for 12 hours. Also, make sure that you are using the correct yeast and that yours isn’t old or expired. It could also possibly be something to do with the elevation of where you live?
Thank you!!
I have a 5qt Dutch oven, should I discard some of the dough once I knead it?
I wouldn’t.
Do you have to wait 12 hours
I would highly recommend waiting overnight and it’s the secret in making the bread delicious!
I’m making this tonight and can’t wait to see how it turns out tomorrow.😁
Let us know your thoughts when you are done! -Jordan, MSM Team
Has anyone tried with GF flour like Nameste?
Can you use fast rise yeast instead of active yeast?
I think it should work, but let us know!
Am I use gluten-free flour?
If you try, let us know!
We did make this with all purpose gluten free flour from Walmart. It turned out pretty well.
Does the dutch oven need to be greased before putting the dough in it?
If you use parchment paper, you won’t need to grease it.
PS Temu sells Danish dough whisks from 90 cents — $4.
Got mine for .27 cents at Temu. Great Christmas gift! Love Temu!
Not a fan of TEMU and their business practices, but thank you for sharing!
Thank you so much! I see people raving about the prices, but there’s no way it’s ethical.
I’m concerned with the invasion of privacy and the data they are collecting from people through their app. My kids have researched it a lot and have serious issues with it. I just think it’s always good to be careful. We’ve turned down requests to work with them/promote them because of this.
https://frugalfitmom.net/recipes-1/2020/2/12/crusty-no-knead-bread
This recipe is almost identical but no kneading required. Though Crystal’s just requires a few turns of the bread, I prefer as simple as possible. This recipe can get very crusty so play with baking time.
Thanks for the tip! -Jordan, MSM Team
I’ve found that the few extra steps make a big difference in how the bread turns out. But I also prefer a bread that isn’t as crusty and has really good crumb. I’ve learned so much from sourdough experimentation on how tiny little things make such a change in the final result!
This is basically No Knead bread…my favorite kind because it doesn’t involve kneading or babysitting a loaf, heh.
This recipe works wonderfully (and is even better) if made all whole-grain or a mix of white/wheat—more nutrition, and it isn’t dense! Not as fluffy as white but still yummy without butter.
I use spelt flour (start with less water) and it has a nutty taste. Only difference in my recipe is I do
3 to 3 1/2 c flour, 2 tsp yeast, generous tsp sea salt, same water and a squirt of honey. Any temp water. I let it sit in the bowl until ready to bake (8-12 hr), preheat the oven at 450 deg 3o min while the Dutch oven preheats and the bread rests. Then reduce heat to 425 F. Cook 25 min with lid on and 15 with lid off.
Works best with a Dutch oven but I suppose a crockpot insert with heatproof lid could work in pinch if it can stand 450 F.
The other good loaf for lazy people is the Grant Loaf.
Thank you so much for sharing these tips!
I love this recipe!
The last time I made this bread, I used 2 tsp of salt and enjoyed the flavour more. Anything longer than 13 hour rest/rise was too yeasty for my taste.
This is the easiest sour dough bread!! And soooo good!!
Where does it mention sour dough?
It’s not sourdough, but it’s somewhat fermented since it rests overnight. But since it has yeast instead of starter, it’s not sourdough.