Guest post by Jessica from Preserving Life’s Moments
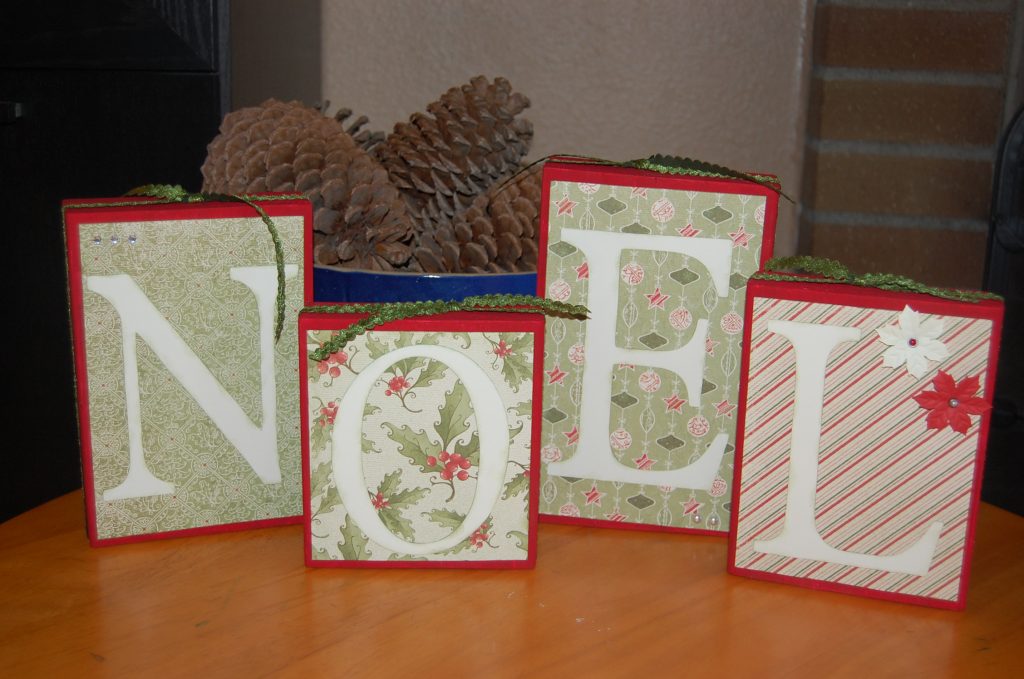
After making these easy Boo Blocks, I just knew I needed to make some for Christmas, too. I chose the word Noel and I haven’t decided yet if they’ll stay here or be gifted out to a special someone in my life.
Supplies You’ll Need To Make “Noel” Blocks:
- a 2×6 piece of wood cut into 6, 7, 8 and 9 inch blocks (My husband cut my pieces out of leftover wood he had saved from a previous project.)
- sandpaper paint and paint brush
- scrapbook paper
- letters (I cut mine using my Cricut. You can also purchase letters at a store, or print them out from the internet.)
- ribbon
- embellishments (optional)
- adhesive of your choice (craft glue, double-sided tape, etc.)
Step 1: Cut your wood, sand it and paint with a color that coordinates with the paper you have chosen.
Step 2: Cut your paper to size. I left a 1/4 of an inch around each block.
Step 3: Adhere your paper to your blocks. I used double-sided tape. That stuff works for just about anything and is super easy to use.
Step 4: Adhere your letters to the blocks.
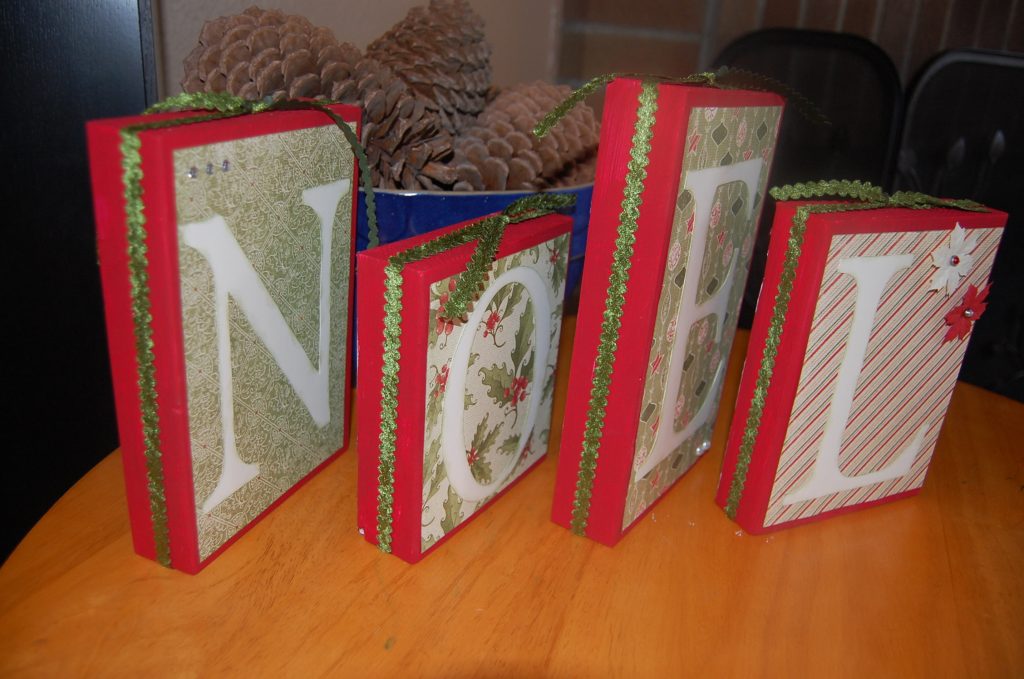
Step 5: Tie your ribbon around the edges.
Step 6: Finally, add some embellishments if you would like. I have added a couple flowers and sparkles on mine.
I had almost all of these items lying around my house so this was a very inexpensive and easy project to create. It is perfect as a decoration in your home or a great gift to give to that special teacher, friend, or family member in your life.
Jessica is a work-at-home mom to Shane (4.5) and Adalyn (11 months). She loves photography, crafting, reading, baking, and cooking. You can read about all of Jessica and her families adventures at Preserving Life’s Moments.
Do you have a great idea for a handmade Christmas gift? We’d love to have you submit your tutorial for possible publication for our Handmade Christmas series.


What a great idea! Before giving as a teacher gift, it might be wise to make sure your your child’s teacher celebrates Christmas. My children have had several teachers who celebrate Hannukah, but I had assumed they celebrated Christmas! For Hannukah, the blocks could say, Miracle or 8 Nights.
How about using cereal boxes (or whatever type of box you have), putting a small hole in the back and hang them on the wall. Hmmm…..I’m wondering if I could do them in my kids names and give them as Christmas gifts. Or use mod podge to adhere pictures of the kids to give as a gift to Nana. Now I LOVE that idea. How frugal and easy that would be! I’ve got lots of ideas now.
That could also be fabulous in a baby’s room with a name on it!
These look great! I am imagining the possibilities, not only with different colors, but for personalized birthday gifts, baby shower gifts, etc. Very nice job 🙂
oooh, I love how the possibilities are endless with wood and scrapbook paper! We made baby name blocks for a baby gift similar to this. Here’s how they turned out if you’re interested……. http://www.sidetrackedsarah.com/2011/10/baby-name-blocks-tutorial-for-baby-gift.html
Nice job. This is simple enough that an older child can help too. My 10 yr old has cut the blocks, sanded and painted them and then made his own “name blocks” for his room. I made some this summer with “Harvest” on one side and “Winter” on the back side. I’ll just be turning them around in December :D.
LOVE the dual-season design idea!!
I’ve seen a similar idea: “BOO” on one side, “JOY” on the other. I think I’ll be trying those out.
Oh…I like this idea!! I just saw one that had Ho, Ho, Ho on one side and Gobble on the other.
Very cute! I did something very similar as part of my decorations for my mantle this fall. I made the word “fall” on them. It was so easy, fun, and I get a ton of compliments on them. Good job!
If not gifting them, then you could easily do something like this with empty cereal boxes. Well, I suppose you could as well even if you are gifting them. They just won’t be as sturdy.
I love that idea for my super skinny mantel. Thanks!