
Going on a big family vacation sooner or entertaining a large group? Check out these easy recipes for a crowd of people — including our full menu plan for 26 people!
Be sure to also check out these Cheap Meals for Large Groups and these Easy Meals for 20 People!
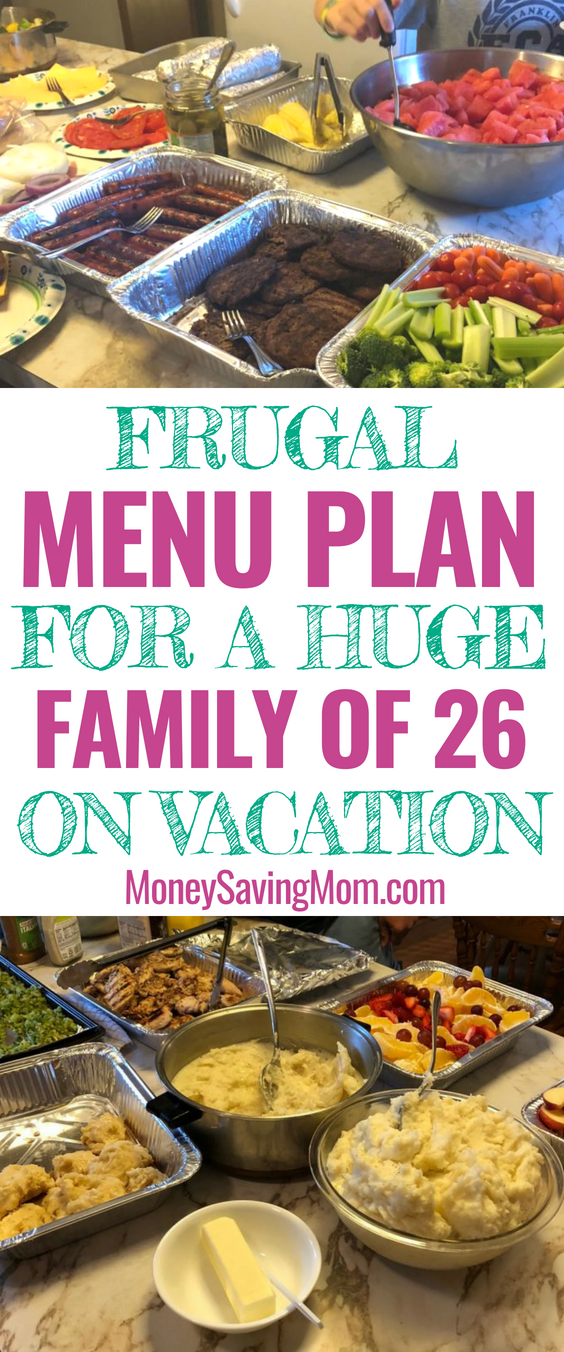
Recipes for a Crowd of People on Vacation
Need some ideas for food to make while on vacation with a crowd? Two weeks ago, my entire extended family (except my brother who is working on the The Wilds camp this summer and couldn’t take time off) went to Bull Shoals Lake.
We’ve been doing this trip together as a family since before I was married. The number of people who come each year has slowly grown as my siblings have gotten married and we’ve had babies. We’re now up to 26 people total (My parents, my six siblings, plus their spouses and kids!)
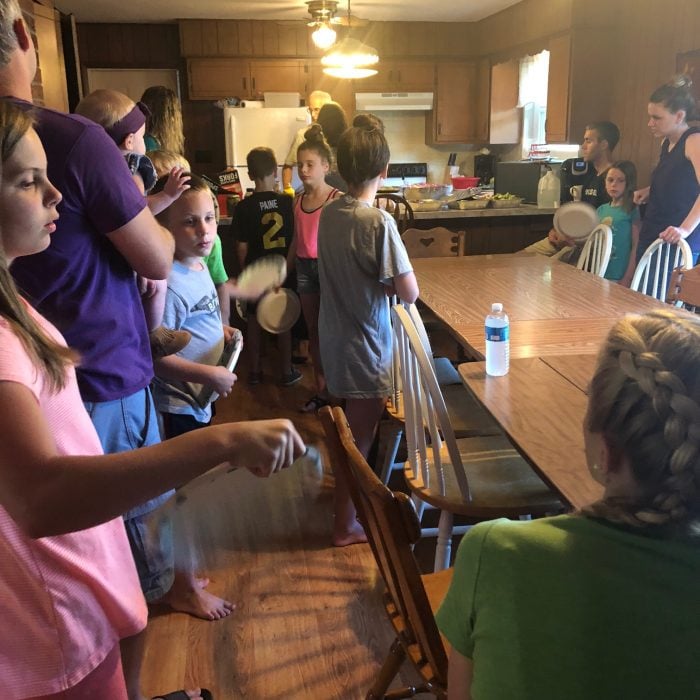
On this trip, we stay in cabins that have kitchens so we bring food and make it there for all but one night. We all pitch in to help with meals, ingredients, cooking, baking, and clean up. This way, there’s not too much work on any one person’s shoulders.
How We Make This Work
Many of you asked for details on what we cook and how it works, so I’m posting our entire menu plan so you can get ideas on recipes for a crowd of people. 🙂
My sister planned the menus based upon what she knows that everyone would like/eat/would give some options for those on special diets or who have food allergies and then she put together a sign up form on TakeThemaMeal.com for everyone to sign up for what they wanted to bring.
I know that this might not work in some families, but because of the dynamics of our family, this works really well for us. It’s also nice because then everyone can sign up for what types of food they like to bring or what meals they’d prefer to help make.
My sister set up the sign up sheet so that every menu item was on a different line and if you signed up for something, you were responsible to get the ingredients for it and make it for that meal.
Some of the items were really easy things, like bringing a jar of pickles or a bag of tater tots. Others were a little more time intensive, like making bread or mashed potatoes or a main dish.

Our Menu Plan of Easy Recipes for a Crowd of People
Breakfasts
Pancakes, Eggs, Bacon, Juice
Ice Cream Soaked French Toast, Eggs, Bacon, Juice
Baked Oatmeal, Sausage, Eggs, Juice
Brown Sugar Biscuit Twists, Eggs, Bacon, Juice
Cold Cereal

Lunches:
Salad Bar, Leftovers, Snack-y Foods (everyone brings some snack type foods to contribute and share)
Dinners:
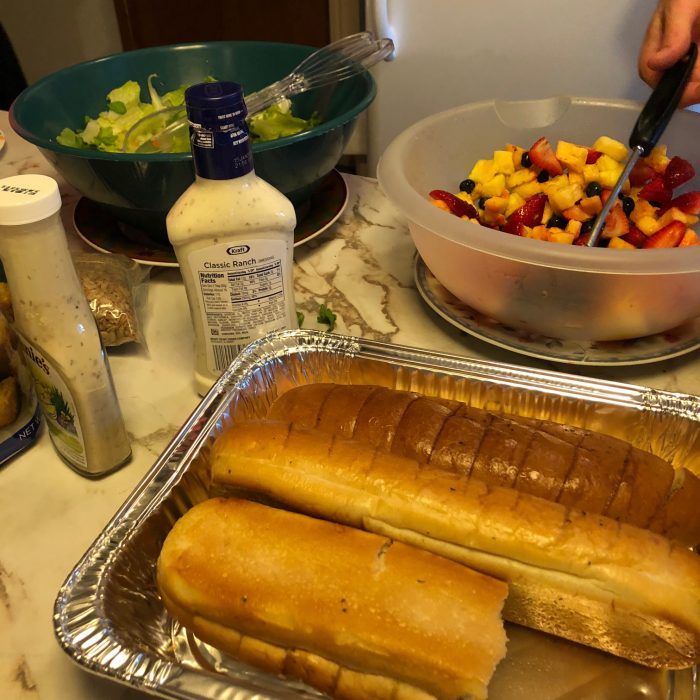
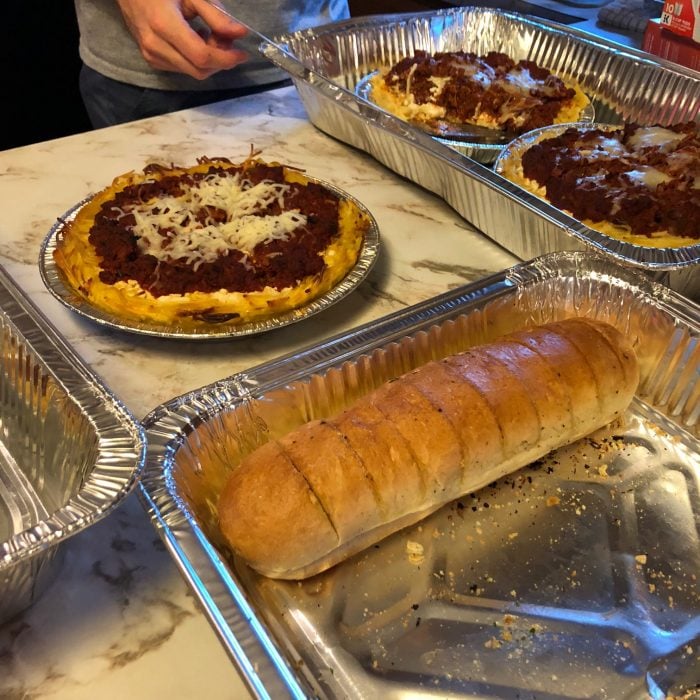
- Spaghetti Pie, Green Beans, Garlic Bread, Lettuce Salad, Fruit
- Papa John’s Pizza (we had a gift card and there was a 30% off coupon, so we ended up getting a LOT of pizza for very little out of pocket!)
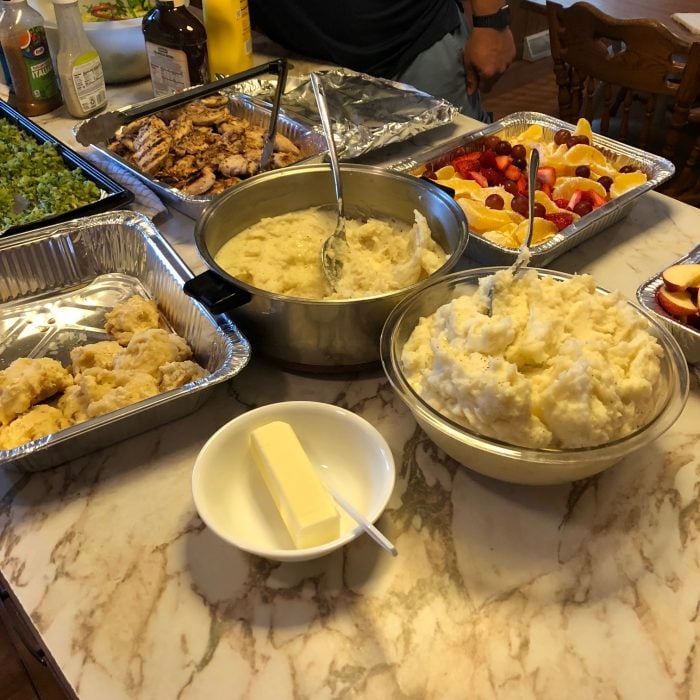
- Grilled Chicken, Mashed Potatoes, Roasted Broccoli, Lettuce Salad, Fruit, Biscuits
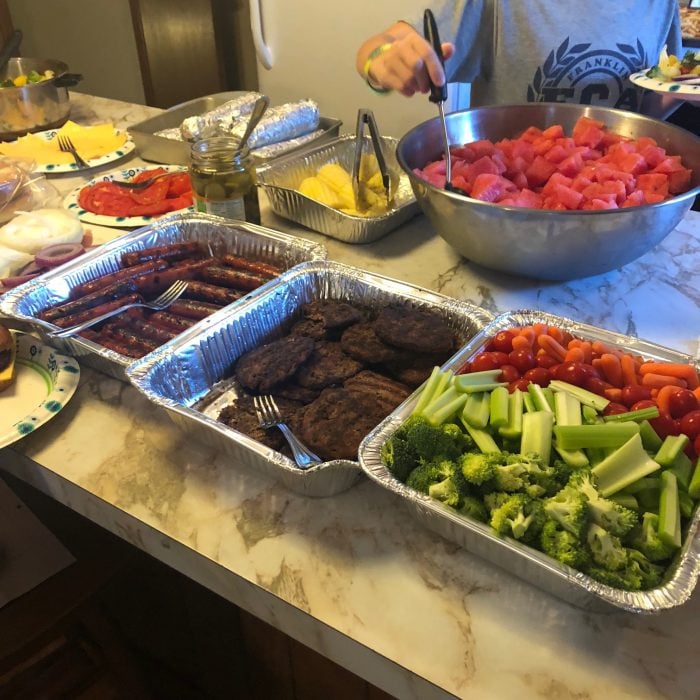
- Hamburgers/Hot Dogs, Watermelon, French Fries, Corn on the Cob, Veggie Tray, Steamed Veggies
- Chicken Bean Burritos (topped with lettuce, sour cream, and salsa) Fried Rice, Fruit
And that’s that! I did want to mention that some of the meals were more allergy-friendly than others, so on a few of the nights where they weren’t as allergen-friendly, those with food allergies made some other for the main dish.
Do you have any other easy recipes for a crowd of people? I’d love to hear in the comments!

Want to cut your grocery budget? Go here and sign up (it’s free!) I’ll send you my 10 Easy Ways to Cut Your Grocery Bill By $50.
Here’s our dinner menu for our beach vacation of 26 people.
Sunday – Pizza Party
Pizzas, Salads, Buffalo Chicken Dip, Chips
Sundae Bar
Monday – Mexican Fiesta
Tacos, Mexican rice, corn casserole, refried beans, and nachos with cheese/salsa.
Sand Pudding
Tuesday – Surf & Turf
Steaks & shrimp, baked potatoes, vegetable, and salad.
Chocolate Lasagna
Wed – Pulled Pork w/Mac & Cheese
Pulled pork sandwiches, macaroni & cheese, chips, veggies with dip
Dessert Wars
Thursday – Grilled Chicken
Grilled/BBQ chicken, parmesan redskin potatoes, vegetable, and salad.
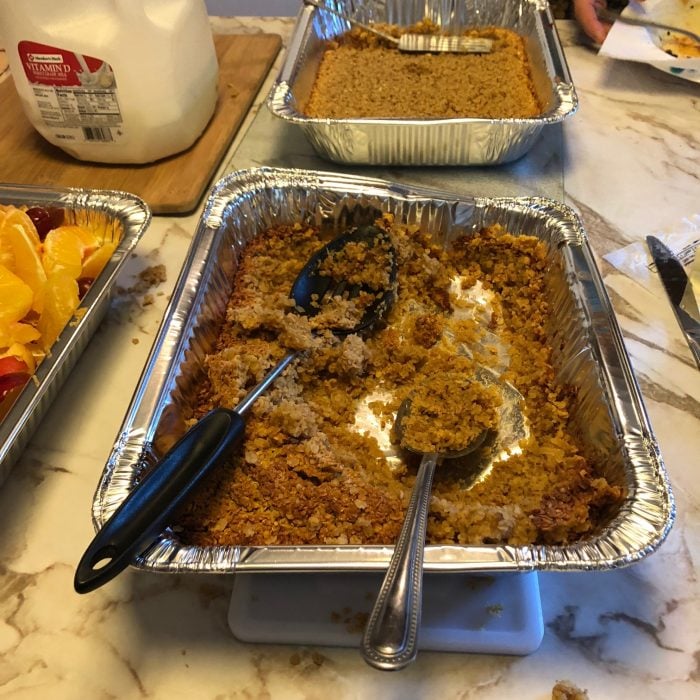
Apple Crisp, Cherry Crisp with Vanilla Ice Cream
Friday – Festa Italiana
Penne pasta, meatballs, salad, and garlic bread
Strawberry Shortcake
Saturday Lunch – 4th of July Cook-Out
Burgers, hot dogs, baked beans, corn, cheesy potatoes, pasta salad, watermelon.
Cake & Ice Cream
Wow, this is an amazing menu! I am going to “borrow” it for our upcoming family vacation.
Four of my college girlfriends and I bring our families to camp together over Menirial Day weekend each year. We do a combination of communal meals and family choice. Friday night is on your own since we all arrive at different times. Lunches are also on your own since we sometimes are off exploring during the day. We usually do snacky lunch or a campfire meal, but some others go out to eat. That leaves 2 dinners and 3 breakfasts, one for each family to plan, shop for, and prepare. It’s so nice knowing you only have one big meal to fix (there are 19 of us) and simplifies the vatiety of food items each family needs to bring. Each family also brings a couple of snacks to share. We always have more food than we can eat.
We camp with my husband’s family the week of spring break at the same lake every year. The tradition was started 45+ years ago. We (he and I) missed the week we got married but everyone else went after the wedding. Some years we have as many as 30 there. But the core group is 13. So, yes, we spend EVERY year camping on our anniversary. In fact, this last November we took a cruise and it was the first trip we had had alone since our honeymoon 27 years ago. We aren’t THAT coordinated on our planning. We have a basic plan we follow every year and everyone brings enough of that item for their family and we cook together for lunches normally. Because by the time you come in from fishing at night it’s time for bed. So we eat leftovers and sandwiches at night.
My extended family of 26 will be getting together next spring. We are so thankful for this post!
Great ideas on all the food. Sharing the work is definitely the way to go. So neat to hear about your brother working at The Wilds. (Sorry he missed the family gathering though!) My husband and I worked there in the 90’s and now our kids attend as campers. I hope he had a great summer. I learned a lot about prayer and dependence on the Lord when I worked there. Thanks again for the post!
I commend your family for sharing the work and contribution of all the meals. For some reason our kids and their families still think that I should spend all of my time in the kitchen when they visit. It is exhausting to do all the meals for 18 day after day.
I’m sorry that you feel you’re being taken advantage of. Do you welcome and/or ask for help? I ask because my grandmother always seemed flustered if anyone tried to help in the kitchen so we all just stayed away. She’s also very critical of the cooking by others so it’s not a situation where people really want to step up. Not saying that you are like that. I’m in my 40s and still dislike having her over to our house for dinner because she always has some sort of snide comment about how she would have done/used x, y, z, or a passive aggressive comment like “oh, that’s…interesting…”
Again, not saying that this is why you personally are stuck doing the work but maybe spend a little time thinking through why it may be that the dynamic is the way it is in your family. Whether you come up with ideas on the why or not, next time cheerfully say that you’re really looking forward to everyone visiting and would love to have more time with everyone so you’d like to have a meal rotation so everyone has time to share their gifts and also visit with others. Hope things improve.
My mom will complain about people not helping but will not ask for help, so we are left with needing to read her mind.
I love cooking for large amounts of people. I spent my teen years cooking for 250 people every day. The key to staying out of the kitchen is prepping as much as you can ahead of time. Make the taco meat ahead and freeze it, chop all of your onions ahead, etc. I utilize my crockpot so that I can throw it in and the meal’s almost done when we get back from the pool. Have your fruit chopped ahead of time. Use paper plates and disposable pans for food that gets stuck to the pan. Hope this helps. 🙂
I asked this earlier, but you probably did not see my question since I posted late. Do you have prices/contact number for the cabins–also exact location on the lake?
Like you, we have 27 (10 adults and 17 children, ages 1-20. We have been going to Hilton Head for about 20 years. Even though we rent a big house at the last minute to get a reduced rate, the prices are getting to be more than we can afford. (Three of the five couples are in some form of ministry, and three are now paying for college.)
I, the grandma, cook breakfast every morning and enjoy doing it. Families eat leftovers/bring their own lunches. Each couple cooks one night, and we eat out the first and last days. We try to get a house with pool, spend lots of time bike-riding, and play a lot of games at night.
This is cool, thanks for sharing this!