WANT A MORE ORGANIZED HOME? CLICK HERE!
Search...
Home
About
Advertise
FAQs
Submissions
Books & Courses
Online Deals
HOTTEST Deals
Amazon Deals
Clothing Deals
Shoe Deals
Home Deals
Kitchen Deals
Electronics Deals
Board Game Deals
Toy Deals
Lego Deals
Book Deals
Baby Deals
Photo Deals
Gift Ideas
Store Deals
Target Deals
CVS Deals
Walgreens Deals
Walmart Deals
Mobile Savings
Restaurant Savings
Coupons
Rebates
Favorite Freebies
Free Samples
Free eBooks
Free Food
Free Photo Prints
Free Magazines
Free Printables
Free Kids Activities
Free Homeschool Curriculum
Instant Win Games
In-Store Freebies
Managing Money
Earning Income
Budget Recipes
Breakfast
Lunch
Dinner
Desserts
Homemade Breads
Healthy Snacks
Freezer Cooking
Skip The Deals
New? Start Here
Home
About
Submissions
Advertise
FAQ
Contact
Books & Courses
Facebook Group
skip the deals
browse our articles
Skip to primary navigation
Skip to main content
Skip to primary sidebar
Skip to footer
Money Saving Mom®
Saving Families Money Since 2007
Search...
New? Start Here!
Deals
Stores
Money
Income
Recipes
Search...
Online
Deals
HOTTEST Deals
Amazon Deals
Clothing Deals
Shoe Deals
Home Deals
Kitchen Deals
Electronics Deals
Board Game Deals
Toy Deals
Lego Deals
Book Deals
Baby Deals
Photo Deals
Gift Ideas
Store
Deals
Target Deals
CVS Deals
Walgreens Deals
Walmart Deals
Mobile
Savings
Coupons
Rebates
Restaurant Savings
Favorite
Freebies
Free Samples
Free eBooks
Free Food
Free Photo Prints
Free Magazines
Free Printables
Free Kids Activities
Free Homeschool Curriculum
Instant Win Games
In-Store Freebies
Managing
Money
Earning
Income
Budget
Recipes
Breakfast
Lunch
Dinner
Desserts
Homemade Breads
Healthy Snacks
Freezer Cooking
Guest Post Submissions
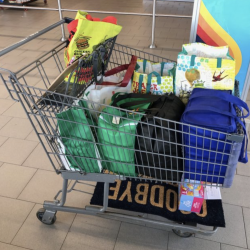
10 Aldi Deals That are Hard to Beat!
6 Comments
3 Budgeting Mistakes to Avoid this Year
5 Comments
How to Cloth Diaper on the Cheap
4 Comments
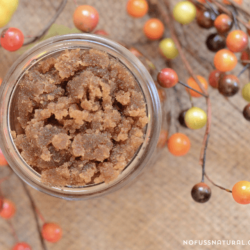
Holiday Spice Sugar Scrub + Free Printable Gift Tags
13 Comments
Our Favorite Chocolate Peanut Butter Truffles + Free Printable Gift Tags!
63 Comments
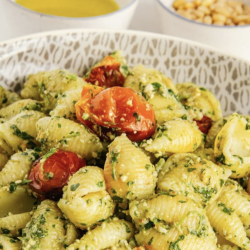
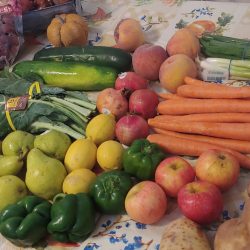
How to Cook More Plant-Based Meals and Save on Your Grocery Bill
Why Our Kids Plan, Budget For, and Cook Our Meals
5 Things That Saved Us From Financial Disaster
Misfits Market Discount Code ($10 Off Your First $30+ Purchase)
The Sunday Tradition That Saved Us Money and Brought Us Closer In the Process
25 Fun Summer Activities For Kids
5 Tips I Used to Slash My Clothing Budget by 75%
Why Cloth Diapering Doesn’t Have to Be Hard
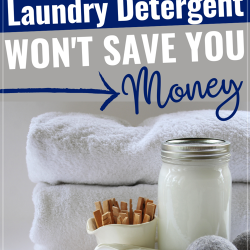
Why Homemade Laundry Detergent Doesn’t Actually Save You Money
4 Ways The Instant Pot Saves Our Family Money
How to Have The Best Family Movie Night at Home
5 Inexpensive Ways to Have Fun at Home
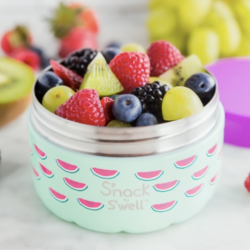
How to Save on Snacks: Minimize The Cost Per Serving
Page
1
Page
2
Page
3
Interim pages omitted
…
Page
36
Go to
Next Page »