WANT A MORE ORGANIZED HOME? CLICK HERE!
Search...
Home
About
Advertise
FAQs
Submissions
Books & Courses
Online Deals
HOTTEST Deals
Amazon Deals
Clothing Deals
Shoe Deals
Home Deals
Kitchen Deals
Electronics Deals
Board Game Deals
Toy Deals
Lego Deals
Book Deals
Baby Deals
Photo Deals
Gift Ideas
Store Deals
Target Deals
CVS Deals
Walgreens Deals
Walmart Deals
Mobile Savings
Restaurant Savings
Coupons
Rebates
Favorite Freebies
Free Samples
Free eBooks
Free Food
Free Photo Prints
Free Magazines
Free Printables
Free Kids Activities
Free Homeschool Curriculum
Instant Win Games
In-Store Freebies
Managing Money
Earning Income
Budget Recipes
Breakfast
Lunch
Dinner
Desserts
Homemade Breads
Healthy Snacks
Freezer Cooking
Skip The Deals
New? Start Here
Home
About
Submissions
Advertise
FAQ
Contact
Books & Courses
Facebook Group
skip the deals
browse our articles
Skip to primary navigation
Skip to main content
Skip to primary sidebar
Skip to footer
Money Saving Mom®
Saving Families Money Since 2007
Search...
New? Start Here!
Deals
Stores
Money
Income
Recipes
Search...
Online
Deals
HOTTEST Deals
Amazon Deals
Clothing Deals
Shoe Deals
Home Deals
Kitchen Deals
Electronics Deals
Board Game Deals
Toy Deals
Lego Deals
Book Deals
Baby Deals
Photo Deals
Gift Ideas
Store
Deals
Target Deals
CVS Deals
Walgreens Deals
Walmart Deals
Mobile
Savings
Coupons
Rebates
Restaurant Savings
Favorite
Freebies
Free Samples
Free eBooks
Free Food
Free Photo Prints
Free Magazines
Free Printables
Free Kids Activities
Free Homeschool Curriculum
Instant Win Games
In-Store Freebies
Managing
Money
Earning
Income
Budget
Recipes
Breakfast
Lunch
Dinner
Desserts
Homemade Breads
Healthy Snacks
Freezer Cooking
Using What You Have
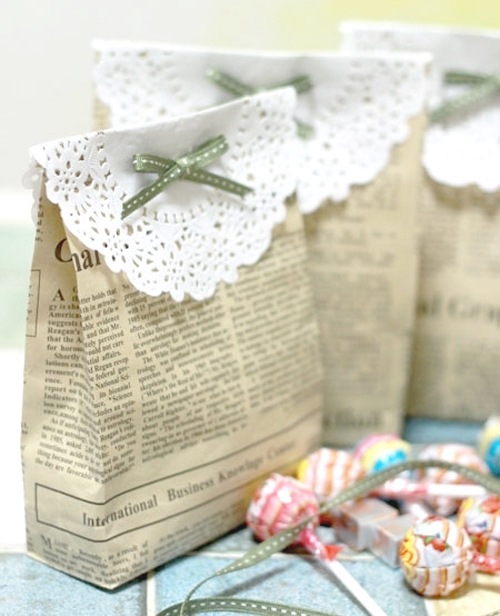
Turn your newspaper into cute gift sacks
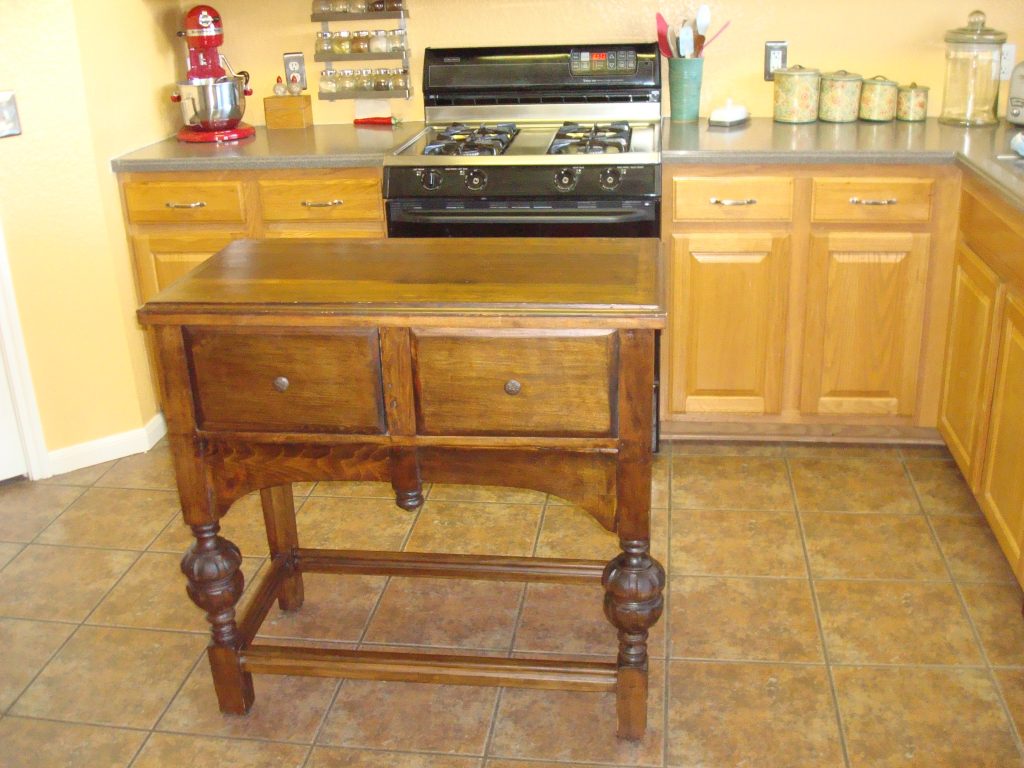
Re-purposing a table I already had into a kitchen island
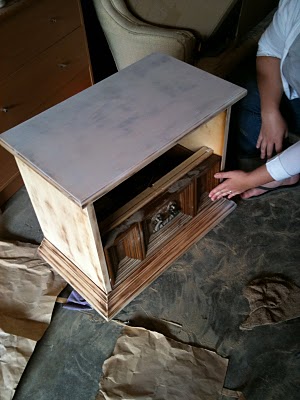
From old end table to adorable play kitchen
Crafting With Book Pages
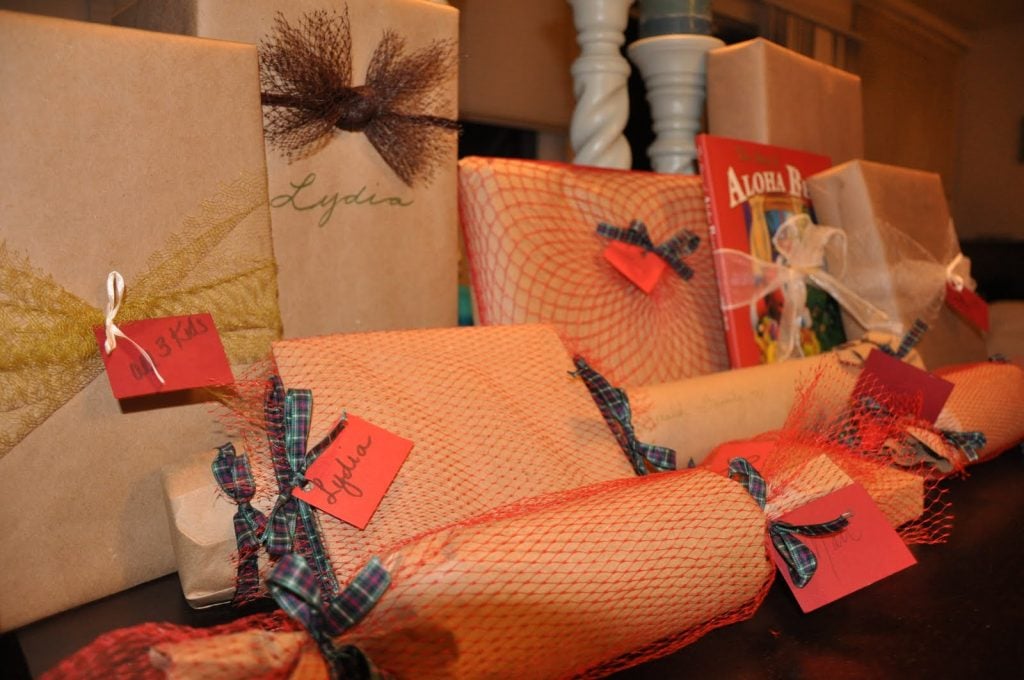
Reusing Onion and Potato Bags as Gift Wrapping
We Paid Cash! :: Our Home Renovation
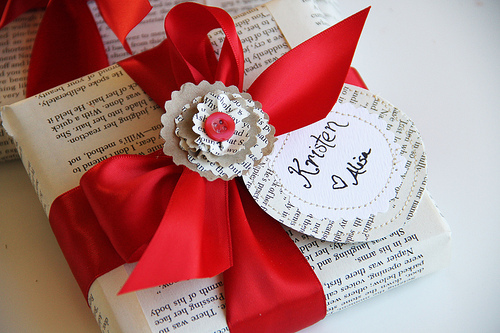
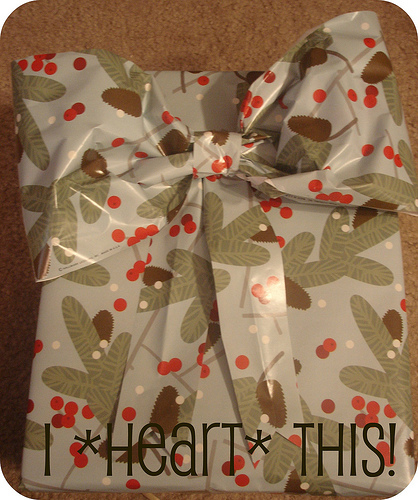
Do-It-Yourself: Make a gift bow from a magazine page
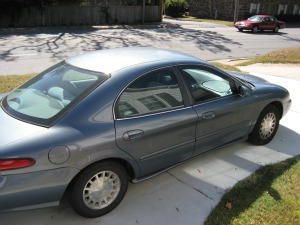
We Paid Cash! :: A Car Engine (with a twist)
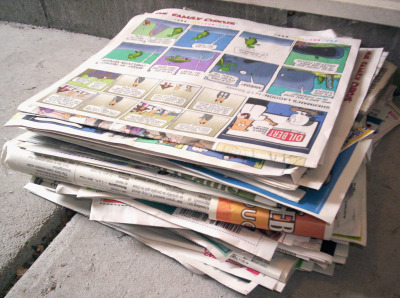
5 Ways to Repurpose Newspapers
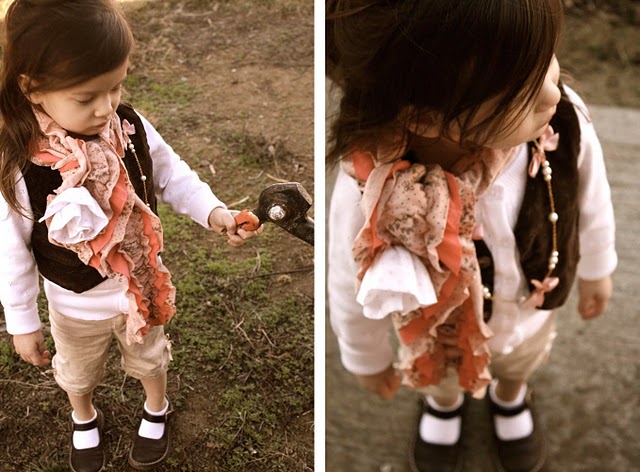
Easy Ruffled T-Shirt Scarf
Furnishing a home with Freecycle
Ten Frugal Home Decor Tips
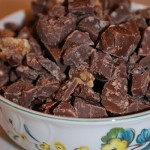
Creative Uses for Leftover Easter Candy
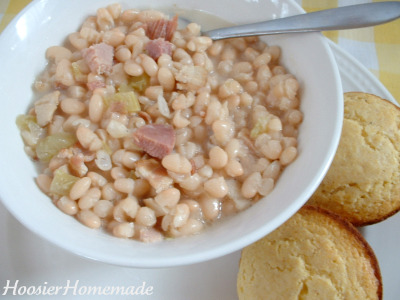
Three Easy Meals from Leftover Ham
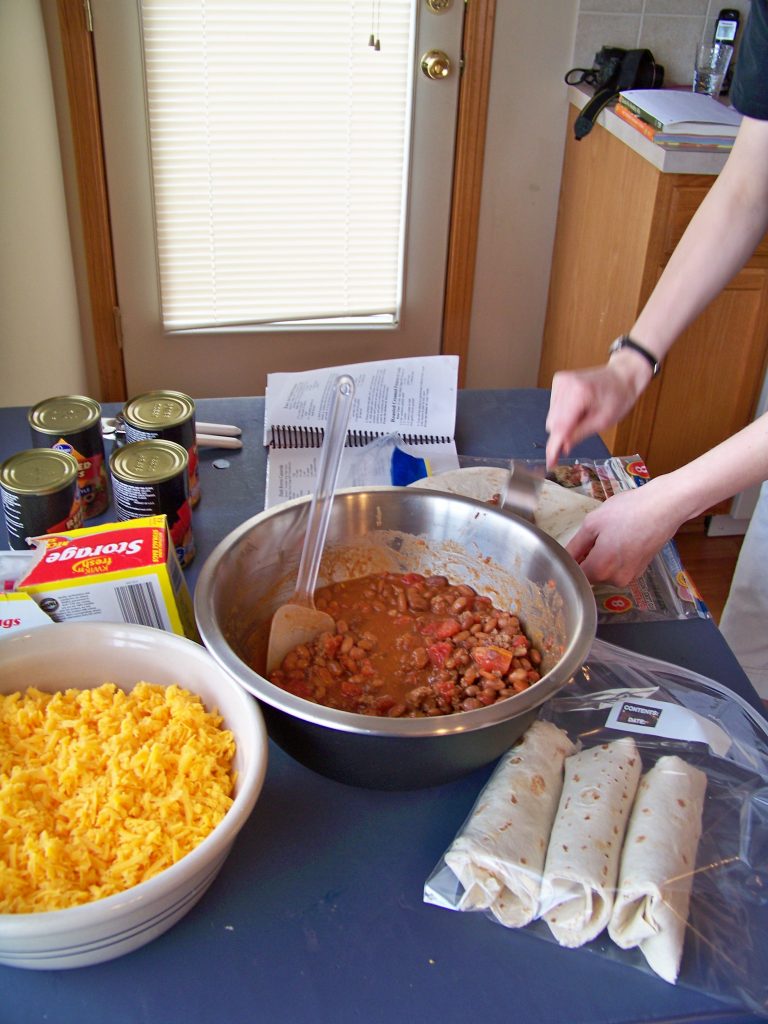
Freezer Cooking Day: Making Do in a Small Kitchen
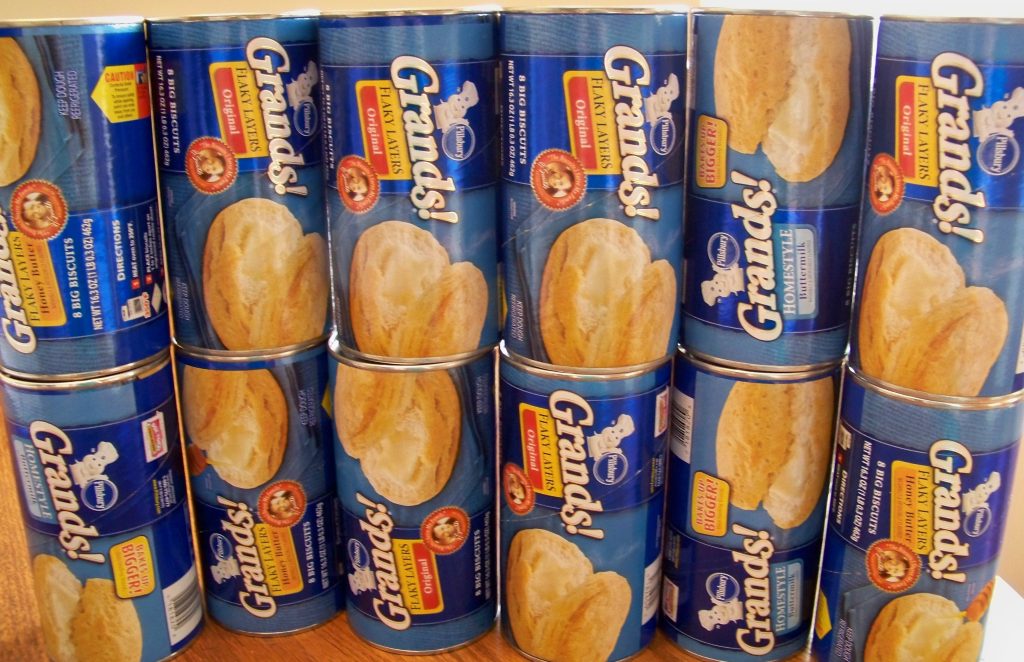
Help! It’s Canned Biscuit Overload!
Eat From the Pantry Challenge–coming January 2010
Guest Post: Making Your Own Pumpkin Puree
Page
1
Page
2
Go to
Next Page »