WANT A MORE ORGANIZED HOME? CLICK HERE!
Search...
Home
About
Advertise
FAQs
Submissions
Books & Courses
Online Deals
HOTTEST Deals
Amazon Deals
Clothing Deals
Shoe Deals
Home Deals
Kitchen Deals
Electronics Deals
Board Game Deals
Toy Deals
Lego Deals
Book Deals
Baby Deals
Photo Deals
Gift Ideas
Store Deals
Target Deals
CVS Deals
Walgreens Deals
Walmart Deals
Mobile Savings
Restaurant Savings
Coupons
Rebates
Favorite Freebies
Free Samples
Free eBooks
Free Food
Free Photo Prints
Free Magazines
Free Printables
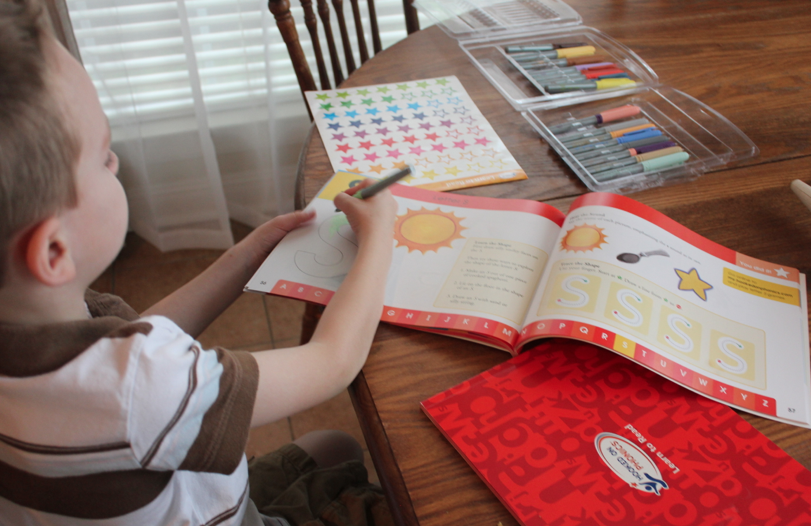
Free Kids Activities
Free Homeschool Curriculum
Instant Win Games
In-Store Freebies
Managing Money
Earning Income
Budget Recipes
Breakfast
Lunch
Dinner
Desserts
Homemade Breads
Healthy Snacks
Freezer Cooking
Skip The Deals
New? Start Here
Home
About
Submissions
Advertise
FAQ
Contact
Books & Courses
Facebook Group
skip the deals
browse our articles
Skip to primary navigation
Skip to main content
Skip to primary sidebar
Skip to footer
Money Saving Mom®
Saving Families Money Since 2007
Search...
New? Start Here!
Deals
Stores
Money
Income
Recipes
Search...
Online
Deals
HOTTEST Deals
Amazon Deals
Clothing Deals
Shoe Deals
Home Deals
Kitchen Deals
Electronics Deals
Board Game Deals
Toy Deals
Lego Deals
Book Deals
Baby Deals
Photo Deals
Gift Ideas
Store
Deals
Target Deals
CVS Deals
Walgreens Deals
Walmart Deals
Mobile
Savings
Coupons
Rebates
Restaurant Savings
Favorite
Freebies
Free Samples
Free eBooks
Free Food
Free Photo Prints
Free Magazines
Free Printables
Free Kids Activities
Free Homeschool Curriculum
Instant Win Games
In-Store Freebies
Managing
Money
Earning
Income
Budget
Recipes
Breakfast
Lunch
Dinner
Desserts
Homemade Breads
Healthy Snacks
Freezer Cooking
Living Simply
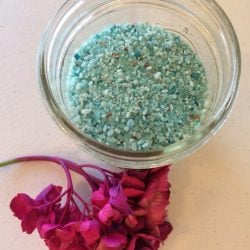
Homemade Lavender Bath Salts + Free Printable Gift Tags!
43 Comments
Get my 15 Days to a Healthier You Course for free (when you pre-order!)
A Peek into My Life This Week (new feature!)
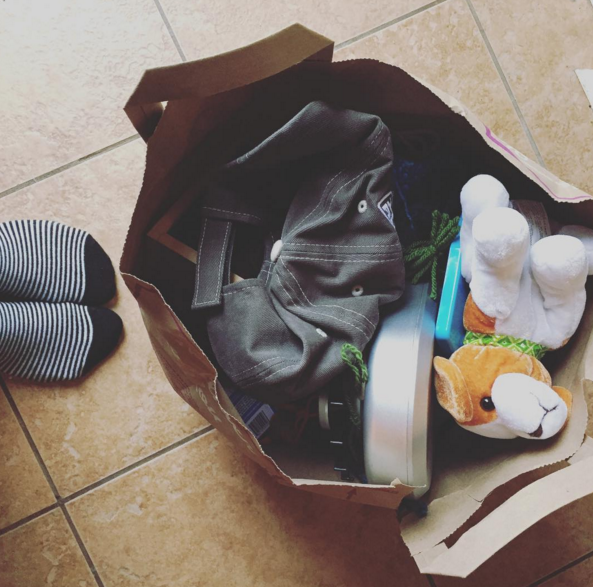
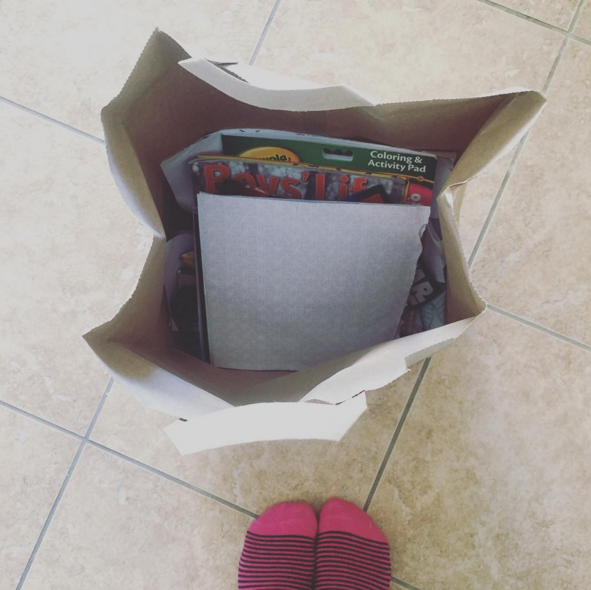
500 Things Decluttering Challenge: Day 8
500 Things Decluttering Challenge: Day 1 (64 items decluttered!)
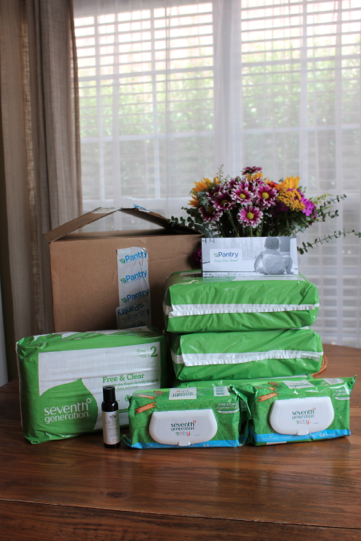
Our Almost $0 Baby Budget For Our 1st Baby (How & Why We Did It)
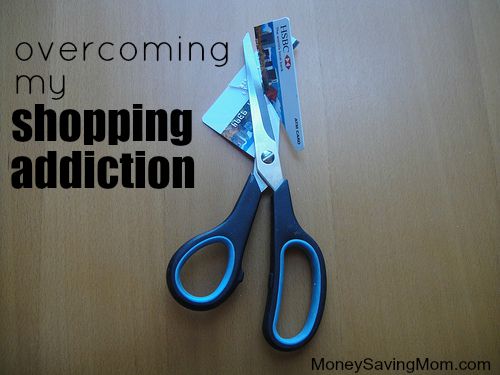
Overcoming My Shopping Addiction
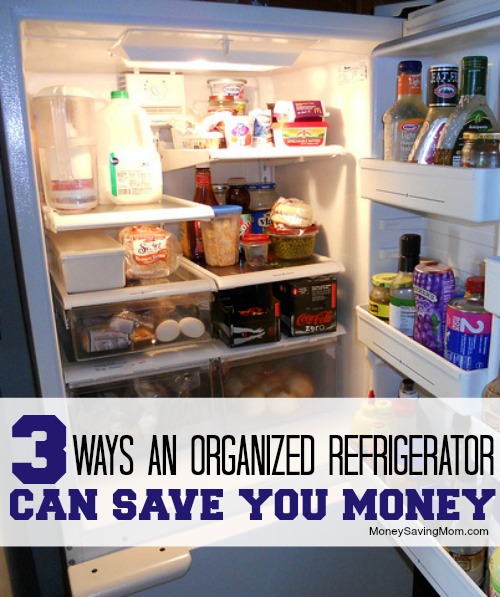
3 Ways an Organized Refrigerator Can Save You Money
No, I Don’t Think Credit Cards Are Evil
“You are such a FUN person to wake up to every day!”
Why We’re Ditching Mainstream for an Airstream
The Ten-Item Wardrobe
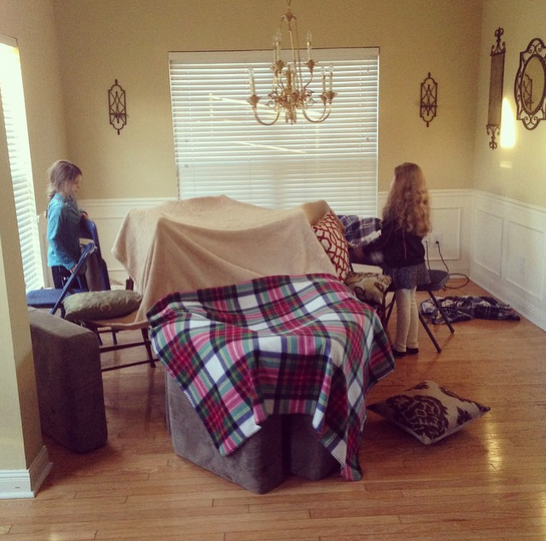
5 Simple Ways to Cut Down on Toy Clutter
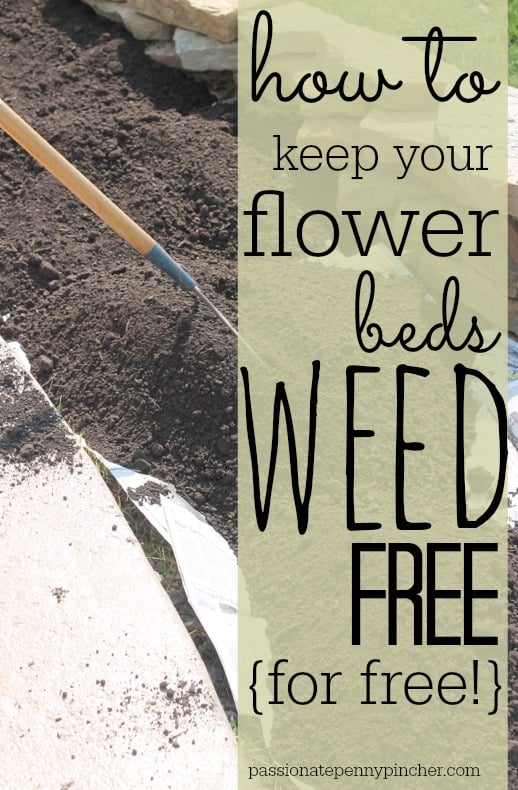
How to Keep Your Flower Beds Weed-Free (for free!)
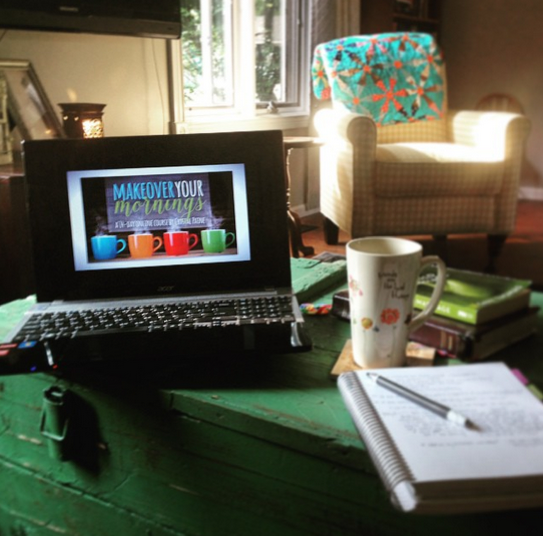
9 Ways Busy Moms Can Find Time for Quiet in Their Day
21 Surprising Stats About How Much Clutter We Really Have
6 Things We Rarely Spend Money On
5 Reasons I’m Glad We’ve Chosen to Not Have Many Toys
Page
1
Page
2
Page
3
Interim pages omitted
…
Page
24
Go to
Next Page »