
Guest post from Abi of The Modern Prairie Girl
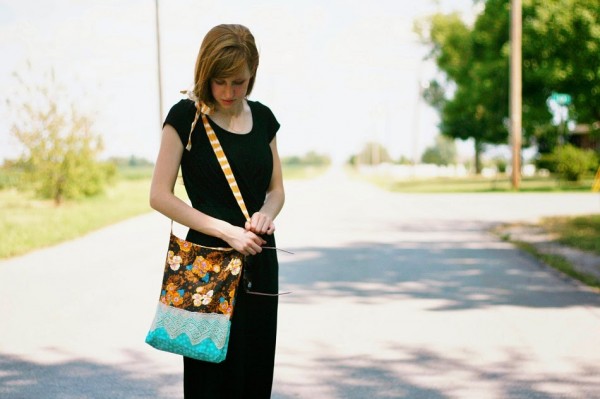
This bag was made for those LONG road trips.
It holds everything, while still being slouchy enough to get crammed into the car with everything that’s brought along for a vacation! The Long Road bag is super quick and fun to make – so let’s get started!
Walk through it carefully, so you don’t miss anything that might be needed. Lay out your fabric pieces as you go, so it comes together without any mishaps!
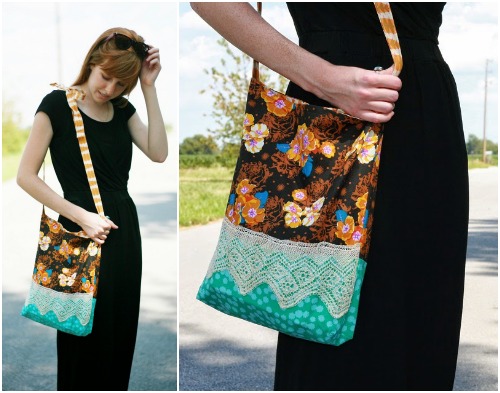
I give you some ideas about what fabric choices that would be extra fun to use when you decide to whip up this bag. The handle is really unique. Having the knot or bow option leaves way for it being sized for a petite, regular or tall lady. You can adjust the length of your bag for a cross body style or if you just want it to hang from your shoulder.
The Long Road Bag
Finished flat measurements: 12” wide x 14 ½” tall x 2 ½” deep
Handle strap: 35” to 56”
Required Supplies:
- fabric straps
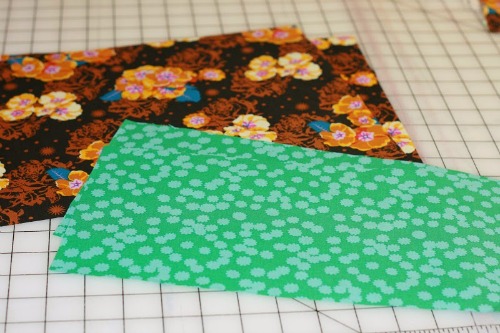
- for outside bag two pieces 13”x10” top half
- for outside bag two pieces 13”x 6 ½” bottom half
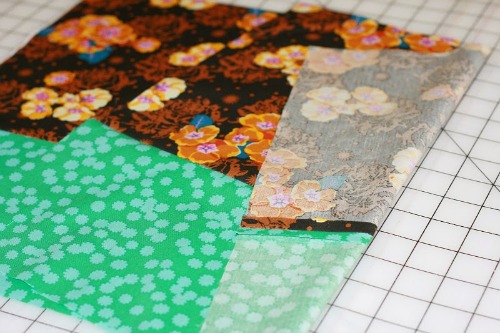
- for lining two pieces 13”x 15 ¾”
- for handles two pieces 4”x36”
- 13” piece of lace (optional)
- sewing machine
- scissors
- sewing pins
- matching/coordinating thread
Notes on fabric:
I love to play with my fabric combinations, and I would encourage you to do it also! This bag would be super cute out of burlap, cotton velveteen, or a cotton home décor as well as a fun quilting weight cotton print.
Also, play off of your special piece of lace that you want to show off on your Long Road bag. Sew, have fun!
DIRECTIONS:
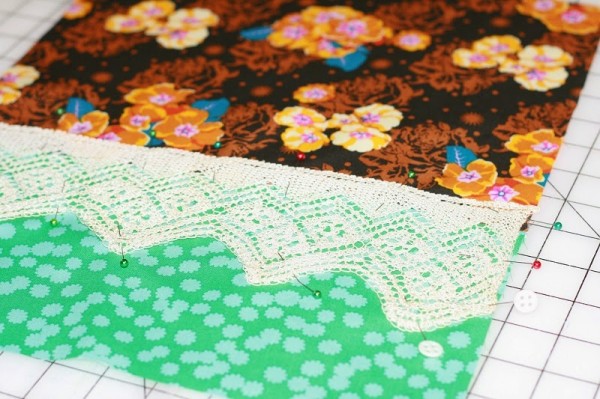
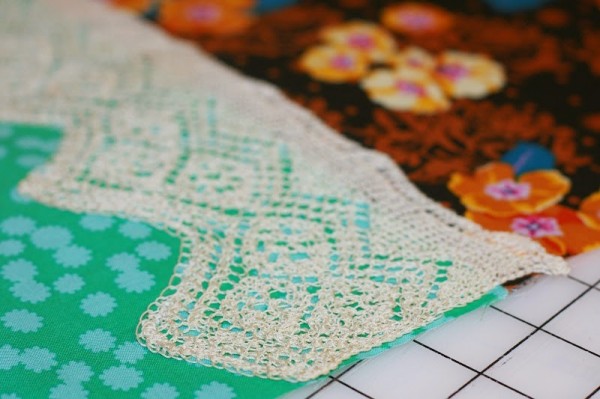
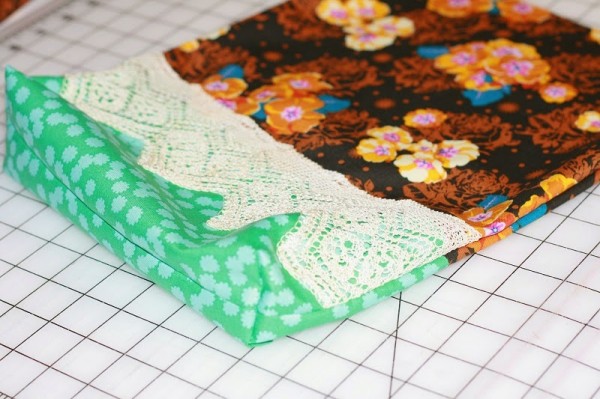
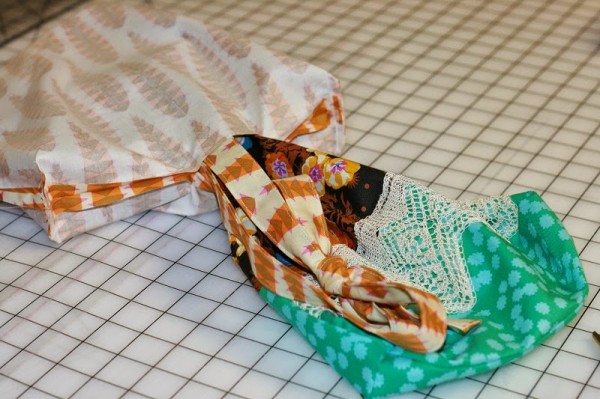
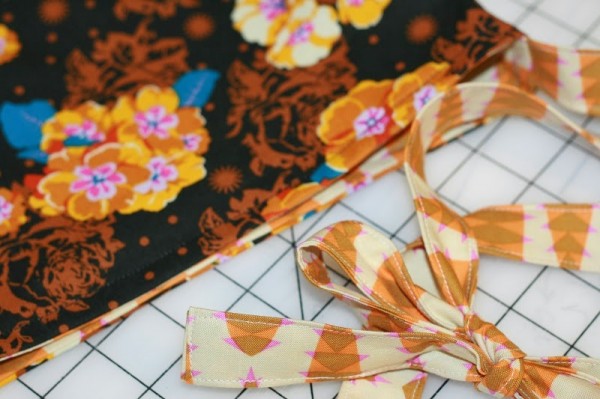
1. Sew outside bag pieces, right sides together, along the 13” side. Press seam open. Pin and sew optional lace down to front of bag along the middle seam.
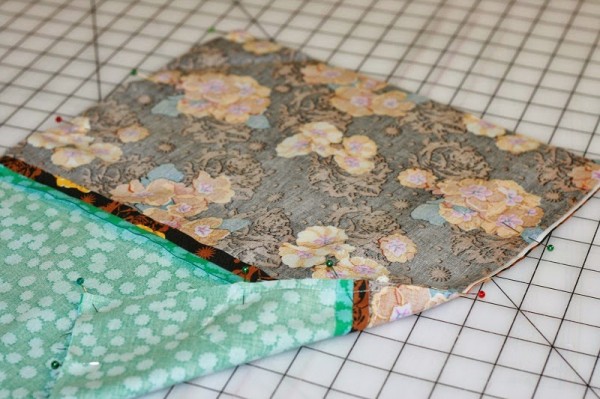
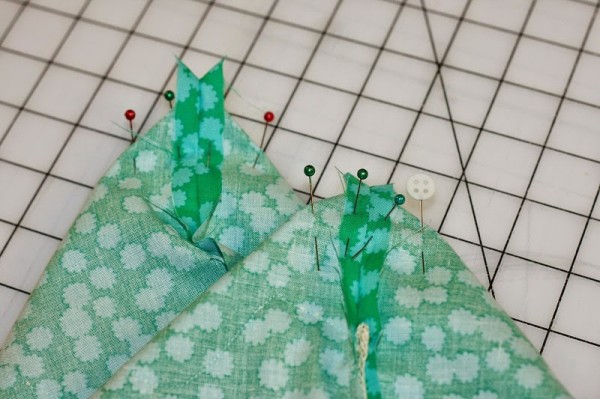
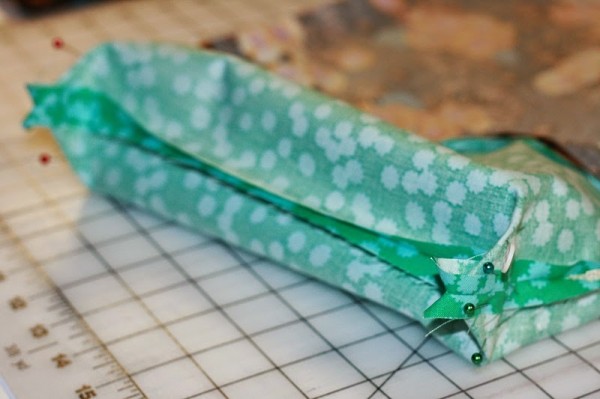
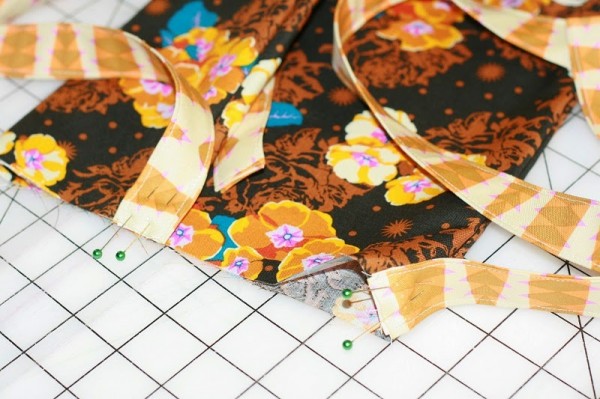
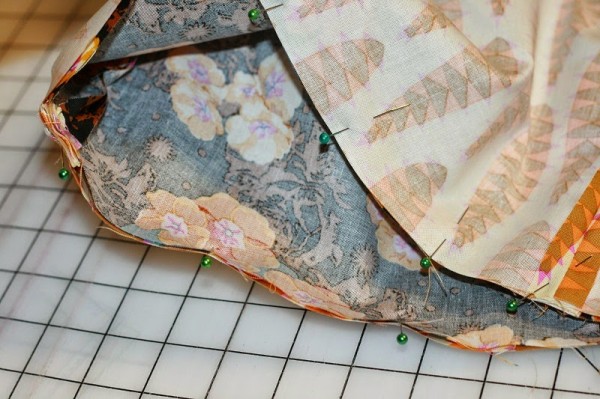
2. Sew outside bag right sides together. Turn bag to the side, matching bottom seam, with side seam. Pin both corners of bag.
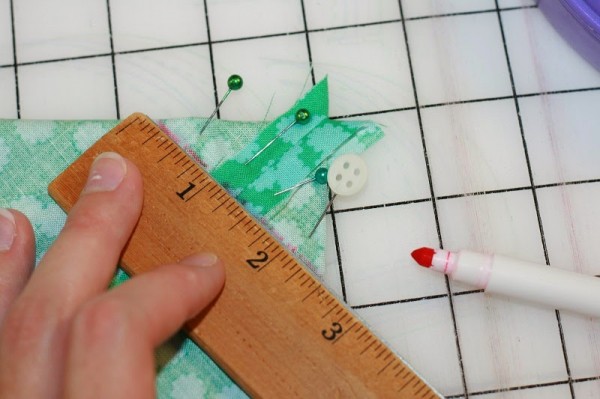
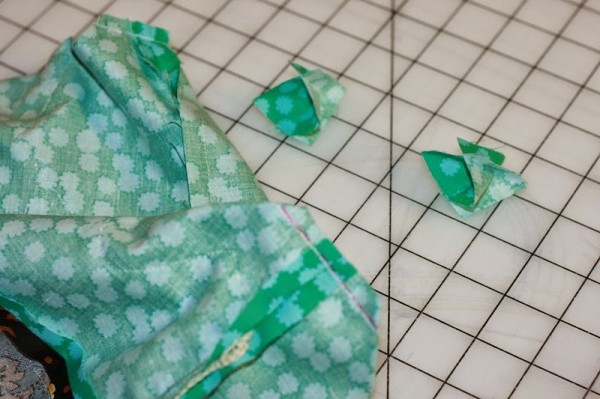
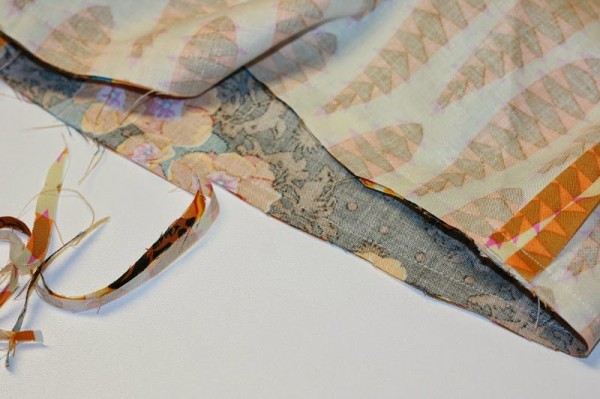
Using a ruler, make a straight 2 ½” line. Use a pencil or marker to make your line. Sew down line and cut off excess peek of fabric. Turn bag right side out.
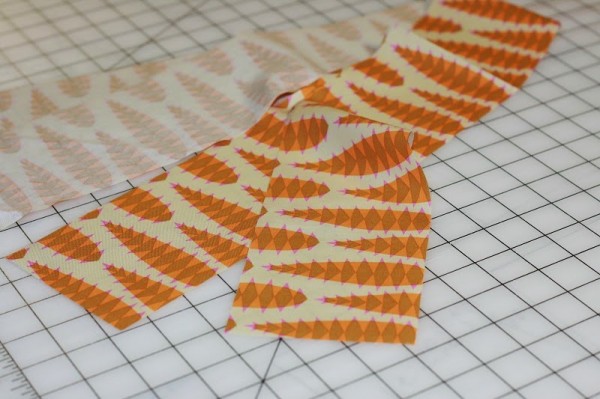
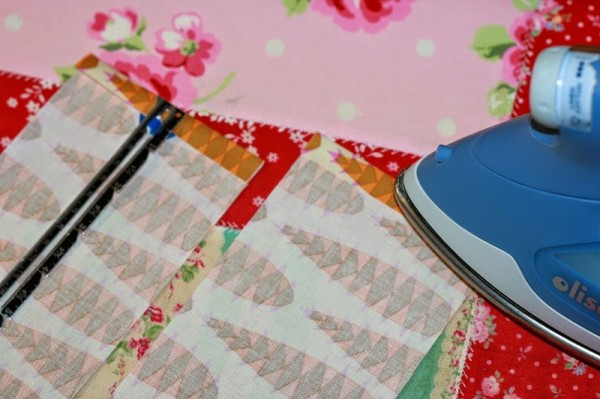
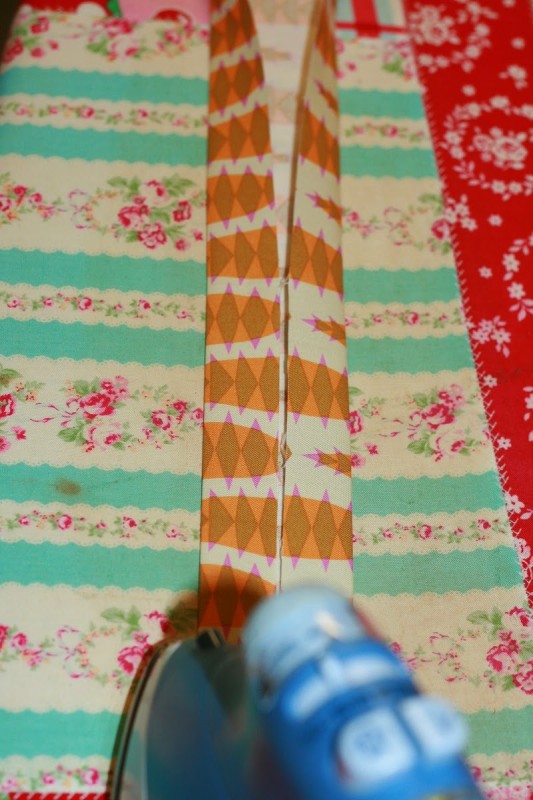
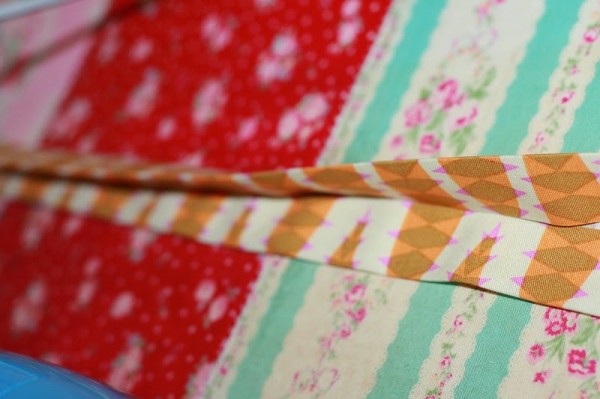
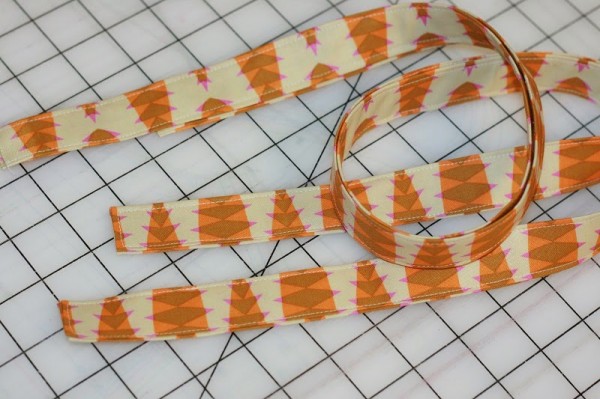
3. Take handle strips. Take one short end of each strip and turn the fabric in on itself ½”. Press. Turn the long sides in to meet in the middle of your strip. Fold over again, so raw fabric edges are encased. Sew along both long sides and the finished short end at 1/8”. Repeat with other strip.
4. Sew handles at each side of finished outside bag.
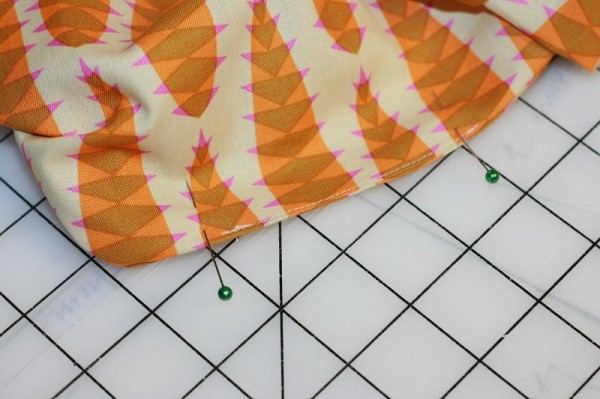
5. Take lining pieces and sew right sides together, leaving a 3” gap in the middle of the bottom of the bag. Repeat making gussets from step 2 for your lining.
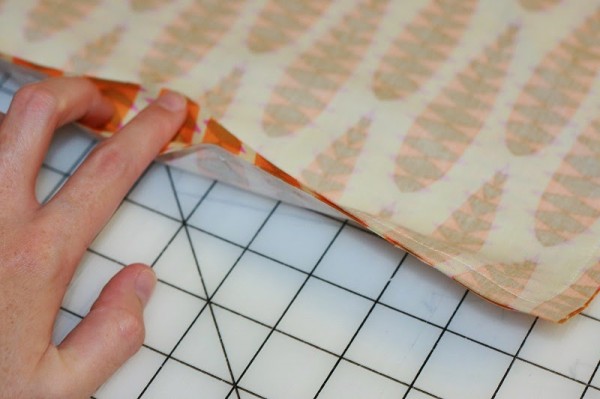
6. Put finished outside bag inside lining. Stitch bag around the top at 5/8”. Clip off excess fabric around the top.
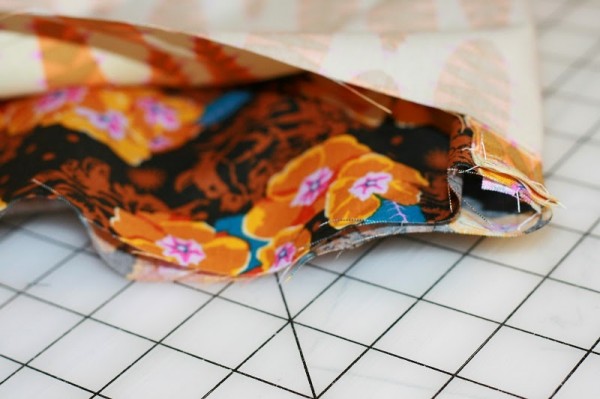
7. Pull outside bag through gap. Sew gap closed and push lining into the outside bag.
8. Topstitch around the mouth of your bag at ¼”. Put your bag on your should and knot or bow your handles at the top.

Your Long Road Bag is finished!
Keep in mind that this bag isn’t just for road trips, but any good times!
This bag is a great Christmas or birthday gift – especially if the recipient loves a beautiful handmade gift!
Sew… what are you waiting for? Have fun and please share your success story with me on the Modern Prairie Sewing facebook page.
designed & made by Abigail A. Long, author of Modern Prairie Sewing: 20 Handmade Projects for You & Your Friends. Head on over to her blog: The Modern Prairie Girl.
Thank you for sharing – this is something I will want to sew! Thank you for the helpful details!
I love it and it is simple enough that I may be able to pull it off! thanks for sharing
I don’t sew and I don’t have any interest in sewing but I thank you for sharing the beautiful, well-organized tutorial! All those photos! Whew! I’ll share it with people I know who sew.